

Thank you for purchasing this Panasonic product.
Please read these instructions carefully before operating this product and retain them
for future reference.
Please carefully read the “Safety Precautions” of this manual before use.
The images shown in this manual are for illustrative purposes only.
Please refer to Pan European Guarantee Card if you need to contact your local
Panasonic dealer for assistance.
English
Model No.
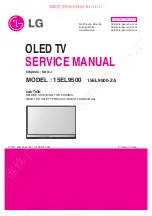
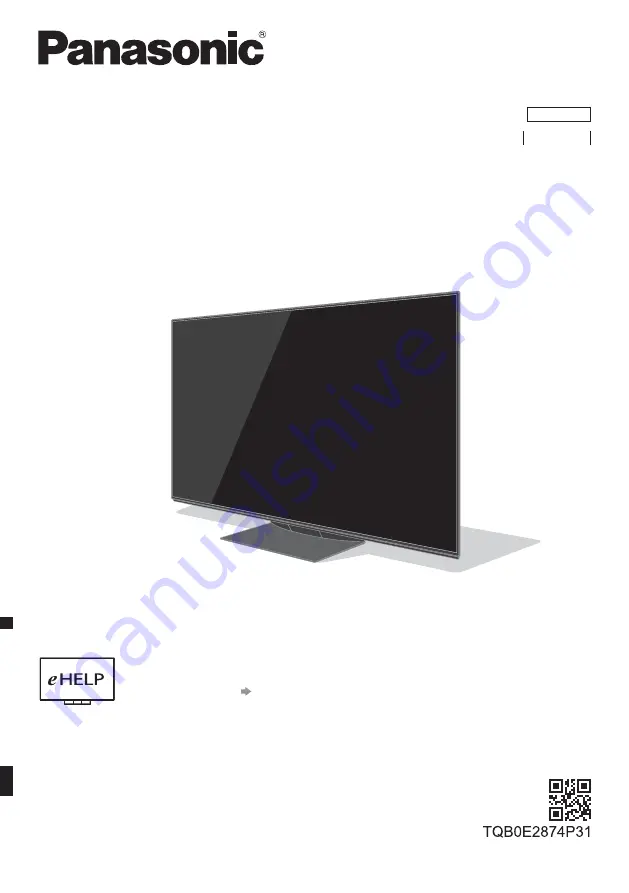
TX-55GZW1004
TX-55GZC1004
TX-65GZW1004
TX-65GZC1004
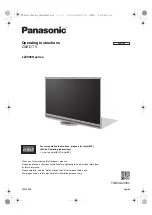
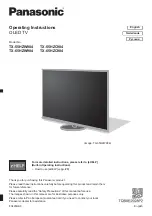
Operating Instructions
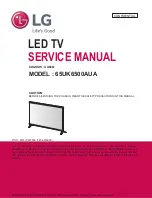
OLED TV
For more detailed instructions, please refer to [eHELP]
(Built-in Operating Instructions).
How to use [eHELP]
(p. 24)
(image: TX-65GZW1004)
English
Summary of Contents for TX-55GZW1004
Page 47: ... TX 55GZW1004 TX 55GZC1004 TX 65GZW1004 TX 65GZC1004 ...
Page 48: ... J 3 9 ª 23 27 28 29 32 32 33 µ 38 39 ...
Page 51: ... 5 Ò Ö ÅÉË ÅÉË ÅÉË Ú ÅÉË Ú ÅÉË Ò Å Ë Ì ÚÚÜÜÜ ÁÌ À Á Ö Ö ºº J J Ö Ý Ú ...
Page 52: ... 6 J J Ö Ú J Þ Ö J J ß ...
Page 53: ... 7 J J J _ J µµº µµº Ý Ò J Ò ºµ À À _ J ...
Page 55: ... 9 J J à ãÅäÅ J å ...
Page 56: ... 10 æ A B ...
Page 57: ... 11 Þ Þ Ú Þ Þ Ú Þ Ú ç ...
Page 58: ... J J ...
Page 59: ... 13 Þ Ú µ µ Þ ÅÉ ºà º º Å Å º Þ º º Þ Þ Ú Þ C ...
Page 60: ... 14 C C 1 3 ...
Page 61: ... 15 Ç Õ Ç Õ Ç J Ò ª Ò Þ º Ú 2 3 4 5 6 7 1 8 9 10 11 12 ª ...
Page 62: ... 16 J J 10 11 µ ª µ µ Ò è Þ º Ý Ú Æ Ò É Ë É Ò É µ ºª ...
Page 64: ... 18 º Ò µ J º è Ú å è Þ º è è å è Ò º Ò è Ò º ª º Ò Ó Ó è Ó ª º ...
Page 65: ... 19 Ë à à ª É Éº ª Ú Ò ÀÇÈ À Ò º É Þ º ÅåË ÅåË Þ º º Å Å º é Û ê ª Ò ß Ò Ò Ò Þ Ó Ó ...
Page 68: ... _ µ ì 1 2 3 5 6 7 4 J Ò ç J ª _ J Ú Ú Ú J Ù Ö Ó Ó Ò Ó ...
Page 69: ... Ò Ý ª Ò 1 _ Ò _ _ _ Ò Ú _ _ _ Ò ºà Ô Õ J Ö É µ Ò Ú É Ë º ª ª º ª Ò _ Ò ...
Page 70: ... 1 _ Ú _ J _ _ ª Ò 3 _ Ò ØØ ë Þ 1 _ J 3 _ ...
Page 71: ... Ú Ò Ò Ó Ó Û ...
Page 72: ... 1 _ 3 _ Ò Ò Ò _ Ò _ ª ß _ a é Æ Ò î ï Þ ð ñ ò ɗ ɷ ê ó ç Ä 0 1 2 O 3 4 5 6 7 8 Û 9 1 J Ò ...
Page 73: ... J 1 _ J Ò Ó Ó Ò J 1 _ J 3 _ J Ò Ò Ú Ú Ú Ö Ö Ò Ò Ó Ó Ò ...
Page 75: ... 6 J J J J 1 _ 3 _ 4 _ 5 J J J 6 _ 7 _ 8 _ 9 J É º É J Ò Ó Ó 1 _ J 3 _ ª 4 _ ...
Page 79: ... 33 ÉËå É Ò Ó Ó 1 _ ÅÉ Ë à à ɺ ÅÉ Ú J J J J É É À Ã È â Ò Ò À Ã È â ÉËå 72 µ ɺ åÅ á 73 ...
Page 82: ... 36 µ Ò Ó µ µ µ Þ µ µ Ò µ Þ Ë µ µ Ò µ µ µ µ 1 _ 3 _ µ 1 _ µ Ôâ Õ _ 1 2 Ù Ú ...
Page 84: ... 38 Ö µ Ò Ó Ó 1 _ ª 3 _ 4 µ Ò Ëº ð 5 _ 1 ZDF xxx xxx Û µ É µ É Ë É É º Ö ô Ò Ú Ú 6 Ò ...
Page 85: ... 39 µ µ Ò Ó µ µ µ Þ µ µ Ò µ Þ Ò µ 1 _ Ò µ 3 _ µ Ú µ 4 _ 5 J J Ò Ú Ôâ Õ ...
Page 86: ... 40 Ò Ò Ó J Ú Þ Ú J µ Ú 1 _ ...
Page 87: ... 41 _ 1 _ 3 _ Ò Ú Û Ôâ Õ _ ª Ë Ò Ó Ò Ó ...
Page 88: ... Ò Ó J Ö J J Û õ õ â J ÅÉ Ë à à Ú Éº ç é õ J J Ò Ú J ª º J Ö J Ú Ò J J J J J è Ú Ò J _ J J Ö ...
Page 91: ... 45 À Ò Ò Ó Ó Ó Ä ...
Page 92: ... Ö Ú Ò Ò J Ö Ò Þ Web Site http www panasonic com Panasonic Corporation 2019 ã Ùâ Ø ...