16
English
∫
USB HDD (for recording)
≥
Use USB 1 port for connecting the USB HDD.
≥
For details, refer to [eHELP] (Search by Purpose >
Recording).
∫
VIERA Link
≥
Use HDMI 1 - 4 for VIERA Link connection.
≥
For details, refer to [eHELP] (Search by Purpose >
Functions > VIERA Link “HDAVI Control™”).
∫
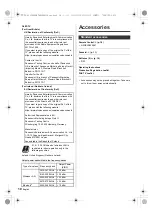
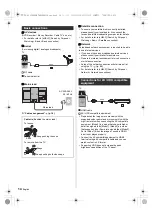
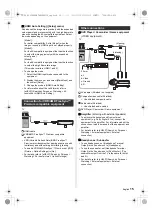
Common Interface
≥
Turn the TV off with Mains Power On / Off switch
whenever inserting or removing the CI module.
≥
If a smart card and a CI module come as a set, first
insert the CI module, then insert the smart card into
the CI module.
≥
Insert or remove the CI module completely in the
correct direction as shown.
≥
Normally encrypted channels will appear. (Viewable
channels and their features depend on the CI
module.)
If encrypted channels do not appear
[Common Interface] in [System Menu] ([Setup]
menu)
≥
There might be some CI modules in the market with
older firmware versions that do not work fully
interoperable with this new CI+ v1.4 TV. In this case,
please contact your content provider.
≥
For details, refer to [eHELP] (Search by Purpose >
Functions > Common Interface), read the manual of
the CI module, or check with the content provider.
≥
Be sure to remove the CI module card, etc. before
repairing, transferring or discarding.
TV
∫
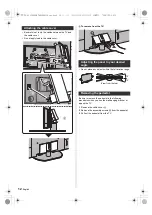
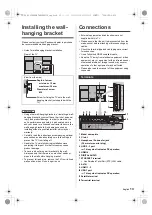
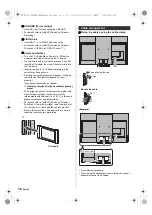
Fixing the cables using the cable clamp
Bundle the cable
<Example>
≥
Fix cables as necessary.
≥
When using the optional accessory, follow the option’s
assembly manual to fix cables.
CI module
Cable arrangement
Keep pushing the tab
Tab
Set
55-inch model
TX-55_65LZ2000B_TQB4GA0136_eng.book 16 ページ 2022年1月20日 木曜日 午後1時44分

