21
3.4.
Operation Check and Settings before using Panaboard
3.4.1.
Before Operation Check
Note:
1. Do not wipe the screen film surface with paint thinner,
benzene, or cleaners that contain abrasives. Doing so
may cause discoloration.
2. Do not wipe the screen film surface with a dry cloth.
Doing so may create static electricity.
3.4.2.
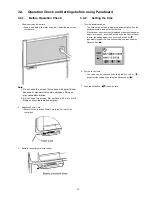
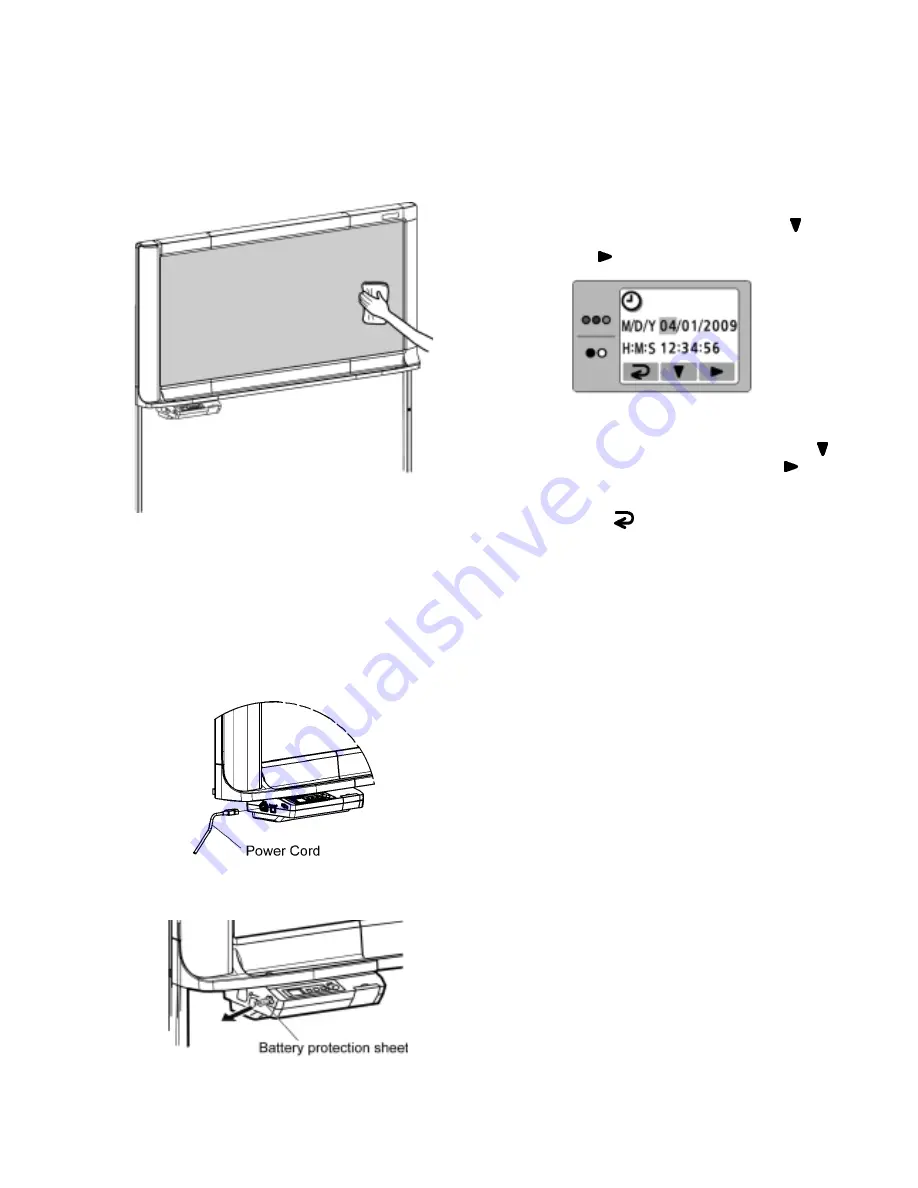
Setting the time
1.
Wipe the screen film surface.
• Soak a soft cloth with water, wring well, and wipe the screen
film surface.
2.
Attach the Power Cord.
• Securely fit the included Power Cord in the AC inlet of the
control box.
3.
Remove the battery protection sheet.
1.
Turn the power switch on.
• The time set-up screen is displayed automatically when the
power switch is turned on for the first time.
If the time set-up screen is not displayed even when the power
switch is turned on, push the Set-up Key on the Control Panel
to enter the setting mode, then push the Set-up Key (
)
repeatedly to select the time set-up mode, and then push the
Advance Key (
).
2.
Set the current time.
• The value can be changed by pushing the Set-up Key (
),
and select the setting by pushing the Advance Key (
).
3.
Push the Mode Key (
) to set the time.
Summary of Contents for UB-5338C
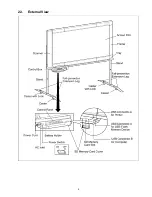
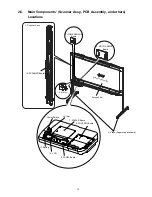
Page 9: ...9 2 3 External View ...
Page 10: ...10 2 4 Control Panel Operation ...
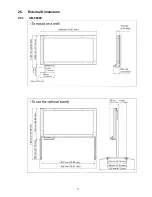
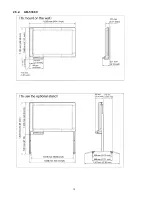
Page 11: ...11 2 5 External Dimensions 2 5 1 UB 5838C ...
Page 12: ...12 2 5 2 UB 5338C ...
Page 101: ...101 13 Exploded View and Replacement Parts List ...
Page 102: ...102 13 1 Framework of Projected Diagram ...
Page 103: ...103 13 2 Cabinet Unit ...
Page 105: ...105 13 3 Motor Drive Unit Sensor Unit ...
Page 107: ...107 13 4 Control Box Unit ...
Page 109: ...109 13 5 Screen Feed Roller Unit ...
Page 111: ...111 13 6 Scanner Unit ...
Page 113: ...113 13 7 Panel Unit ...
Page 115: ...115 13 8 Frame Unit ...
Page 117: ...117 13 9 Rear Cover Unit ...
Page 119: ...119 13 10 Packing ...

