26
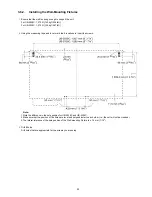
Note:
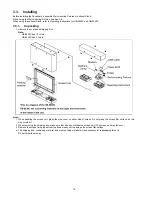
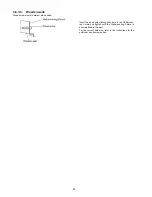
1. Screws (8 count) are not included with the product. Please purchase screws with a size of M6, appropriate for your type of
wall.
2. Tighten the Wall-mounting screws so that they will not become loose.
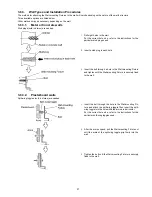
3. When drilling the holes and installing the wall-mounting fixtures, follow the procedure in “Wall Types and Installation
Procedures”.
4.
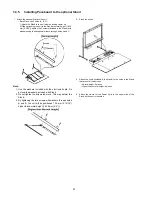
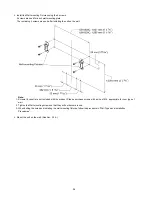
Install the Wall-mounting Fixtures using the 4 screws.
2 screws are used for each wall-mounting plate.
The remaining 4 screws are used after installing the unit on the wall.
5.
Mount the unit on the wall. (See Sec. 3.3.4.)
Summary of Contents for UB-5338C
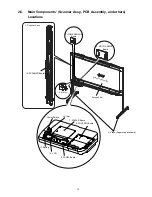
Page 9: ...9 2 3 External View ...
Page 10: ...10 2 4 Control Panel Operation ...
Page 11: ...11 2 5 External Dimensions 2 5 1 UB 5838C ...
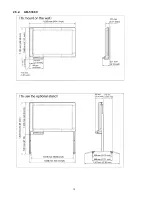
Page 12: ...12 2 5 2 UB 5338C ...
Page 101: ...101 13 Exploded View and Replacement Parts List ...
Page 102: ...102 13 1 Framework of Projected Diagram ...
Page 103: ...103 13 2 Cabinet Unit ...
Page 105: ...105 13 3 Motor Drive Unit Sensor Unit ...
Page 107: ...107 13 4 Control Box Unit ...
Page 109: ...109 13 5 Screen Feed Roller Unit ...
Page 111: ...111 13 6 Scanner Unit ...
Page 113: ...113 13 7 Panel Unit ...
Page 115: ...115 13 8 Frame Unit ...
Page 117: ...117 13 9 Rear Cover Unit ...
Page 119: ...119 13 10 Packing ...

