161
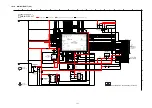
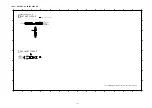
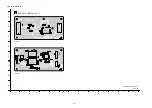
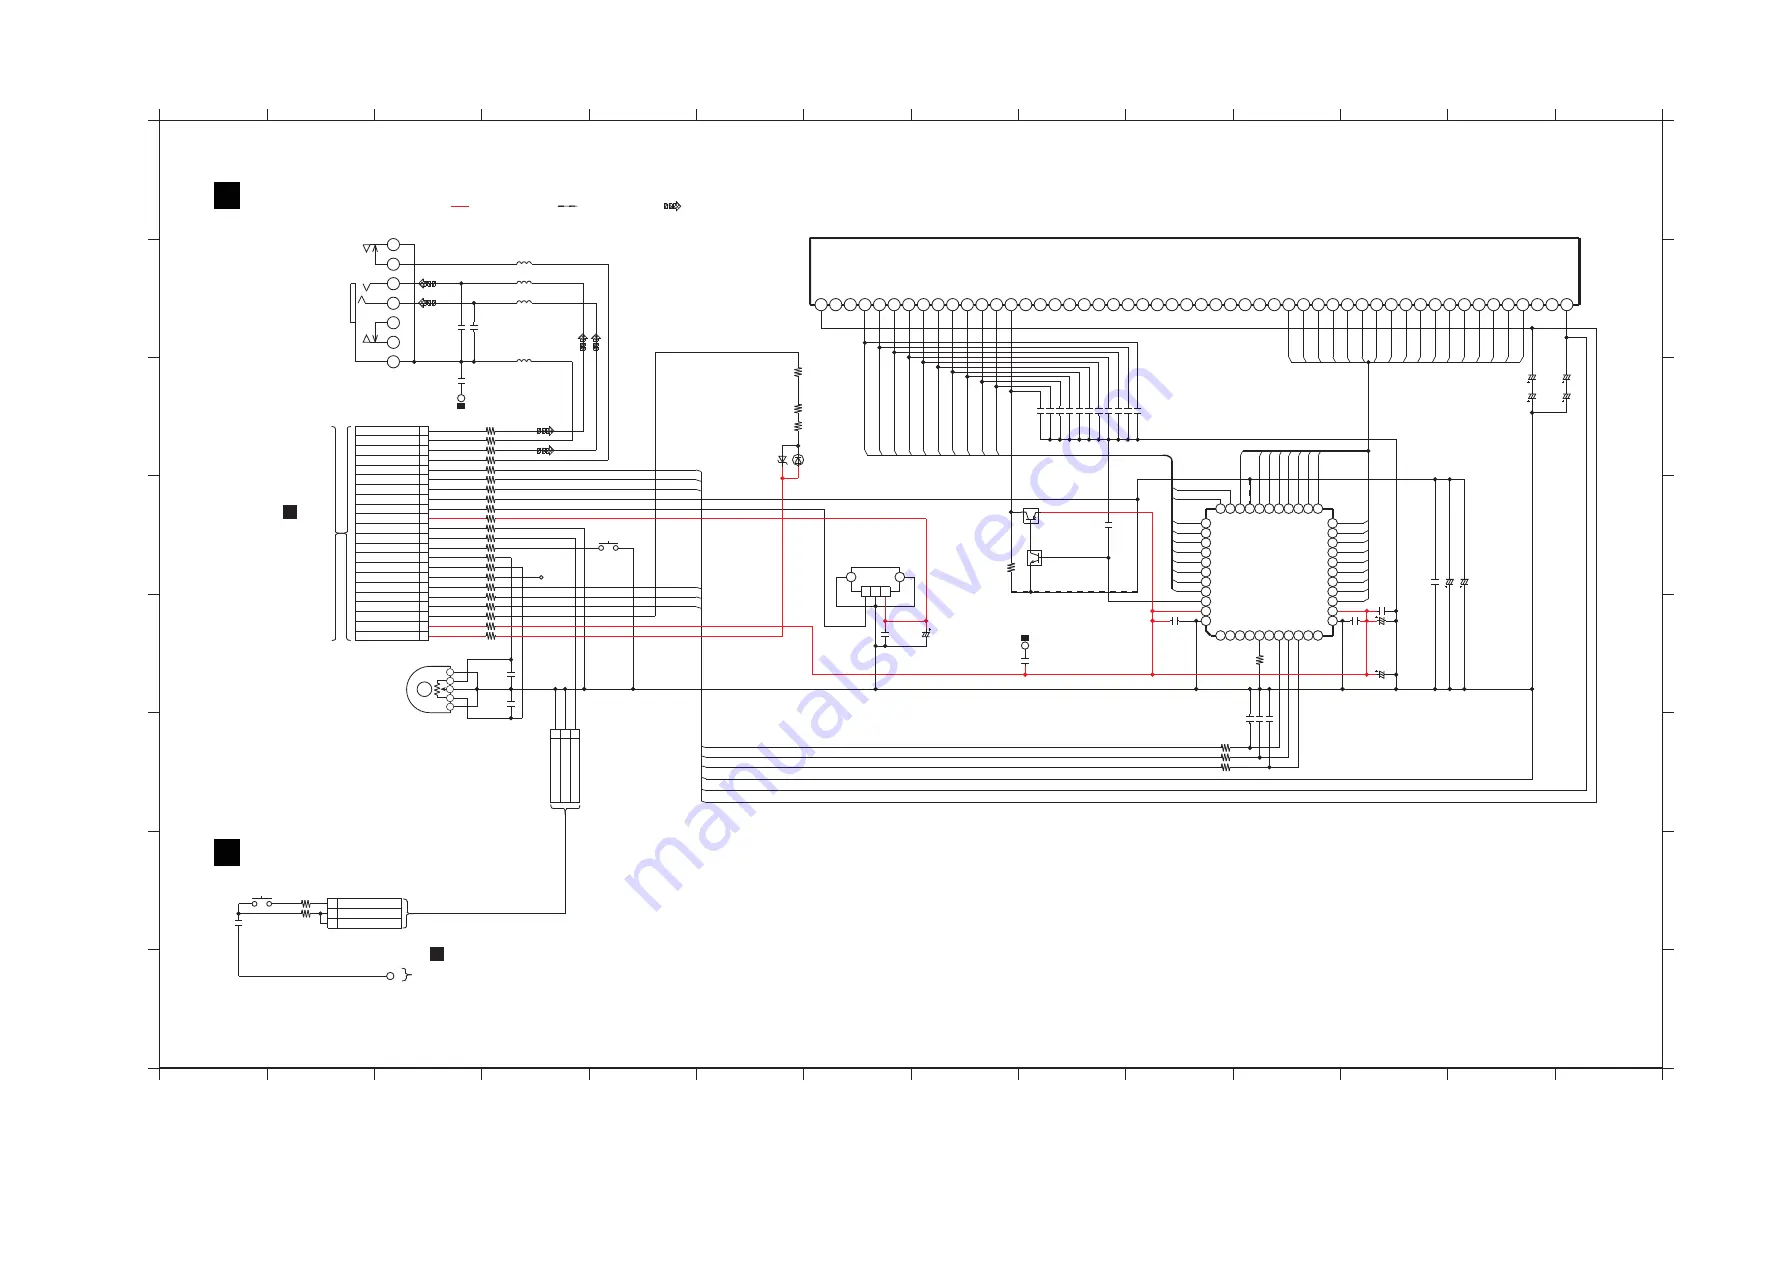
18.1.13. PANEL / POWER SW CIRCUIT
1
22
: +B SIGNAL LINE
: AUDIO OUTPUT SIGNAL LINE
: -B SIGNAL LINE
C
TO
MAIN CIRCUIT
(CN4601)
IN SCHEMATIC
DIAGRAM - 10
F
TO
WIRELESS ADAPTER
CIRCUIT (TP4701*)
IN SCHEMATIC
DIAGRAM - 14
HEADPHONE
A
1
2
3
4
5
6
7
8
9
10
11
12
13
14
1
2
3
4
5
6
7
8
9
10
11
12
13
14
C
D
B
E
G
H
F
A
C
D
B
E
G
H
F
D
PANEL CIRCUIT
E
POWER SW CIRCUIT
SCHEMATIC DIAGRAM - 13
SC-ZT2EE/GS(SU-ZT2EE/GS) PANEL / POWER SW
CIRCUIT
SEG15
SEG17
SEG16
SEG10
SEG11
SEG5
SEG6
SEG3
SEG1
SEG2
SEG4
SEG8
SEG9
SEG7
SEG14
SEG12
SEG13
C4621
330P
B1GDCFJJ0008
QR4603
C4623
330P
C4625
330P
C4627
330P
C4629
330P
C4628
330P
C4626
330P
C4624
330P
C4622
330P
GRID5
GRID3
GRID4
GRID6
SEG15
SEG16
SEG13
SEG14
C4630
330P
C4632
330P
C4631
330P
GRID2
GRID1
SEG17
0
LB4757
0
LB4755
0
LB4753
0
LB4754
0
LB4756
0
LB4758
0
LB4745
0
LB4747
0
LB4746
0
LB4744
0
LB4750
0
LB4749
0
LB4752
0
LB4751
0
LB4748
0
LB4743
0
LB4742
C4602
100P
C4604
100P
C4603
100P
110K
R4601
1K
R4604
0
LB4741
100
R4602
100
R4603
GRID9
GRID7
GRID8
GRID10
C4616
0.1
50V22
C4615
C4613
50V22
SEG2
SEG4
SEG5
SEG3
SEG1
SEG11
SEG10
SEG12
SEG7
SEG9
SEG8
SEG6
21
5 6
3
1 2
4
19
9
7
8
16
17
11
10
12
15
14
13
18
20
35
37
42
44
43
39
38
41
40
36
33
22
31
29
27
24 23
26 25
28
30
32
34
IC4601
C0HBB0000057
C4605
6.3V220
6.3V220
C4606
C4609
50V22
C4611
0.1
C4610
50V22
C4607
0.1
C4608
0.1
50V22
C4614
C4612
50V22
26
24
22
19
20
16
15
18
17
21
23
25
27
12
10
8
11
13
5
7
9
6
3
2
1
4
14
50
49
51
46
45
47
42
41
43
38
37
39
34
35
30
29
31
28
33
32
36
40
44
48
52
FL4601
A2BB00000158
FL DISPLAY
GRID9
C4641
0.01
100P
C4635
EVEKE2F2524M
VR4601
VOLUME JOG
100P
C4636
5
4
2
3
7
1
6
JK4611
G2
2
1
3
G1
B3RAB0000081
Z4601
C4634
1
R4609
0
C4652
0.01
L4614
J0JBC0000014
L4611
J0JBC0000041
L4612
J0JBC0000014
L4613
J0JBC0000014
1
3 2
JW4602*
C4653
0.01
C4651
0.01
R4607
270
D4602
MAZ8075GML
D4601
B3AEA0000058
C4633
50V10
R4608
270
GRID1
GRID10
GRID8
GRID7
GRID6
GRID5
0
LB4761
0
LB4762
S4602
0
LB4759
0
LB4760
6
5
8
9
11
12
10
18
15
17
16
20
19
13
14
7
2
1
4
3
22
21
CN4611
100K
R4605
QR4602
B1GBCFJJ0007
GRID4
GRID3
GRID11
GRID2
GRID1
GRID2
[35] GRID4
LED0
LED1
SEG4
SEG7
[22] SEG9
[21] SEG8
SEG5
SEG6
FL DISPLAY DRIVER
DO
CS
DI
CLK
OSC
[13] VDD
[12] VSS
SEG1
KEY0
KEY1
SEG3
SEG2
VEE
LED2
LED3
SEG12
SEG14
SEG15
SEG13
SEG11
SEG10
SEG17
SEG16
VDD
RE
GND
GRID8
GRID9
REMOTE CONTROL SENSOR
GRID5
GRID6
[34] GRID3
GRID7
GRID10
SELECTOR
KEY1
KEY1
KEY2
FL+
FL+
FL-
FL-
-VP
HP R
VSS
FL_DI
FL_DI
VOL LED
FL_GND
FL_GND
REMOTE
HP DET
VOL ENC1
VREF3.3V)
VOL ENC2
DGND
D3.3V
+11V
FL_CS
FL_CS
FL_CLK
FL+
FL-
FL_DI
FL_GND
FL_CS
FL_CLK
FL_CLK
HP L
KEY1
KEY GND
KEY GND
HP_L
HP_R
HP GND
[43] VDD
[44] VSS
GRID11
4601
TP
4611
TP
1
2
3
G2
G1
1
3
2
JW4612*
TP4612*
0
LB4767
S4601
POWER
0
LB4766
C4654
0.01
KEY1
KEY GND
KEY GND
SWITCH
SWITCH
Summary of Contents for VIERA Link SB-ZT2EE
Page 10: ...10 5 Location of Controls and Components 5 1 Main Unit SU ZT2 ...
Page 11: ...11 5 2 Speaker Unit SB ZT2 5 3 Remote Control ...
Page 12: ...12 6 Installation ...
Page 13: ...13 6 1 Basic Connections 6 1 1 Connecting equipment with HDMI terminal TV DVD recorder etc ...
Page 14: ...14 6 1 2 Connecting equipment without HDMI terminal DVD player VCR etc ...
Page 15: ...15 6 1 3 Connecting STB etc and audio terminals DVD player etc ...
Page 16: ...16 6 1 4 Other connections ...
Page 17: ...17 6 2 AC power supply connection ...
Page 18: ...18 7 Speaker setting SB ZT2 7 1 Setting the speakers Front and Surround speakers ...
Page 19: ...19 ...
Page 20: ...20 7 2 Setting surround speakers ...
Page 28: ...28 9 2 2 Speaker Unit SB ZT2 ...
Page 29: ...29 9 2 3 Speaker Unit SB ZT2 Wireless Link ...
Page 30: ...30 ...
Page 32: ...32 ...
Page 33: ...33 10 1 Main Parts Location Diagram 10 1 1 Main Unit SU ZT2 ...
Page 34: ...34 10 1 2 Speaker Unit SB ZT2 ...
Page 36: ...36 10 2 2 Speaker Unit SB ZT2 ...
Page 49: ...49 Step 4 Remove the Weight ...
Page 50: ...50 Step 5 Remove 10 screws ...
Page 54: ...54 Step 11 Remove 2 screws Step 12 Lift up to remove Arm Cover A ...
Page 56: ...56 Step 14 Tilt the Woofer Block in order as arrows shown to detach it from the Tweeter Block ...
Page 67: ...67 Step 3 Remove the heatsink with the IC5701 ...
Page 68: ...68 Step 4 Remove 1 screw Step 5 Remove IC5701 from the heatsink ...
Page 70: ...70 Step 4 Place the heatsink with the IC5701 onto the SMPS P C B ...
Page 82: ...82 Step 4 Remove 3 screws Step 5 Remove the Power Button ...
Page 87: ...87 Step 3 Remove 4 screws Step 4 Lift up to remove Woofer Speaker SP1 ...
Page 111: ...111 Step 11 Remove 3 screws ...
Page 112: ...112 Step 12 Remove the Light Panel Step 13 Remove the Power Button ...
Page 113: ...113 Step 14 Hold on to the P C B Holder and lift up the Input P C B as arrow shown ...
Page 114: ...114 Step 15 Place the D Amp P C B and Input P C B on an insulation sheet ...
Page 132: ...132 ...
Page 133: ...133 14 Overall Simplified Block 14 1 Signal Flow SU ZT2 ...
Page 144: ...144 ...
Page 148: ...148 ...
Page 168: ...168 ...
Page 176: ...176 ...
Page 178: ...178 ...
Page 182: ...182 ...

