Panasonic 3D TV Setup
Page 2 of 2
040-0256-01 2/6/2013
© 2013 Global VR, Inc.
6.
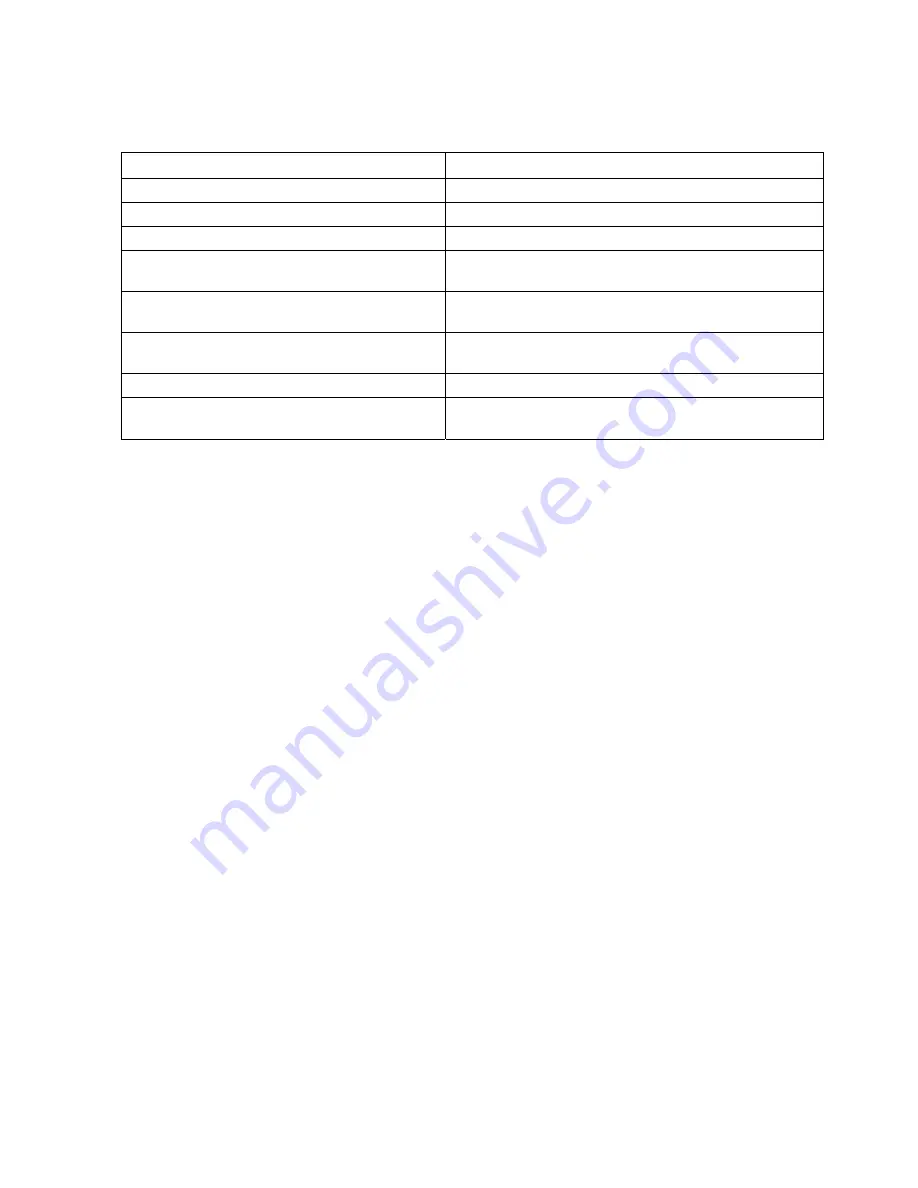
After you reset the defaults, the following Setup Screens will appear. On each screen,
select the setting described below and press
OK
to go to the next screen. To go back a
screen, press the
Return
button.
Screen Setting
Select your language.
English
Select Country where this TV is being used.
U.S.A. (Set this even if located elsewhere.)
Select your viewing environment.
Home Use
Do you use a cable, satellite, or fiber optic
box with this TV?
Yes
Which wiring method is used to connect your
box to the TV?
AV IN
What is connected to HDMI 1?
Leave all entries on this screen blank. Use the
V
key to highlight
Next
and press
OK
Network Settings
Set Later
Set clock
Use the
V
key to highlight
Next
and press
OK
.
(The game does not use TV date and time settings.)
7.
When you see the
Setup is complete
message, press
OK
to exit.
8.
Press the
3D
button on the remote control to put the TV in 3D mode. Read the 3D warning
message. Where it says, "Would you like to display this message again later?" Highlight
No
and press
OK
.
9.
Press the
MENU
button on the remote control to open the Main menu again.
Note:
The picture must be set to 3D before doing step 10.
10.
Highlight
Picture
in the Main menu and press
OK
. Use the
V
button to scroll down to
Aspect adjustments
(it is off-screen when you open the menu) and press
OK
. Do the
following steps in the Aspect Adjustments menu:
−
Use the
Y
Z
buttons to set
Screen Format
to
FULL
.
−
Use the
Y
Z
buttons to set
HD Size
to
Size 2
(
Note:
The TV will hide the menu when you
highlight this setting so you can see how your selection looks. If you do not set Size 2 the
Insert Coins message will be off-screen).
−
Press
Return
to go back to the Picture menu.
11.
Highlight
Picture mode
in the Picture menu and use the
Y
Z
buttons to set it to
Vivid
.
12.
Press
Return
to go back to the Main menu.
13.
Highlight
Setup
in the Main menu and press
OK
to open the Setup menu.
14.
Highlight
3D Settings
in the Setup menu and press
OK
. Do the following steps in the 3D
Settings menu:
−
Use the
Y
Z
buttons to set
Auto Detect 3D
to
Auto 2
.
−
Use the
Y
Z
buttons to set
3D Signal Notification
to
Off
.
−
Press
Return
to go back to the Setup menu.