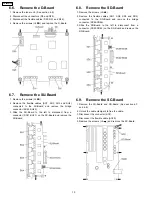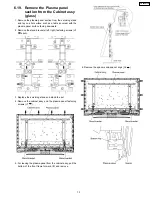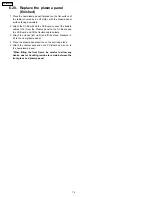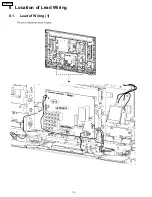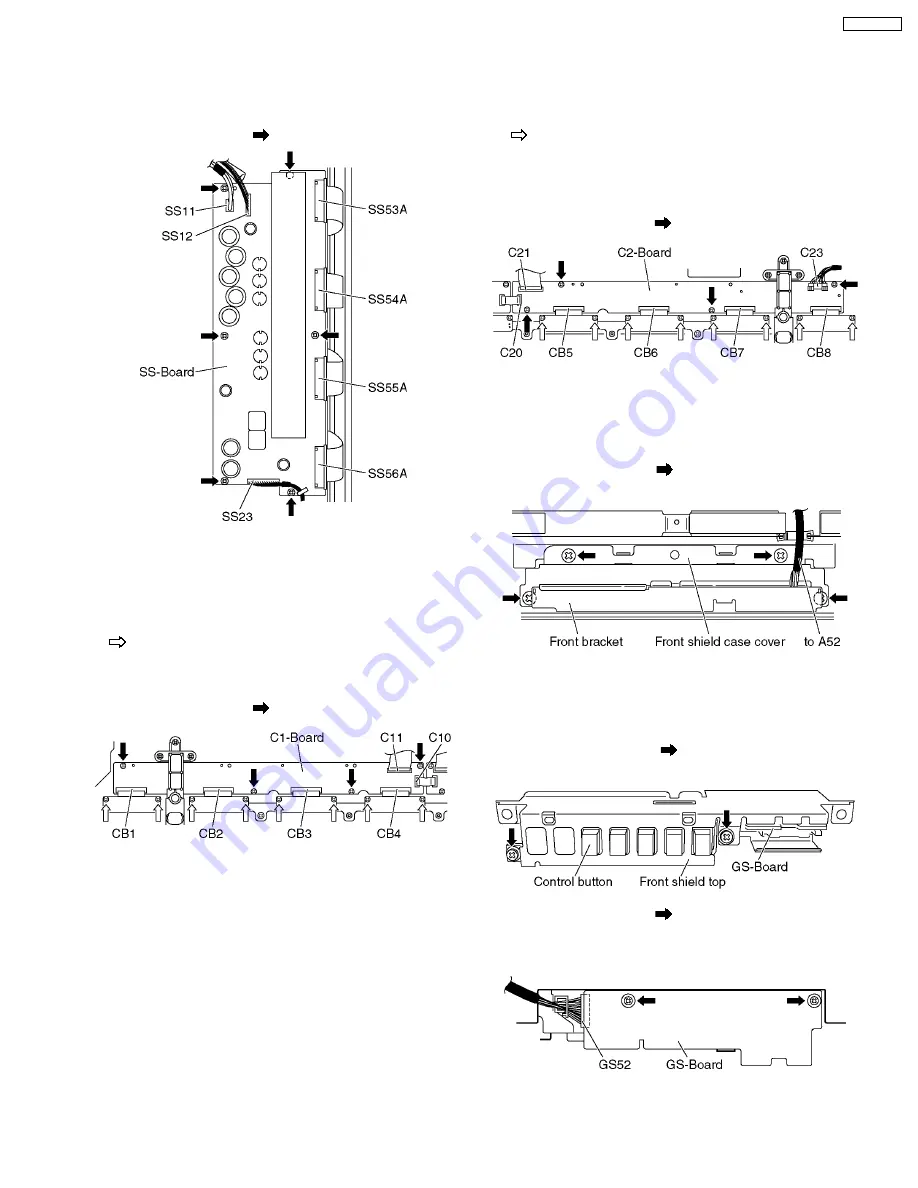
6.10. Remove the SS-Board
1. Disconnect the connectors (SS11, SS12 and SS23).
2. Disconnect the flexible cables (SS53A, SS54A, SS55A and
SS56A).
3. Remove the screws (×6
) and remove the SS-Board.
6.11. Remove the C1-Board
1. Remove the tuner unit. (See section 6.4.)
2. Unlock the cable clampers to free the cable.
3. Remove the flexible cables holder fastening screws (×8
).
4. Disconnect the flexible cables (CB1, CB2, CB3 and CB4).
5. Disconnect the flexible cables (C10 and C11).
6. Remove the screws (×4
) and remove the C1-Board.
6.12. Remove the C2-Board
1. Remove the tuner unit. (See section 6.4.)
2. Unlock the cable clampers to free the cable.
3. Remove the flexible cables holder fastening screws (×8
).
4. Disconnect the flexible cables (CB5, CB6, CB7 and CB8).
5. Disconnect the flexible cables (C20 and C21).
6. Disconnect the connector (C23).
7. Remove the screws (×4
) and remove the C2-Board.
6.13. Remove the front bracket and
the front shield case cover
1. Disconnect the connector (A52). (See section 6.4.)
2. Remove the screws (×4
) and remove the front bracket
and the front shield case cover.
6.14. Remove the GS-Board
1. Remove the front bracket and the front shield case cover.
(See section 6.13.)
2. Remove the screws (×2
) and remove the front shield
top and the control button.
3. Remove the screws (×2
) and disconnect the connector
(GS52).
4. Remove the GS-Board.
11
TH-42PX75U
Summary of Contents for Viera TH-42PX75U
Page 4: ...1 Applicable signals 4 TH 42PX75U ...
Page 16: ...8 Location of Lead Wiring 8 1 Lead of Wiring 1 16 TH 42PX75U ...
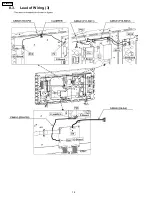
Page 17: ...8 2 Lead of Wiring 2 17 TH 42PX75U ...
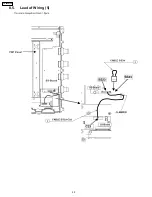
Page 18: ...8 3 Lead of Wiring 3 18 TH 42PX75U ...
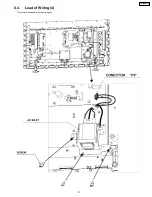
Page 19: ...8 4 Lead of Wiring 4 19 TH 42PX75U ...
Page 20: ...8 5 Lead of Wiring 5 20 TH 42PX75U ...
Page 24: ...9 4 No Picture 24 TH 42PX75U ...
Page 31: ...11 4 Adjustment Volume Location 11 5 Test Point Location 31 TH 42PX75U ...
Page 33: ...33 TH 42PX75U ...
Page 53: ...15 Schematic and Block Diagram 15 1 Schematic Diagram Note TH 42PX75U 53 ...
Page 102: ...NOTE TH 42PX75U 102 ...
Page 103: ...16 Exploded Views Replacement Parts List 16 1 Exploded Views 103 TH 42PX75U ...
Page 104: ...16 2 Packing Exploded Views Accessories box 104 TH 42PX75U ...
Page 105: ...16 3 Packing Exploded Views Stand 105 TH 42PX75U ...
Page 106: ...16 4 Replacement Parts List Notes 106 TH 42PX75U ...


