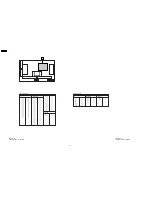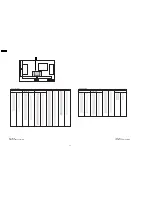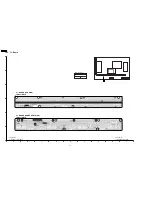
11.1. Driver Set-up
11.1.1. Item / Preparation
1. Input a white signal to plasma video input.
2. Set the picture controls as follows.
Picture menu: Vivid
Normal: Set
Aspect: Full
Caution
1. First perform Vsus adjustment.
2. Confirmation of Vscn voltage should be performed after
confirmation of Vad adjustment.
When Vad=-105V, Voltage of Vscn is 40V ±4V.
11.1.2. Adjustments
Adjust driver section voltages referring the panel data on the
panel data label.
Check or adjust the following voltages with the multimeter.
Name
Test Point
Voltage
Volume
Remarks
Vsus
TPVSUS
(SS)
Vsus ± 2V
R628 (P)
*
Ve
TPVE (SS)
Ve ± 1V
VR6000 (SS)
*
Vset
TPVSET
(SC)
330V ± 7V
Fixed
Vad
TPVAD (SC) -105V ± 1V
VR6600
(SC)
Vscn
TPVSCN
(SC)
Vad+145V ±
4V
Fixed
Vda
TPVDA (SS) 75V ± 1V, -2V Fixed
PFC
C446(+)(-)
396.0V±0.5V
R443 (P)
*See the Panel label.
11 Adjustment Procedure
29
TH-42PX75U
Summary of Contents for Viera TH-42PX75U
Page 4: ...1 Applicable signals 4 TH 42PX75U ...
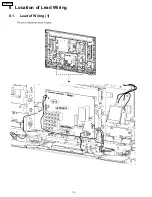
Page 16: ...8 Location of Lead Wiring 8 1 Lead of Wiring 1 16 TH 42PX75U ...
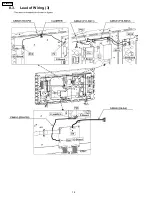
Page 17: ...8 2 Lead of Wiring 2 17 TH 42PX75U ...
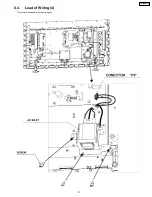
Page 18: ...8 3 Lead of Wiring 3 18 TH 42PX75U ...
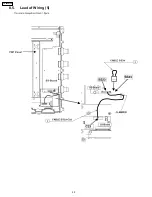
Page 19: ...8 4 Lead of Wiring 4 19 TH 42PX75U ...
Page 20: ...8 5 Lead of Wiring 5 20 TH 42PX75U ...
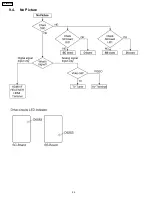
Page 24: ...9 4 No Picture 24 TH 42PX75U ...
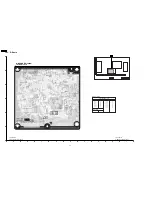
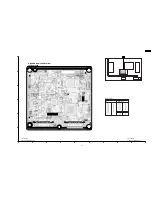
Page 31: ...11 4 Adjustment Volume Location 11 5 Test Point Location 31 TH 42PX75U ...
Page 33: ...33 TH 42PX75U ...
Page 53: ...15 Schematic and Block Diagram 15 1 Schematic Diagram Note TH 42PX75U 53 ...
Page 102: ...NOTE TH 42PX75U 102 ...
Page 103: ...16 Exploded Views Replacement Parts List 16 1 Exploded Views 103 TH 42PX75U ...
Page 104: ...16 2 Packing Exploded Views Accessories box 104 TH 42PX75U ...
Page 105: ...16 3 Packing Exploded Views Stand 105 TH 42PX75U ...
Page 106: ...16 4 Replacement Parts List Notes 106 TH 42PX75U ...


