9
English
Watching External
Inputs
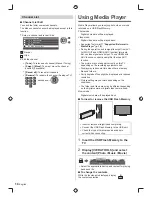
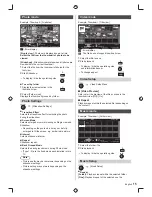
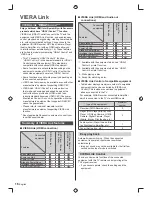
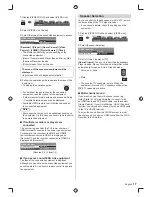
Connect the external equipment (VCRs, DVD
equipment, etc.) and you can watch through the input.
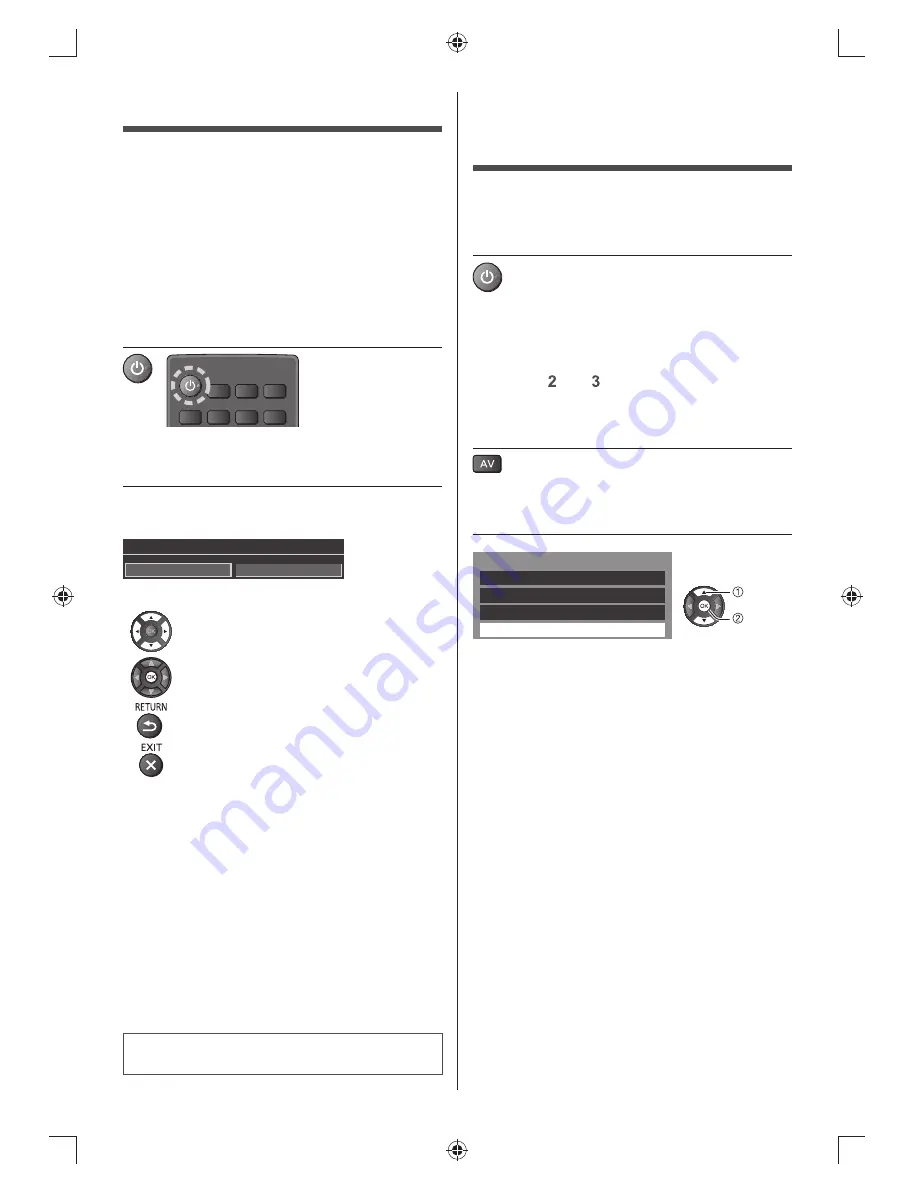
1
Turn the TV on
When connecting with HDMI
Receives input signals automatically when playback
starts.
If input mode is not switched automatically
Perform
and
●
Check the setup of the equipment.
2
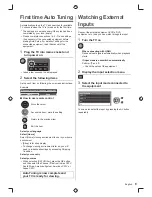
Display the input selection menu
3
Select the input mode connected to
the equipment
Input Selection
HDMI 1
HDMI 2
AV
TV
You can also select the input by pressing the AV button
repeatedly.
First time Auto Tuning
Automatically sets up the TV and searches for available
TV channels when the TV is turned on for the first time.
●
These steps are not necessary if the setup has been
completed by your local dealer.
●
Please complete connections (p. 5 - 7) and settings
(if necessary) of the connected equipment before
starting Auto Setup. For details of settings for the
connected equipment, read the manual of the
equipment.
1
Plug the TV into mains socket and
turn power on
POWER
●
Takes a few seconds to be displayed.
2
Select the following items
Set up each item by following the on-screen instructions.
Example:
Please select your viewing environment.
Home
Shop
■
How to use remote control
Move the cursor
Access the item / store the setting
Return to the previous item
Exit the item
Select your language
Select [Home]
Select [Home] viewing environment to use in your home
environment.
●
[Shop] is for shop display.
●
To change viewing environment later on, you will
need to initialise all settings by accessing Shipping
Condition.
Select your country
Select your area
●
When selecting [CATV/Other], press the OK button,
and then select the Channel Plan from Indian CATV,
South Africa, American System, American CATV or
Japan CATV.
Auto Tuning is now complete and
your TV is ready for viewing.


