

6
C
●
●
●
●
●
●
A
5
●
●
●
●
●
●
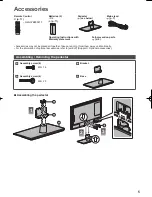
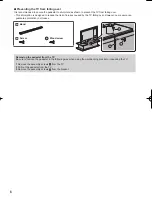
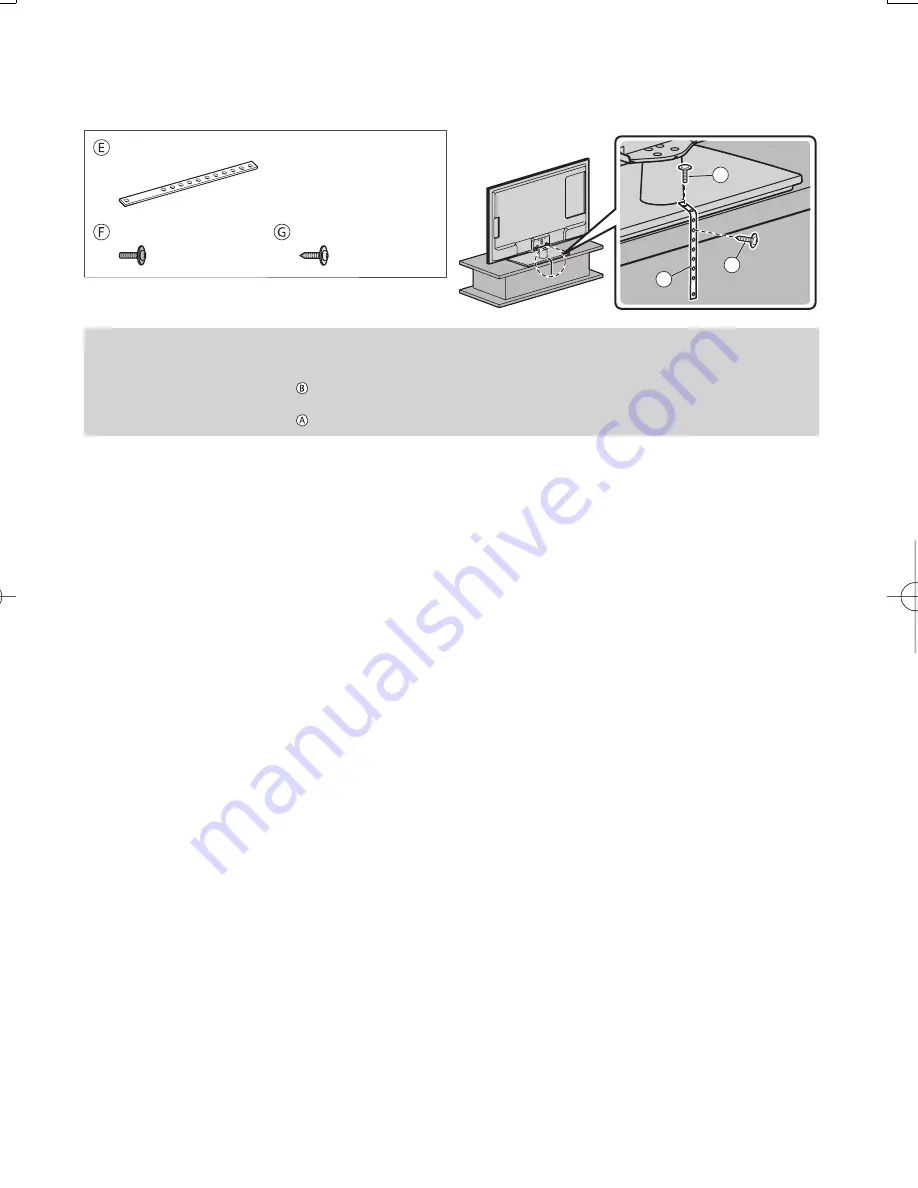
■
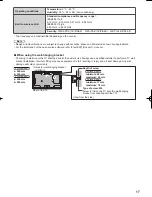
Preventing the TV from falling over
It is recommended to secure the pedestal to a furniture as shown to prevent the TV from falling over.
●
This information is designed to reduce the risk of injuries caused by the TV falling over. However, no measure can
guarantee protection in all cases.
Band
Screw
Wood screw
E
F
G
Removing the pedestal from the TV
Be sure to remove the pedestal in the following way when using the wall-hanging bracket or repacking the TV.
1
Remove the assembly screws from the TV.
2
Pull out the pedestal from the TV.
3
Remove the assembly screws from the bracket.


