


19
ASPECT
1
2
3
4
5
6
7
8
9
C
0
N
TV
OK
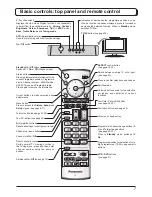
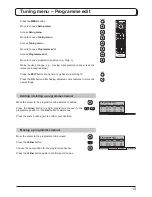
Aspect Controls
Panasonic Auto
determines the best aspect ra tio to use to
fi
ll your screen. It
does this using a four step process to determine if the picture being viewed is
a widescreen picture.
If
Panasonic Auto
detects a widescreen signal it switches into the ap pro pri ate
widescreen mode. If
Panasonic Auto
does not detect a widescreen signal then
this advanced TV set enhances the picture for optimum viewing pleasure.
The text shown on the screen indicates how
Panasonic Auto
de ter mined
which ratio to use:
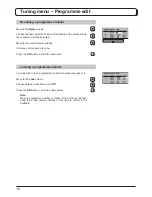
Panasonic Auto
switches to the appropriate widescreen ratio.
“Panasonic Auto” appears in the top left of the screen if black stripes above
and below the picture are detected.
Panasonic Auto
chooses the best ratio and expands the picture to
fi
ll the
screen. This process can take several minutes, depending on the darkness
of the picture.
You may prefer to manually select one of the other aspect options available
to view the picture.
Notes:
• If, in Panasonic Auto mode, you experience problems with the screen display
size when playing back widescreen format recordings from your VCR then
it is possible that the tracking control of your VCR requires adjustment (your
VCR instruction book will contain adjustment details).
• The widescreen aspect ratios of different
fi
lms and programmes can vary.
If these are wider than a standard 16:9 aspect picture then a black band may
be visible at the top and bottom of the screen.
• “WIDE” will appear in the top left corner of the screen and picture aspect
changes accordingly in any aspect modes, if a widescreen identi
fi
cation signal
(WSS) is detected or a control signal is found through a Scart terminal.
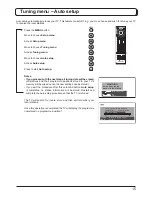
The Widescreen TV will allow you to enjoy viewing the picture at its optimum size and aspect, including widescreen
cinema format pictures.
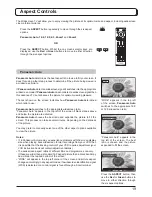
Press the
ASPECT
button repeatedly to move through the six aspect
options:
Panasonic Auto, 16:9, 14:9, 4:3, Zoom1
and
Zoom2
OR
Press the
ASPECT
button. Whilst the on screen selector keys are
displayed, use the
Red
or
Green
buttons to move in either direction
through the six aspect options.
Green
Red
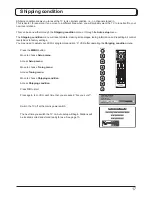
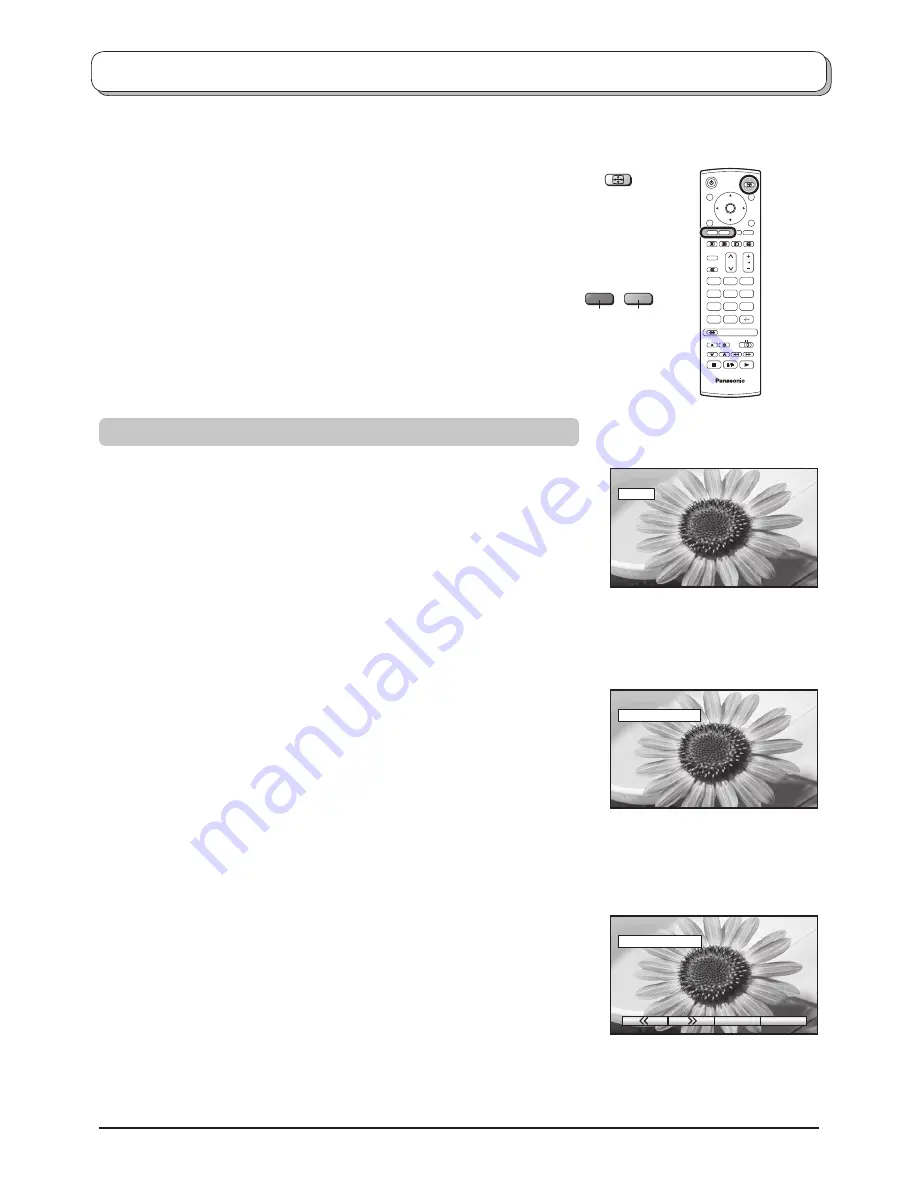
Panasonic Auto
WIDE
Panasonic Auto
Panasonic Auto
“WIDE” ap pears in the top left
of the screen,
Panasonic Auto
switch es to the ap pro pri ate 16:9
or 14:9 widescreen ratio.
“Panasonic Auto” appears in the
top left of the screen. The best
ratio is chosen and the picture
expanded to
fi
ll the screen.
Press the
ASPECT
button, then
use the
Red
or
Green
buttons to
move in either direction through
the six aspect options.


