English
17
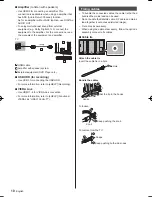
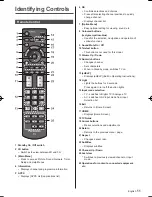
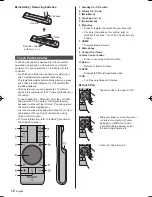
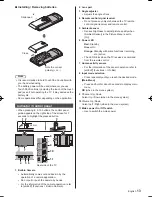
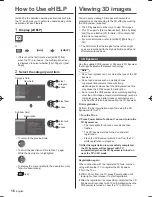
To view the 3D images
■
Playing back 3D-compatible Blu-ray disc
(Frame Sequential format)
●
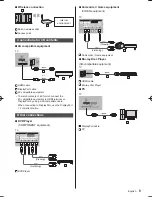
Connect the 3D-compatible player via a fully
wired HDMI compliant cable. (If you use the non
3D-compatible player, the images will be displayed in
2D mode.)
●
If the input mode is not switched automatically, select
the input mode connected to the player using the AV
button.
■
3D-supported broadcast
●
Please consult the suppliers of contents or
programmes for availability of this service.
■
3D photos and 3D videos taken by
3D-compatible Panasonic products
●
Available in Media Player and Network services.
■
2D images converted to 3D
●
Press the 3D button and set to [2D
→
3D] mode in [3D
Mode Selection]. (Contents of 4K format cannot be
changed to 3D mode.)
Preparations
Ensure that the registration of the 3D Eyewear has been
completed.
1
Turn the 3D Eyewear on and put it on
Connection status and battery status are displayed on
the bottom right of the screen.
2
View the 3D images
Safety precautions will be displayed when you first
watch the 3D image. Select [Yes] or [No] to continue to
view 3D images.
Note
●
Turn off the 3D Eyewear after using it.
●
You cannot view the 3D images with the 3D Eyewear
too far from the TV, because of the difficulty of
receiving radio waves from the TV.
●
The range may be shortened depending on the
obstacles between the TV and the 3D Eyewear, or the
surrounding environment.
●
Use the 3D Eyewear where there is no interference
from other Bluetooth devices.
●
3D content will not be correctly visible if the 3D
Eyewear is worn upside down or back-to-front.
●
When viewing 3D images, make sure your eyes
are at an approximately horizontal level and keep a
position where you do not see double images.
●
If light appears to flicker under fluorescents or
dimmers when using the 3D Eyewear, change the
setting of [3D Refresh Rate] in [3D Settings] (Picture
Menu).
●
There are differences in the viewing range of the 3D
Eyewear among individuals.
Summary of Contents for Viera X940H series
Page 23: ......


