


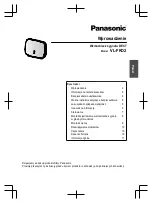

Getting Started
DECT Repeater
Model No.
VL-FKD2
Table of Contents
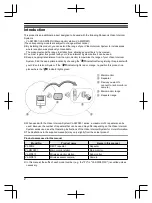
Introduction
2
Accessory information
3
For your safety
4
Important safety instructions
5
For best performance
5
Other important information
5
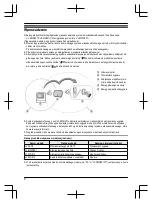
Controls
7
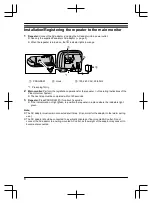
Installation/Registering the repeater to the
main monitor
8
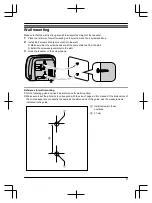
Wall mounting
9
Troubleshooting
10
Cleaning
10
Specifications
10
General information
11
Thank you for purchasing a Panasonic product.
Please read this manual before using the product and save it for future reference.
En
g
lis
h
Po
ls
k
i
R
o
m
â
n
ă
Ma
g
y
a
r