background image

25

OPERATING PROCEDURES

VTR

CAM

ENTRANCE

Camera 3 Picture

Camera 6 Picture

Example of spot camera picture sequence

SEQ

Monitoring the Camera Picture

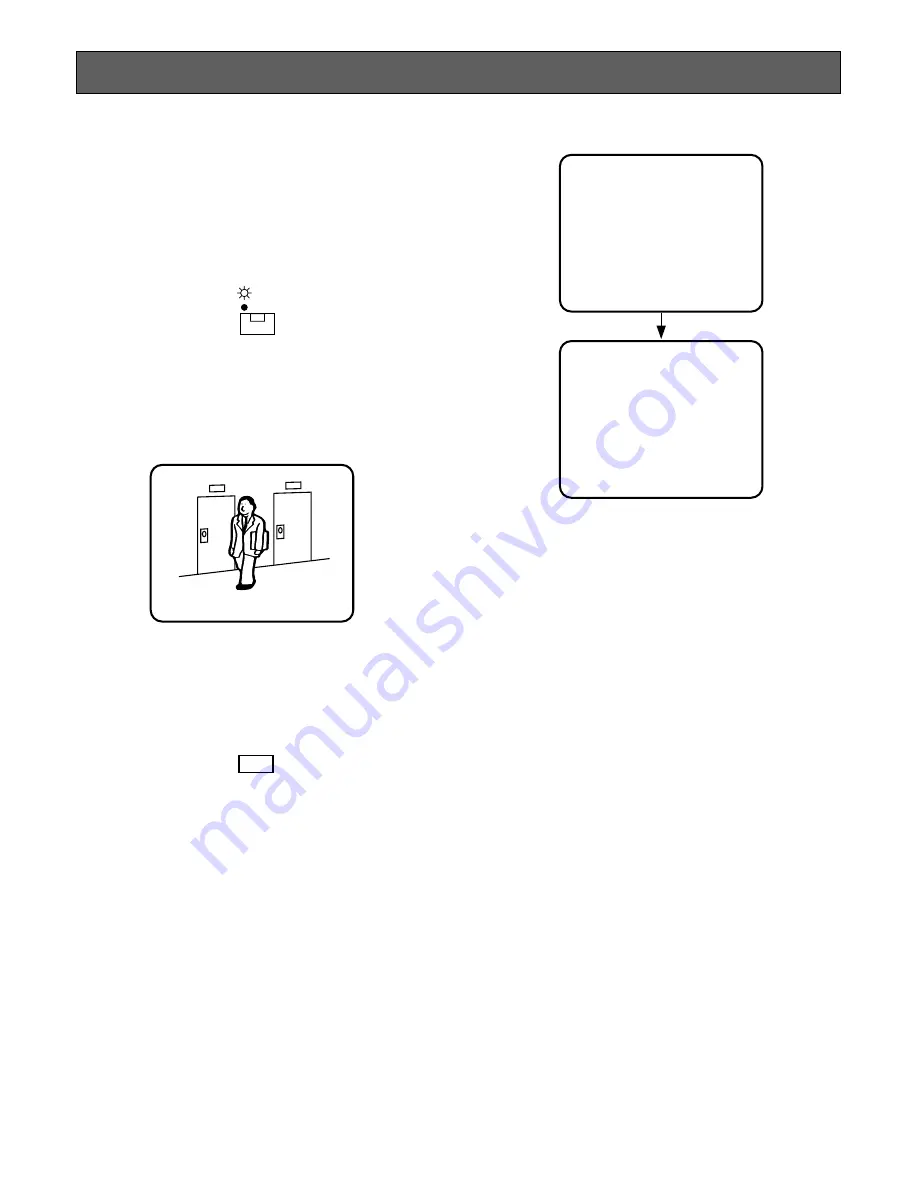
1. Spot Picture

1. Confirm that the LED on the 

VTR/CAM

button is not lit.

If the LED is lit, press the 

VTR/CAM

button so that the

VTR/CAM indicator goes off.

2. Press a 

CAMERA SELECT

button to display a camera

picture on the monitor screen.
The LED on the pressed 

CAMERA SELECT

button

lights up.

2. Spot Sequence

1. Press the 

SEQ

button.

A sequence of single pictures is displayed in the order
and dwell time selected for the SEQ SETUP parameter
in the SEQUENCE SETUP menu.

Note:

Refer to the Sequence Setup on page 15 for

more details.

2. To cancel a sequence, press the respective 

CAMERA

SELECT

button.

The selected camera picture appears in spot mode.

Summary of Contents for WJ-FS109

Page 1: ...ate this product please read these instructions carefully and save this manual for future use Model No WJ FS109 WJ FS116 Video Multiplexer Operating Instructions ON POWER OFF Video Multiplexer WJ FS 109 FS ENGLISH DEUTSCH FRANÇAIS ESPAÑOL ...

Page 2: ... point consult a qualified electrician For Australia ENGLISH VERSION The serial number of this product may be found on the bottom of the unit You should note the serial number of this unit in the space provided and retain this book as a permanent record of your purchase to aid identification in the event of theft Model No Serial No The lightning flash with arrowhead sym bol within an equilateral t...

Page 3: ...S 20 Basic System Connection 20 Connection with the Time Lapse VTR 21 ALARM REMOTE Connector 22 Connection with the Alarm Sensors 23 Connection with the Alarm Output 23 Connection with the Remote External Switches 24 OPERATING PROCEDURES 25 Monitoring the Camera Picture 25 Recording on the Time Lapse VTR 26 Monitoring the Playback Picture 26 ALARM CONTROL FUNCTION 29 Alarm Input 29 Alarm Operation...

Page 4: ...for Alarm Monitoring Recording and Play back are available to match system preferences to your requirements High picture quality of 720 x 544 pixels Multiplexed video signals with camera IDs are supplied to the Recording Output Versatile recording mode initiated by alarm trigger Playback image can be displayed in the multiscreen or full screen via Monitor Output Playback image is displayed automat...

Page 5: ...not strike or shake as this may damage the appli ance Do not expose the appliance to water or moisture nor try to operate it in wet areas Do take immediate action if the appliance becomes wet Turn the power off and refer servicing to qualified service personnel Moisture can damage the appliance and also cause electric shock Do not use strong or abrasive detergents when cleaning the appliance body ...

Page 6: ...on resets the active Alarm mode Pressing this button turns off the Alarm indicator and replaces the Alarm indication on the monitor screen with the cam era title SWITCH PROTECTOR WJ FS109 e Alarm Indicator ALARM This indicator Red blinks when an alarm is activated It changes to steady light when the auto reset time has elapsed or the alarm recovery signal is received from the VTR To turn the indic...

Page 7: ...playback picture goes straight to the monitor instead of through the Video Multiplexer As a result the playback picture will not be recognizable unless only a single channel is recorded through out the tape 4A 4B 9 screen segments WJ FS109 The 4A screen is a compressed picture of channels 1 through 4 the 4B of channels 5 through 8 the 4C of channels 9 through 12 and the 4D of channels 13 through 1...

Page 8: ... the associated alarm sensor units and the control signals from the external system r Playback Input Connector PLAY IN The playback signal from the time lapse VTR is sup plied to this connector t Record Output Connector REC OUT The recording signal for the time lapse VTR is provided via this connector y Monitor Output Connector MONITOR OUT The video output signal for the monitor is provided via th...

Page 9: ...the cursor to the left B Moves the cursor to the right Selects the mode or parameter Selects the mode or parameter SET Executes the selections and displays a submenu for an item with the mark Press the MENU ESC button to execute the currently highlighted setting and return to the previous menu in the SETUP MENU To finalize the setting and return to normal viewing press the MENU ESC button for 2 se...

Page 10: ...F CAMS Camera Channel MONITOR OUTPUT SETUP Monitor Output Setup REC OUTPUT SETUP Record Output Setup SEQUENCE SETUP Sequence Setup SYSTEM SETUP System Setup Page 13 Page 14 Page 15 Page 16 DYNAMIC REC Dynamic Recording GROUP SETUP Group Setup ALM REC MODE Alarm Recording Mode AUTO RESET Automatic Reset ALM DISPLAY Alarm Display ALM OUTPUT Alarm Output Duration ALM BUZZER Alarm Buzzer Duration ALM ...

Page 11: ...ority of all channels to exclu sive recording of a specified channel 1 Move the cursor to the DYNAMIC REC parameter 2 Select OFF ALM PRI ALM ONLY or GROUP by pressing the or button The initial factory setting is OFF OFF The video signals are recorded from channels number 1 to16 WJ FS116 or 1 to 9 WJ FS109 regardless of any channels receiving the alarm sig nal ALM PRI The video signal of the channe...

Page 12: ... 5M The connected external device is driven for the duration set here S and M stand for seconds and minutes EXT The Alarm Output signal continues until the ALARM RESET button is pressed or an alarm recovery signal is supplied from the VTR 6 ALM BUZZER This item lets you select the ringing duration of the built in alarm buzzer when alarm is activated 1 Move the cursor to the ALM BUZZER parameter 2 ...

Page 13: ...UP ALARM SETUP MONITOR OUTPUT SETUP REC OUTPUT SETUP SEQUENCE SETUP SYSTEM SETUP MONITOR OUTPUT SETUP TITLE DISPLAY ON STILL DISPLAY ON BORDER WHITE QUAD SHIFT OFF 1 TITLE DISPLAY This item lets you enable or disable the camera title display overlaid on the camera picture 1 Move the cursor to the TITLE DISPLAY parameter 2 Select ON or OFF by pressing the or button The initial factory setting is ON...

Page 14: ...SETUP REC OUTPUT SETUP TITLE DISPLAY ON REC MODE 004 3 BORDER This item lets you select the colour of the border that splits the camera pictures in a Multiscreen display 1 Move the cursor to the BORDER parameter 2 Select the desired mode or colour by pressing the or button The initial factory setting for the border colour is WHITE WHITE White Border GREY Grey Border BLACK Black Border OFF No Borde...

Page 15: ...make sure that the CAMERA SW IN terminal on the rear panel is connected to the Time Lapse VTR 1 AUTO SKIP This item lets you enable or disable the Auto Skip function to skip any steps where no video signal is present 1 Move the cursor to the AUTO SKIP parameter 2 Select either ON or OFF The initial factory setting is ON ON Enables the auto skip function OFF Disables the auto skip function Note The...

Page 16: ... ing the Increment or Decrement button Dwell Time can be selected between 0S and 30S Note A step assigned a dwell time of 0S is skipped WJ FS116 WJ FS109 System Setup Menu Move the cursor to SYSTEM SETUP on the SETUP menu then press the SET button The SYSTEM SETUP 1 2 menu appears on the monitor screen as shown below WJ FS116 SETUP ALARM SETUP MONITOR OUTPUT SETUP REC OUTPUT SETUP SEQUENCE SETUP S...

Page 17: ...TR without the VTR CAM button being pressed Playback pictures are displayed when the VTR is in playback mode and camera pictures when the VTR is in non playback mode 1 Move the cursor to the PLAYBACK AUTO parameter 2 Select ON or OFF by pressing the or button The initial factory setting is ON ABCDEFGHIJKLM NOPQRSTUVWXYZ ÄÜÖÆÑÅ 0123456789 space mark WJ FS116 WJ FS109 4 After selecting the first cha...

Page 18: ...o display the password inquiry screen Then type in the current password by pressing the CAMERA SELECT buttons and the A or B button The SETUP menu appears 2 In the SYSTEM SETUP menu select ON for the PASS WORD parameter 3 Move the cursor to the first desired digit by pressing the A or B button 4 Select the desired number by pressing the or but ton 5 Repeat step 3 and 4 until all digits are registe...

Page 19: ...otify the Multiplexer of the field interval in which camera channels are switched on the recorded tape 1 Move the cursor to the SW INTERVAL parameter 2 Select 1 2 or 4 by pressing the or button The initial factory setting is 1 1 Select this if the tape is recorded with field rate 1 2 Select this if the tape is recorded with field rate 2 4 Select this if the tape is recorded with field rate 4 8 2 N...

Page 20: ...ions of each system component for connection and operation The WJ FS116 and WJ FS109 are designed for black and white picture only If colour cameras are connected to the unit pictures are displayed in black and white With certain monitor types colour noise may appear in the picture SYSTEM CONNECTIONS SIGNAL GND ALARM REMOTE OUT IN VIDEO 9 8 7 6 5 4 3 2 1 9 8 7 6 5 4 3 2 1 PLAY IN REC OUT CAMERA SW...

Page 21: ...OUT 9 HUMID OUT 10 REC OUT 11 REC REVIEW OUT 12 SERIES REC IN 13 14 TIME ADJUST IN 15 TIME ADJUST OUT 16 COM SERIES REC OUT 1 3 5 7 9 11 13 15 13 1 Video Multiplexer WJ FS109 or WJ FS116 VIDEO IN VIDEO OUT S VIDEO AUDIO CAMERA SW OUT GND 25 14 1 3 4 ALARM RECOVER OUT ALARM RESET IN ALARM IN Time Lapse VTR Alarm Reset Output Alarm Recovery Input 9 8 6 Alarm Output ALARM REMOTE PLAY IN REC OUT CAMER...

Page 22: ...ote 15 Alarm In 15 Remote In 15 SET 25 Alarm Remote 16 Alarm In 16 Remote In 16 ESC 9 Alarm Output Alarm Output Alarm Output Alarm Output 8 Alarm Recovery In Alarm Recovery In Alarm Recovery In Alarm Recovery In 6 Alarm Reset Out Alarm Reset Out Alarm Reset Out Alarm Reset Out 21 Sequence Sequence Sequence 7 GND GND GND GND 14 GND GND GND GND 20 GND GND GND GND For WJ FS109 Pin Pin Name For Alarm ...

Page 23: ...le 2 Connection of devices exceeding drive capaci ty Connection with the Alarm Sensors Connect alarm sensors to the ALARM REMOTE connector As shown in the tables on page 22 the WJ FS116 accepts up to 16 sensors and the WJ FS109 up to 9 The sensors should meet the following specifications 1 Allowable input voltage Non voltage contact or 0 V to 5 V DC 2 Input definition Specified by ALM INPUT settin...

Page 24: ...s The Video Multiplexer can be remote controlled if external switches locally procured are connected to the ALARM REMOTE connector Remote switches except SEQUENCE are grouped under Remote SW1 and SW2 For more information refer to the pin assignment tables on page 22 Notes Switch 10 through 16 are applicable only to WJ FS116 Make sure that the Function switch 1 is grounded and Function switch 2 is ...

Page 25: ... goes off 2 Press a CAMERA SELECT button to display a camera picture on the monitor screen The LED on the pressed CAMERA SELECT button lights up 2 Spot Sequence 1 Press the SEQ button A sequence of single pictures is displayed in the order and dwell time selected for the SEQ SETUP parameter in the SEQUENCE SETUP menu Note Refer to the Sequence Setup on page 15 for more details 2 To cancel a sequen...

Page 26: ...r the picture of another channel in any recorded mode Play back the tape in NOR MAL real time mode or TIME LAPSE mode To play back pictures in the OTHERS mode of the ENCODE menu and display them as stills it is rec ommended to use the STILL button on the multi plexer not on the VTR ENTRANCE Playback Picture VTR CAM 3 Press a CAMERA SELECT button to display a camera playback picture on the monitor ...

Page 27: ...be zoomed out to be smaller than the original size by pressing the button 5 To cancel this mode press the button or the EL ZOOM button The selected playback picture is dis played in normal size in spot mode STILL STILL Note The VTR continues playback while the still picture is displayed on the monitor screen 2 Still Spot Playback Picture The following function is available in spot playback pic tur...

Page 28: ...s the screen as follows WJ FS116 4A 4B 4C 4D 9 16 screen seg ments WJ FS109 4A 4B 9 screen segments The 4A screen is a multiscreen with compressed pictures of channels 1 through 4 the 4B of chan nels 5 through 8 the 4C of channels 9 through 12 and the 4D of channels 13 through 16 MULTI SCREEN SELECT VTR 1 3 2 4 4 SEGMENT SCREEN 1 2 5 6 3 4 7 8 9 10 13 14 11 16 SEGMENT SCREEN Only for WJ FS116 12 1...

Page 29: ... the previous alarm the later alarm is output for the programmed dura tion 2 Alarm Buzzer The built in buzzer beeps for the programmed duration The buzzer stops beeping before that duration when the alarm is reset Record Output The pictures of channels where alarm is activated are recorded on the VTR in the mode specified for the ALM REC MODE parameter on the ALARM SETUP menu 1 Alarm Priority Mode...

Page 30: ...he ALARM indicator changes from blinking to steady light Pressing the ALARM RESET button will clear the alarm and make the indicator go off External Reset The alarm is reset by a recovery signal received from the external equipment at pin 8 of the ALARM REMOTE connector The ALARM indicator changes from blinking to steady light Alarm Reset Manual Reset When an alarm is activated the ALARM Indicator...

Page 31: ...Input 75 Ω automatic termination Recording Output 1 0 V p p 75 Ω composite video signal Multiplexed with Camera ID Monitor Output 1 0 V p p 75 Ω composite video signal Buzzer 1 Built in Alarm Remote Control 25 pin D sub Connector Ambient Operating Temperature 10 C 50 C 14 F 122 F Ambient Operating Humidity Less than 90 Dimensions 420 W x 44 H x 350 D mm 16 9 16 W x 1 3 4 H x 13 3 4 D Weight 4 kg 8...

Page 32: ...ta Electric Industrial Co Ltd Central P O Box 288 Osaka 530 91 Japan Matsushita Communication Industrial Co Ltd 1999 N0899 2109 YWV8QA5239DN Printed in Japan Gedruckt in Japan Imprimé au Japon Impreso en Japón ...

Reviews: