31
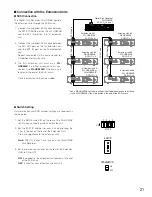
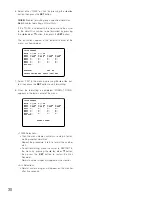
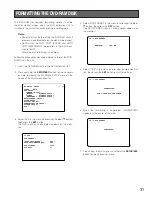
4. Select DVD FORMAT in the menu by pressing the
D
or
C
button, then press the
SET
button.
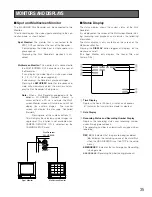
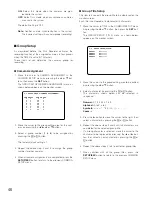
The DVD FORMAT menu as shown below appears on
the monitor.
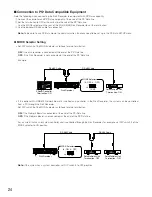
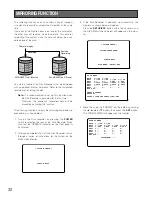
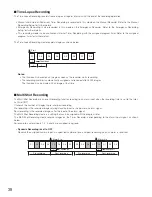
5. Select "YES" in the menu by pressing the
A
or
B
but-
ton, then press the
SET
button to start formatting.
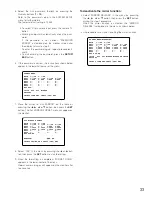
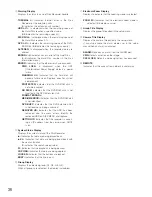
6. When the formatting is completed, "COMPLETED!"
appears in the center of the menu.
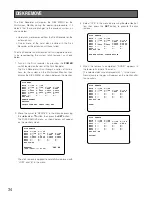
7. To exit from the menu, press and hold the
SETUP/ESC
button for two seconds or more.
FORMATTING THE DVD-RAM DISK
The DVD-RAM Disk requires formatting before it can be
used for storing images when the DVD Extension Unit is
installed in the system for backup of the recording data.
Notes:
• Remember that by formatting the DVD-RAM disk all
previously recorded data on the disk will be erased.
• Confirm that the AUTO COPY (EVENT) and AUTO
COPY (EMERGENCY) parameters in the DVD menu
are set to OFF.
Otherwise disk formatting is disabled.
Follow the procedures described below to format the DVD-
RAM Disk in the unit.
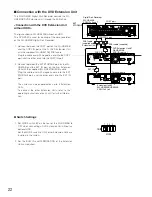
1. Insert the DVD-RAM disk into the DVD Extension Unit.
2. Press and hold the
SETUP/ESC
button for two seconds
or more to display the WJ-HD500 SETUP menu on the
screen of the Multiscreen Monitor.
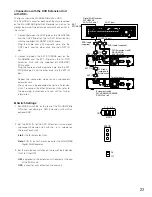
3. Select DVD in the menu by pressing the
D
or
C
button,
then press the
SET
button.
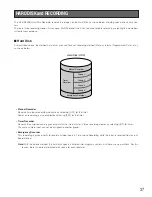
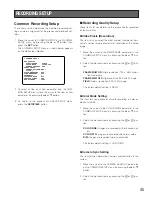
The DVD menu as shown below appears on the moni-
tor.
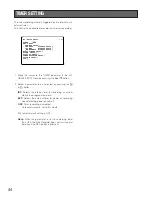
WJ-HD500 SETUP *.**
TIMER OFF
REC SETUP
COMMON SETUP
*MANUAL WITHOUT AUDIO
*TIMER WITHOUT AUDIO
*EMERGENCY WITHOUT AUDIO
MULTIPLEXER SETUP
ALARM SETUP
DISPLAY SETUP
COMMUNICATION SETUP
SYSTEM SETUP
DVD
10 DVD
DVD FORMAT
*AUTO COPY(EVENT) OFF
AUTO COPY(EMERGENCY) OFF
DVD DISKEND STOP
DVD FULL 1%
10-1 DVD FORMAT
EXECUTE? YES NO
10-1 DVD FORMAT
COMPLETED!
10-1 DVD FORMAT
FORMATTING!
DON'T TURN OFF THE POWER
Summary of Contents for WJ-HD500B
Page 26: ...26 ...
Page 27: ...27 PREPARATIONS ...
Page 40: ...40 ...
Page 41: ...41 SETUP PROCEDURES ...
Page 78: ...78 ...
Page 79: ...79 OPERATING PROCEDURES ...

