15
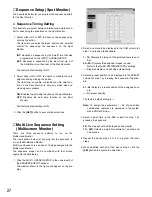
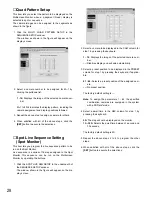
Common Recording Setup
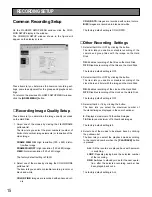
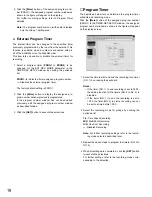
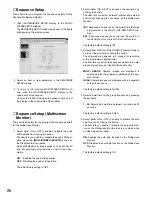
On the WJ-HD500 SETUP MENU window, click the COM-
MON SETUP display in the window.
The COMMON SETUP window shown in the figure will
appear on the display screen.
These items let you determine the common recording set-
tings, camera assignment for the groups and playback set-
tings.
To return to the previous WJ-HD500 SETUP MENU window,
click the
[HD500 MENU]
button.
■
Recording Image Quality Setup
These items let you determine the image quality recorded
on the Hard Disk.
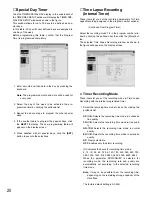
1. Select one of the modes by clicking the FIELD/FRAME
pulldown list.
The item lets you select the pixel numbers (number of
horizontal x vertical image elements) or resolution of the
video image.
FRAME 3DIM ON:
High resolution (720 x 480) distor-
tion-free image
FRAME 3DIM OFF:
High resolution (720 x 480) image.
FIELD:
Normal resolution (720 x 240) image
The factory default setting is FIELD.
2. Select one of the modes by clicking the COLOR MODE
pulldown list.
The item lets you enable or disable recording in color or
black and white.
COLOR FINE:
Images are recorded with enhanced col-
ors.
COLOR STD:
Images are recorded with normal colors.
B/W:
Images are recorded in black-and-white.
The factory default setting is COLOR STD.
■
Other Recording Settings
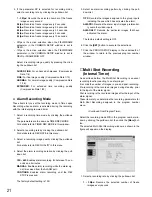
1. Select either ON or OFF by clicking the button.
The item lets you enable or disable recording of the
camera and group titles with the image on the Hard
Disk.
ON:
Enables recording of the titles on the Hard Disk.
OFF:
Disables recording of the titles on the Hard Disk.
The factory default setting is OFF.
2. Select either ON or OFF by clicking the button.
The item lets you enable or disable recording of the
clock (date and time) with the image on the Hard Disk.
ON:
Enables recording of the clock on the Hard Disk.
OFF:
Disables recording of the clock on the Hard Disk.
The factory default setting is OFF.
3. Select either 8 or 16 by clicking the button.
The item lets you select the maximum number of
thumbnail images displayed in the search window.
8:
Displays a maximum of 8 thumbnail images.
16:
Displays a maximum of 16 thumbnail images.
The factory default setting is 8.
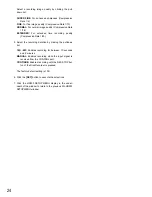
4. Select one of the modes to be played back by clicking
the pulldown list.
The item lets you select the playback mode according
to the recorded number when the
[PLAYBACK]
button
is pressed.
ALL:
All the records are played back with automat-
ic switching.
LOOP:
Repeats playing back the selected number
of the recording.
ONE:
Switches to standby mode for the next opera-
tion, after the selected recording number has
been played back once.
The factory default setting is ALL.
RECORDING SETUP
Summary of Contents for WJ-HDB502
Page 7: ...7 WJ HDB502 BOARD SETUP ...
Page 13: ...13 WJ HD500 SETUP ...
Page 38: ...39 SYSTEM OPERATIONS ...


