16
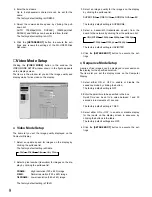
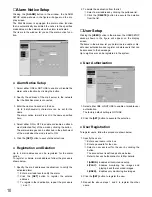
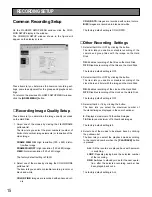
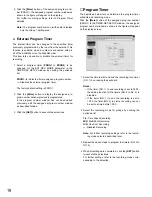
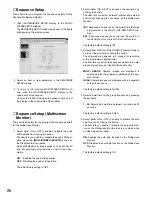
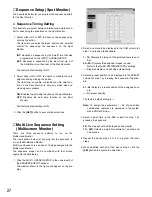
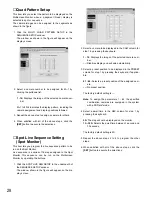
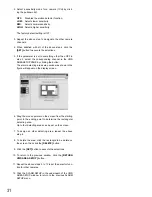
5. Select one of the modes by clicking the pulldown list.
The item lets you enable or disable uninterrupted
recording when the hard disk space is used up.
STOP:
Stops recording when the disk is full.
CONTINUE:
Continues recording by overwriting the
oldest data when the disk is full.
ALM CONTINUE:
Continues only recording the data
while an alarm is activated by overwriting the oldest
data, when the disk is full.
The factory default setting is STOP.
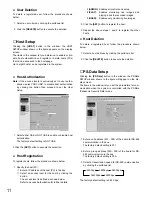
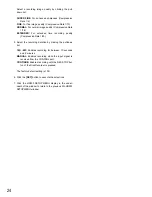
6. Click the
[SET]
button in the window to execute the
selections.
■
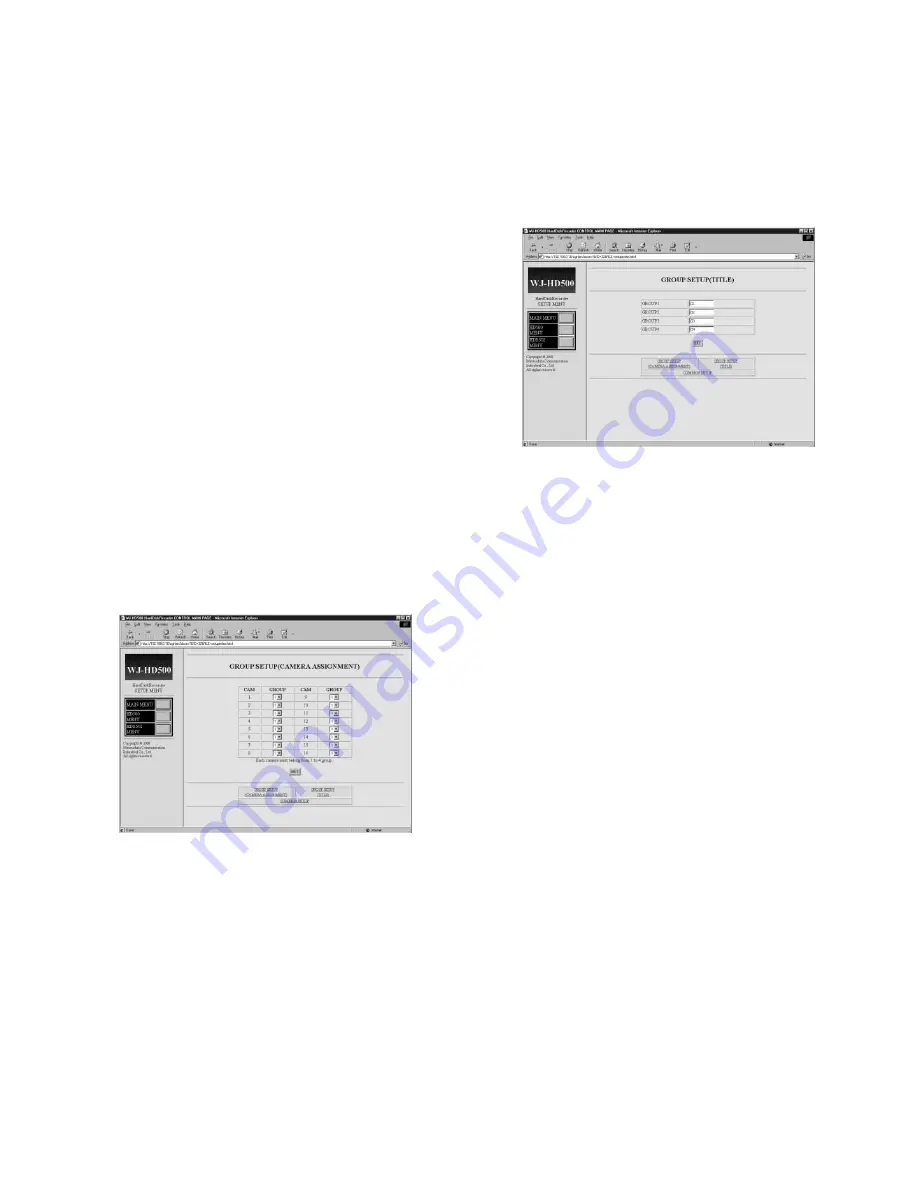
Group Setup
(Camera Assignment)
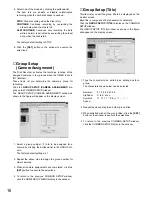
The Disk Recorder activates the recording function of the
assigned cameras in four groups when the TIMER is set to
INT (internal).
These items let you determine the camera’s group for
recording.
Click the
GROUP SETUP (CAMERA ASSIGNMENT)
dis-
play on the COMMON SETUP window.
The GROUP SETUP (CAMERA ASSIGNMENT) window as
shown in the figure will appear on the display screen.
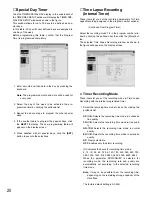
1. Select a group number (
1
to
4
) to be assigned for a
camera by clicking the pulldown list in the GROUP col-
umn.
The factory default settings is 1.
2. Repeat the above step to assign the group number for
other cameras.
3. When all camera assignments are completed, click the
[SET]
button to execute the selections.
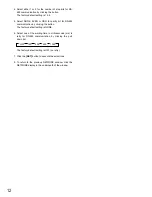
4. To return to the previous COMMON SETUP window,
click the HD500 SETUP MENU display in the window.
■
Group Setup (Title)
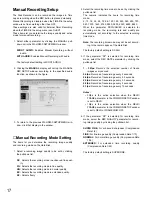
This item lets you edit the group title to be displayed on the
monitor screen.
Each title is composed of 8 alphanumeric characters.
Click the
GROUP SETUP (TITLE)
display on the COMMON
SETUP window.
The GROUP SETUP (TITLE) window as shown in the figure
will appear on the display screen.
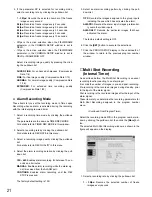
1. Type the character to be edited in an editing box for a
group.
The characters shown below can be selected.
Numeral:
0 1 2 3 4 5 6 7 8 9
Alphabet:
A to Z, a to z
Symbols:
← →
= ? ' " # & ( ) * + , – . / : ;
Space:
2. Repeat the above step to edit other group titles.
3. When satisfied with all the group titles, click the
[SET]
button in the window to execute the selections.
4. To return to the previous COMMON SETUP window,
click the COMMON SETUP display in the window.
Summary of Contents for WJ-HDB502
Page 7: ...7 WJ HDB502 BOARD SETUP ...
Page 13: ...13 WJ HD500 SETUP ...
Page 38: ...39 SYSTEM OPERATIONS ...

