19
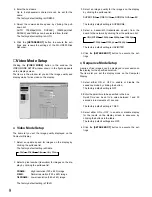
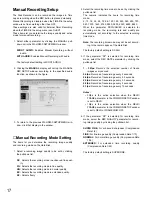
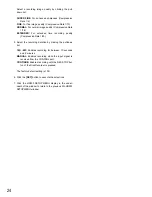
3. Click the
[More]
button of the assigned program num-
ber (PROG1), the assigned program number window as
shown in the figure will appear on the display.
For further recording settings, refer to Program Timer
detailed.
Note:
The program number menu (with audio) displays
only the Group 1 editing area.
●
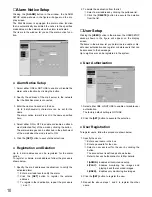
External Program Timer
The internal timer can be changed to the specified timer
previously programmed by the input from the external. This
function is enabled, when a contact is connected with pin
22 of the ALARM port on the Disk Recorder.
This item lets you enable or disable the external timer for
recording.
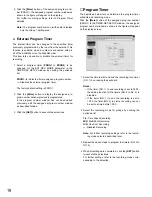
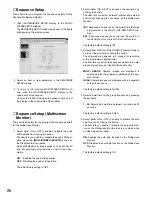
1. Select a program timer (
PROG1
to
PROG4
) to be
changed for the EXT REC MODE parameter in the
TIMER REC SETUP window by clicking the pulldown
list.
PROG1 - 4:
Selects a timer assigned program number.
—:
Disables the external program timer.
The factory default setting is PROG1.
2. Click the
[More]
button to display the assigned pro-
gram number window previously programmed.
If the program number window has not been edited
previously, edit the assigned program number window
as described follows.
3. Click the
[SET]
button to execute the selections.
■
Program Timer
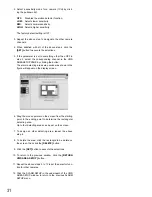
The described below let you determine the program timer
schedule and recording mode.
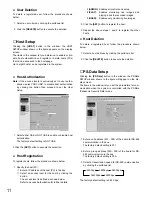
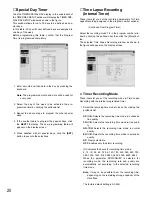
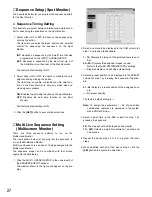
Click the
[More]
button of the assigned program number
(PROG1) in the TIMER REC SETUP window, the assigned
program number window as shown in the figure will appear
on the display screen.
1. Select the time to start and end the recording for a timer
(NO. 1) by pressing the keyboard.
Notes:
• If the timer (NO. 1) to end recording is set to 24:00,
the editing function for the timers (NO. 2 to No. 4) is
disabled.
• If the timer (NO. 1) to end the recording is set to
12:00, the timer (NO. 2) to start a recording can not
be set to a time before 12:00.
2. Select the recording mode for groups by clicking the
pulldown list.
T/L:
Time Lapse Recording
M/S:
Multi Shot Recording
O/S:
One Shot Recording
—
: Disables Recording
Note:
For further recording settings, refer to the record-
ing mode selected described later.
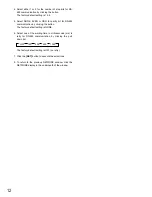
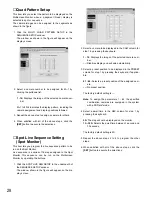
3. Repeat the above steps to program the timers (NO. 2 to
NO. 4).
4. When all settings are completed, click the
[SET]
button
to execute the selections.
For further settings, refer to the recording mode corre-
sponding to the selection.
Summary of Contents for WJ-HDB502
Page 7: ...7 WJ HDB502 BOARD SETUP ...
Page 13: ...13 WJ HD500 SETUP ...
Page 38: ...39 SYSTEM OPERATIONS ...

