31
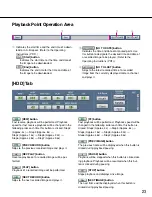
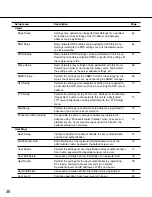
[USER ID]
Set the user ID for accessing the cameras and logging
in. Enter up to 32 alphanumeric characters.
[PASSWORD]
Set the password for accessing the cameras and log-
ging in. Enter up to 32 alphanumeric characters.
[TIME ZONE]
Displays the time zone of the camera.
[CAM SETUP]
Clicking the [SETUP] button of the desired camera will
open the camera setting menu. Opening the camera
setting menu is possible only if [Comm] – [Basic Setup]
- [Port Forwarding] on the setup menu (Advanced) is set
to "ON".
■
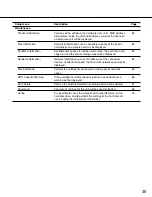
Group Setup
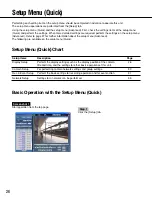
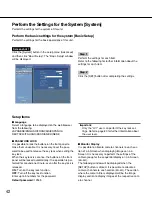
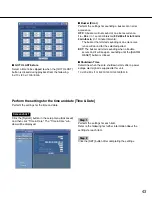
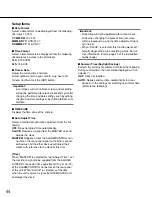
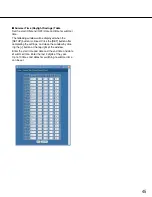
Displays the group title of the camera. The following
window will be displayed when the [SETUP] button is
clicked.
Click the [SET] button after completing the settings, and
close the window by clicking the [
×
] button at the top
right of the window.
Displays the group title of the camera. Enter up to 16
alphanumeric characters except the following: ! $ % ' <
= > @ [ \ ] ^ _ ` { | } ~
Available characters are the same as for the camera
title.
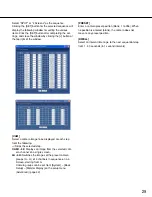
[Rec & Event Setup]
Perform the settings for the basic recording and the settings for event actions of each event type (site alarm, terminal
alarm and command alarm).
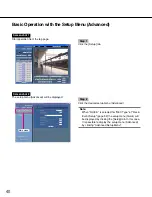
Screenshot 1
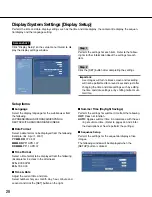
Click "Rec & Event Setup" on the setup menu (Quick) to
display the recording & event setup window.
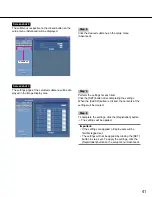
Step 1
Perform the settings for each item.
Refer to the following for further information about the
settings for each item.
Step 2
Click the [SET] button after completing the settings.


