40
41
Note:
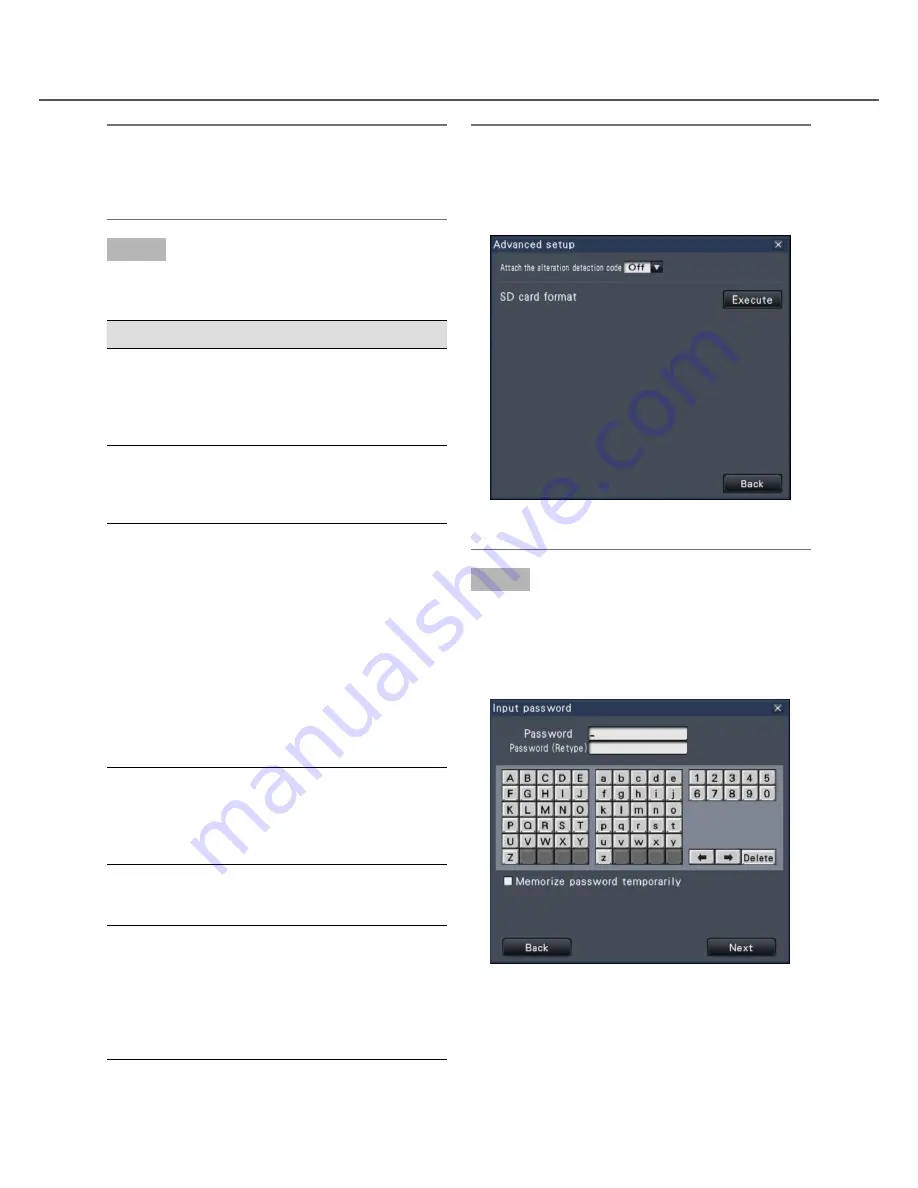
• To attach a code for alteration detection, click the
[Advanced] button. On the advanced setup win-
dow, set [Attach the alteration detection code] to
"On".
• Clicking the [Back] button will return to the copy
panel.
Step 4
Click the [Copy] button on the copy panel.
→
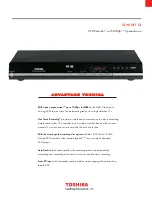
If the [Assign a password] checkbox has been
marked, the password entry screen will be dis-
played.
Otherwise proceed to Step 6.
Note:
• The copy panel cannot be displayed in the web
browser when it has already been opened by
another user. When copying is already underway,
the copy cancel window will be displayed.
Step 3
The following items can be set up for copying of
recorded data:
Item
Description
Camera selection
Check the number of the cam-
era whose recorded data is to
be copied. Checking [Check all]
will copy the recorded data of
all cameras.
Copy drive
Indicates the copy destination.
* "DVD" will be displayed only
for DVD-drive-equipped mod-
els.
Date & Time range Specify times and dates to
define the range for copying
recorded data. Set the year,
month, date & time of the start
point and end point.
It is also possible to set the
start point and end point of the
filter range by clicking the
[Start]/[End] buttons after click-
ing the desired date on the cal-
endar and then selecting the
desired time in the [Playback]
box.
Assign a password Check this item to assign a
password to the copied data.
The password will be required
to play back copied data that is
password protected.
Free
The remaining space of the
storage medium will be dis-
played.
Data size
The total volume of all recorded
images to be copied (including
the viewer software) will be dis-
played.
* Indicated as *.** GB while the
data volume is being calculat-
ed.


