74
75
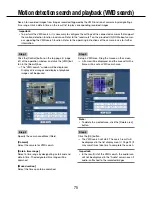
Step 3
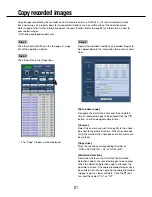
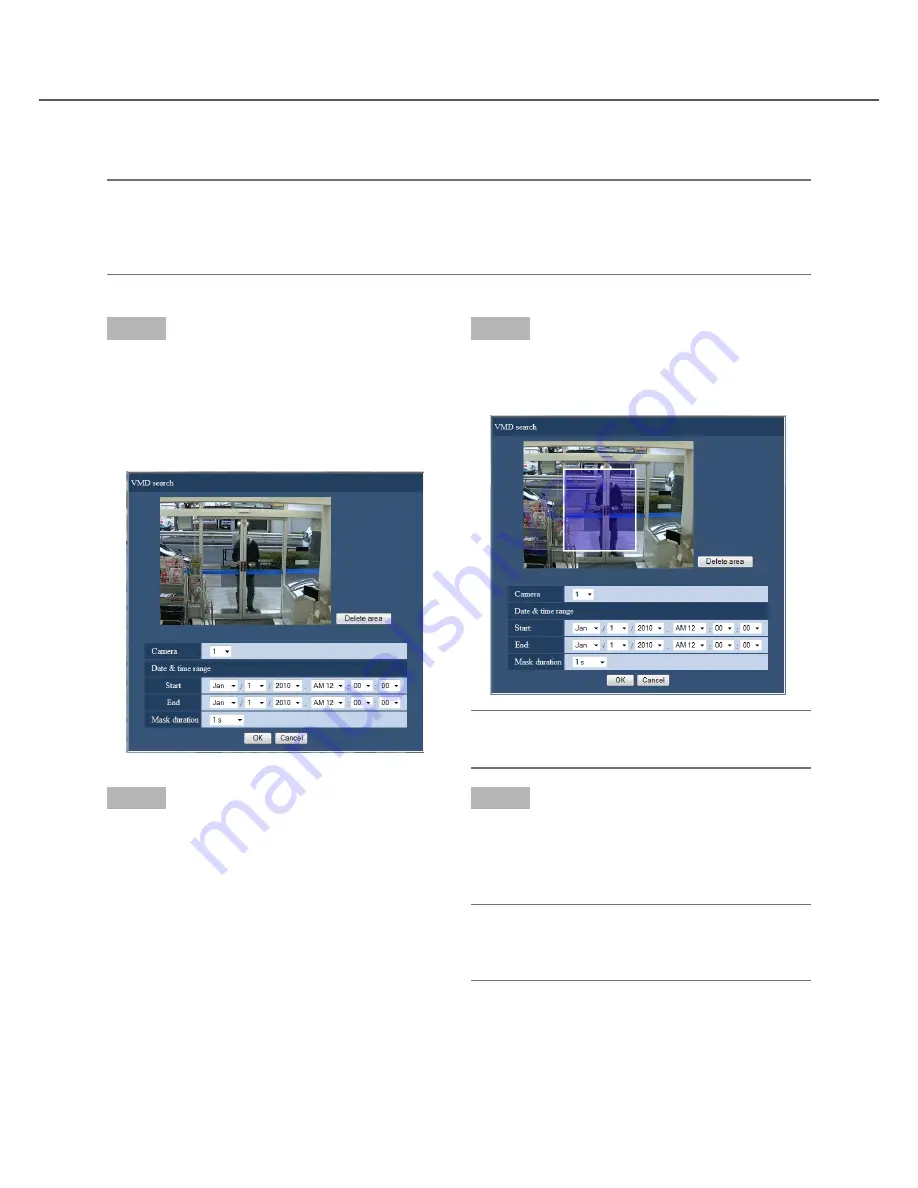
Set up a VMD area. Drag the mouse on the screen.
→
A frame will be displayed, and the area within the
frame will be set as VMD search area.
Note:
• To delete the created area, click the [Delete area]
button.
Step 4
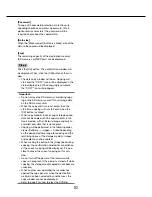
Click the [OK] button.
→
The VMD search will start. The search result will
be displayed in the list display area. (
☞
Page 73) It
may sometimes take time to complete the search.
Important:
• In the result list of the VMD search, the audio icon
will not be displayed in the "Audio" column even if
audio is attached to the recorded images.
Step 1
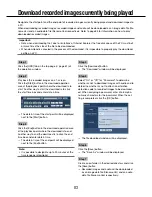
Click the [Control] button on the top page (
☞
page
61) of the operation window, and click the [VMD] but-
ton in the [Search] box.
→
The "VMD search" window will be displayed.
Display of live images and display of playback
images will be paused.
Step 2
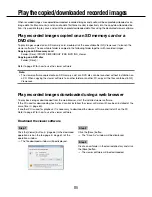
Specify the search conditions (filters).
[Camera]
Select the camera for VMD search.
[Date & time range]
Select a time range by designating a start and end
date & time. The designated time range will be
searched.
[Mask duration]
Select the time span to be searched.
Search for recorded images from images recorded triggered by the VMD function of cameras by designating a
time range. Click a date & time on the result list to play corresponding recorded images.
Important:
• To perform the VMD search, it is necessary to configure the settings of the connected cameras that support
the motion detection function in advance. Refer to the "readme.txt" on the provided CD-ROM about camer-
as supporting the VMD search function. Refer to the operating instructions of the camera in use for further
information.
Motion detection search and playback (VMD search)

