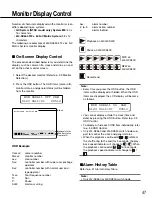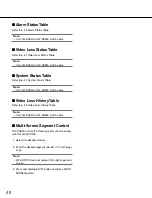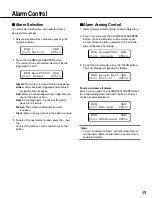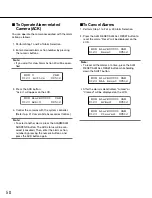
46
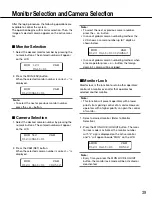
2. Press the TOUR SEQ/GROUP SEQ button while
holding down the SHIFT button. The Group
Sequence will run in forward direction on the
assigned monitors, and the Group Sequence num-
ber with "R" (Running) sign is displayed on each
monitor.
Note:
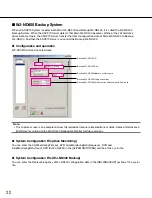
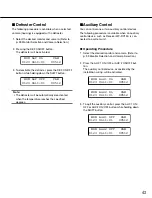
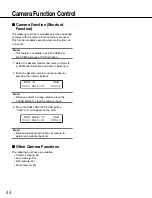
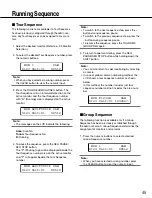
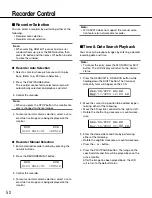
• The messages on the LCD indicate the following.
Annn:
Area No.
Gnnnn:
Group Sequence No.
R:
Running
• When you select another monitor and starts a
group sequence, the Group Sequence number will
not be displayed on the LCD.
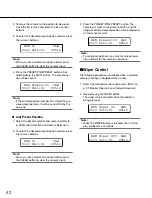
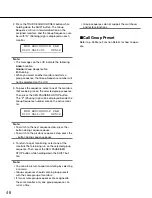
3. To pause the sequence, select one of the monitors
that are being run on the selected group sequence.
Then press the SEQ PAUSE/SEQ STOP button.
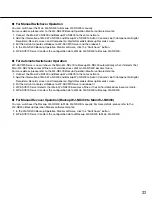
The "P" (Pausing) sign will be displayed beside the
Group Sequence number area on the active moni-
tor.
Note:
• To switch to the next sequence step, press the +
button during sequence pause.
• To switch to the previous sequence step, press the
– button during sequence pause.
4. To return to spot monitoring, select one of the
monitors that are being run on the selected group
sequence. Then, press the SEQ PAUSE/SEQ
STOP button while holding down the SHIFT but-
ton.
Note:
• You can also return to spot monitoring by selecting
a camera.
• Group sequences should contain group presets
with the same group of monitors.
• If two or more group sequences are assigned to
the same monitor, only one group sequence can
run at a time.
• Group sequences do not support the switchover
and restore functions.
■
Call Group Preset
Refer to p. 55 Menu Function Details for how to oper-
ate.
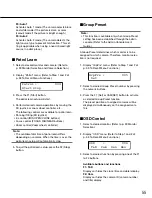
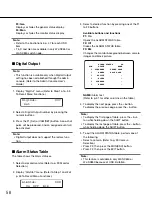
MON A001G0001R CAM
0123 Unit:01 00512
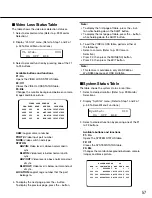
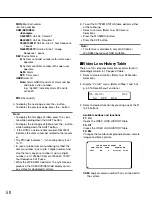
MON A001G0001P CAM
0123 Unit:01 00512

