56
F3: Gen
Displays or hides the general status display.
F4: Mon
Displays or hides the monitor status display.
Note:
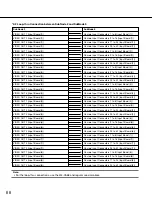
• Refer to the illustrations in p.
47 for each OSD
item.
• T & D and Gen are available in only WJ-SX650 or
WJ-SX850 switch node.
■
Digital Output
Note:
• This function is available only when Digital Output
setting has been established through the admin
console. (Refer to the Admin Console User's
Guide.)
1. Display "DigiOut" menu. (Refer to Step 1 of p. 53
To Recall Menu Functions.)
2. Select a Digital Output number by pressing the
numeric buttons.
3. Press the F1 (Set) or CAM(SET) button. A one-shot
pulse will be produced, and an assigned event will
be activated.
Note:
• Digital Output does not support the restore func
-
tion.
■
Alarm Status Table
The table shows the alarm statuses.
1. Select a desired monitor. (Refer to p. 39 Monitor
Selection.)
2. Display "AlmStat" menu. (Refer to Step 1 and 2 of
p. 53 To Recall Menu Functions.)
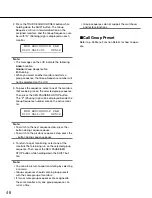
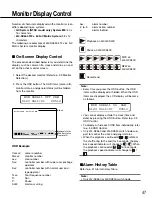
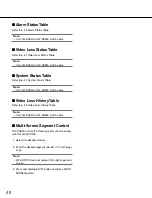
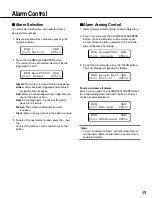
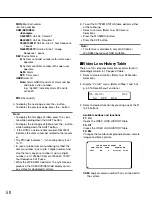
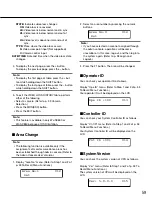
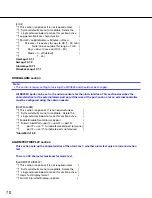
DigiOut: 007
Set
AlmStat: 008
On Off Blk
3. Select a desired function by pressing one of the F1
to F3 buttons.
Available buttons and functions
F1: On
Opens the ALARM STATUS table.
F2: Off
Closes the ALARM STATUS table.
F3: Blk
Changes the monitor background between camera
images and black picture.
NAME:
Alarm text
(Refer to p. 51 for other columns on the table.)
4. To display the next page, press the + button.
To display the previous page, press the – button.
Note:
• To display the first page of table, press the + but
-
ton while holding down the SHIFT button.
• To display the last page of table, press the – button
while holding down the SHIFT button.
5. To exit the ALARM STATUS table, perform one of
the following.
• Select a camera. (Refer to p.
39 Camera
Selection.)
• Press F2, then press the MON(ESC) button.
• Press F2, then press the EXIT button.
Note:
• This feature is available in only WJ-SX650 or
WJ-SX850 because of OSD limitation.
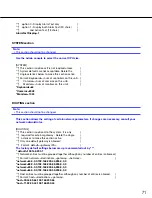
ALARM STATUS PG
ALM STATE NAME
1 DISARMED FRONT DOOR
1 ARMED BACK DOOR
1 ACTIVE –
1 ACKED –
1 CLEARED –
1 RESET –

