42
2. To move the camera to the position to be preset,
move the 3D joystick and press the lens control
buttons.
3. To select the desired preset position number, press
the numeric buttons.
Note:
• When you have selected a wrong number, press
the CLEAR button to clear the numeric input.
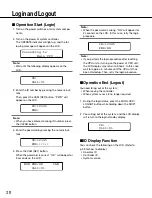
4. Press the PRESET/PGM PRESET button while
holding down the SHIFT button. The preset posi-
tion will be saved.
Note:
• If the entered position number has stored the pre
-
vious preset position, it will be overwritten by the
new one.
●
Call Preset Position
1. Select the desired monitor and camera. (Refer to
p. 39 Monitor Selection and Camera Selection.)
2. To select the desired preset position number, press
the numeric buttons.
Note:
• When you have selected a wrong number, press
the CLEAR button to clear the numeric input.
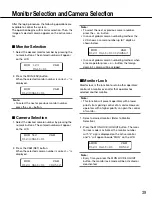
3. Press the PRESET/PGM PRESET button. The
camera will move to the preset position, and the
image of selected preset position will be displayed
on the active monitor.
Note:
• To call preset positions, you must set preset posi
-
tion numbers for the camera in advance.
■
Wiper Control
The following procedure is available when a selected
camera (housing) is equipped with a wiper.
1. Select the desired monitor and camera. (Refer to
p. 39 Monitor Selection and Camera Selection.)
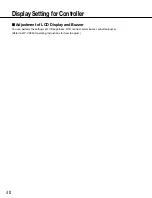
2. Keep pressing the WIPER button.
The wiper will be activated while this button is
being pressed.
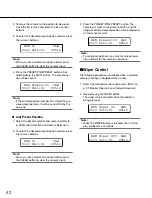
Note:
• When the WIPER button is released, the LCD dis
-
play will become as follows.
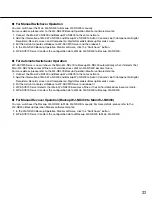
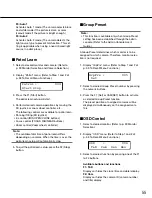
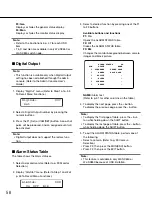
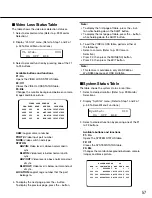
MON 15 CAM
0123 Unit:01 00512
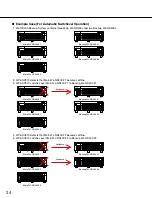
MON PrgPre:15 CAM
0123 Unit:01 00512
MON 15 CAM
0123 Unit:01 00512
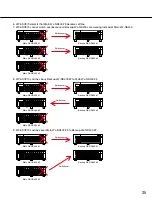
MON Preset:15 CAM
0123 Unit:01 00512
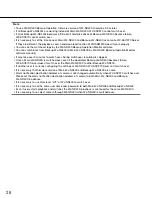
MON Wiper On CAM
0123 Unit:01 00512
MON Wiper Off CAM
0123 Unit:01 00512

