13
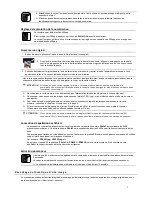
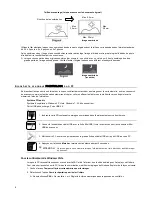
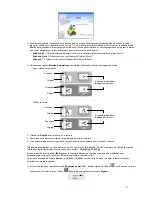
3. Gently slide the sensor cleaning swab back and forth from one end of the output slot to the other five or six times
consecutively.
CAUTION
: Do not apply too much force on the swab.
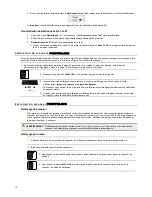
4. Remove the sensor cleaning swab, store it in a safe place and protect it from dust.
S t o r i n g t h e
P h o t o L i n k
S c a n n e r
If the scanner will not be used for a prolonged period of time, follow the instructions below to store the scanner for future use.
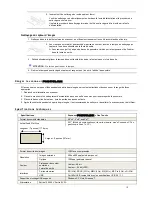
1. Disconnect the scanner from power supply.
2. Place the scanner and power adapter in a box or bag to keep them from accumulating dust.
3. Place it in a cool and dry place, inaccessible to small children.
4. After long-term storage, it is recommended that you clean and calibrate the scanner before use.
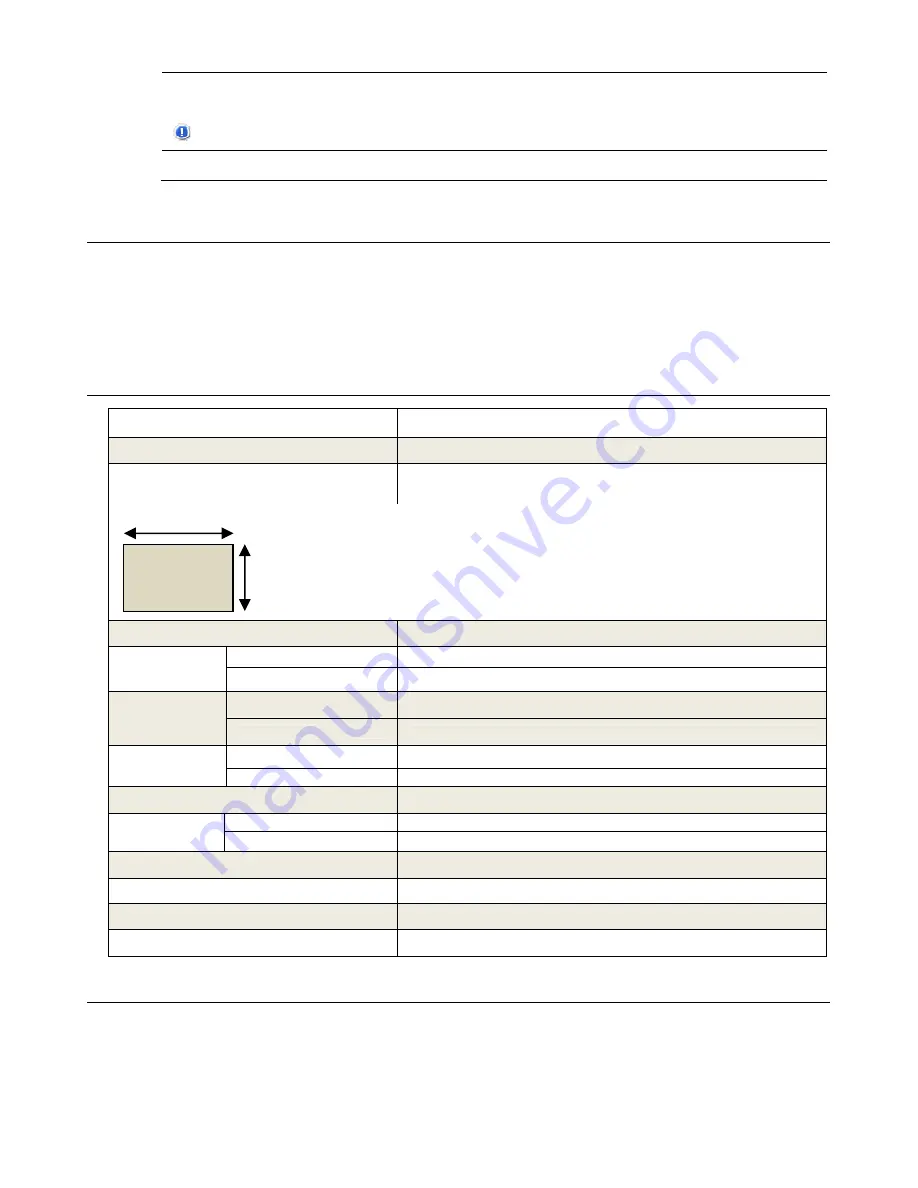
T e c h n i c a l S p e c i f i c a t i o n s
Specification
PhotoLink
“One Touch” Scanner
Common Document Sizes
3.5”x5”, 4”x6”, and 5”x7”
Actual Feed Slot Size
5”x7” (scan to memory card mode, PC-connect, or Scan To PC Manager
Mode)
Length: 7 inches (177.8mm)
Output image formats
JPEG with compression
Resolution
Scanned image
300 or 600 dpi (dots per inch)
Optical
1200 dpi (dots per inch)
Color
Scan color depth
Color – 48 bit
Output format
Color – 24 bit (JPEG)
Interfaces
Memory Cards
SD
(2GB)
, SDHC
(32GB)
, MMC
(2GB)
, MS
(8GB)
, MS Pro
(2GB)
, xD
(2GB)
USB
Mini USB port compatible with the USB 2.0 / 1.1 Device specification
USB Mass Storage Supported
Windows XP, Vista, Windows 7
Power
Input 100-240V
Output 5V,
2A
Photo feeding
Sheet feed type
Dimensions 6.86”
[174.22mm]
(W) x 2.74”
[69.5mm]
(D) x 1.27”
[32.2mm]
(H)
Net weight
0.8 lbs (363g)
Recommended Operating Environment
15ºC ~ 35ºC (59
o
F~95
o
F); 20% RH ~ 70% RH
F r e q u e n t l y A s k e d Q u e s t i o n s
Q:
There are strange lines on the scanned image, or the image is not clear.
A:
Check the following:
Are there scratches on the original, or is the original clean? Remove any stains or dust from the original before scanning.
Has the scanner been used for a long period of time without cleaning and calibration? Follow the instructions for "Cleaning
the Scanner" on page 12 and “Calibrating the Scanner" on page 12, and then try again.
Width 5 inches (127mm)


