23
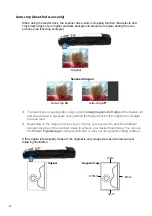
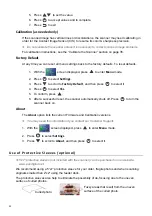
Remove photos from the sleeve after scanning to prevent the sleeve from sticking to the
photos over time.
When not in use, store protective sleeves in a safe place and keep them protected from
accumulating dust.
When using a protective sleeve, you may want to perform additional manual cropping on the
scanned image to achieve your desired final image. You can use the Presto! PageManager
software (included) or use your own graphic editing software.
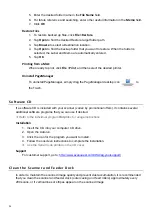
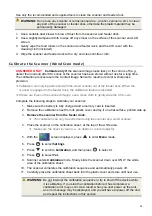
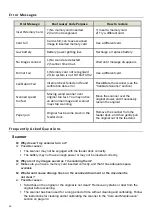
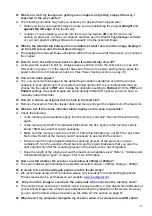
Connect
Sc ann e r
t o
a
Computer
By connecting the scanner to a computer, you can access the scanned images on the memory
card directly, or use the scanner as a memory card reader, so that you can freely copy, paste or
delete files to and from the memory card using your computer.
You can view or edit the .JPG files on the memory card by using the included Presto!
PageManager software, or by using your own graphic editing software. You can also use the
Presto! PageManager software to build a book or multiple-page PDF files. (See Presto!
PageManager on page 25.)
Computer
System
Requirements
Operating system:
Windows: XP, Vista, 7 or later version - 32-Bit
Macintosh: Mac OS 10.5, 10.6 or later version
USB Port: USB 2.0 port
1. Turn the scanner on and insert the memory card containing your scanned images.
2. Connect the USB cable
(included)
to the scanner and your computer.
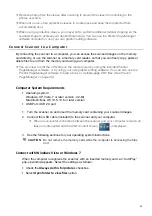
When a successful connection between the scanner and your computer is made, all
tasks are interrupted and the USB connect screen
is displayed.
3. See the following sections for your operating system instructions.
CAUTION
: Do not remove the memory card while the computer is accessing the files
on it.
Connect
with
Windows
Vista
or
Windows
7
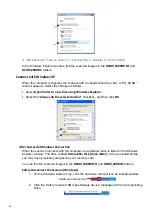
When the computer recognizes the scanner, with an inserted memory card, an “AutoPlay”
pop-up window appears. Select the settings as follows:
Check the
Always
do
this
for
pictures
checkbox.
Select
Open
folder
to
view
files
option.


