11
Connecting with Macintosh Computer
When the computer recognizes the scanner built-in disk or inserted memory card, the
volume icon appears on the desktop.
To view the contents of the built-in disk or memory card, double-click the icon to open a
Finders window.
Access your Scanned Images
When the first item is scanned to the memory card and the built-in disk, the folder structure
DCIM\100PHOTO
is created automatically in each storage area and the scanned images
are saved in the
100PHOTO
folder. When the
100PHOTO
folder is filled, a new folder titled
101PHOTO
is automatically created to store subsequent new files, and so on.
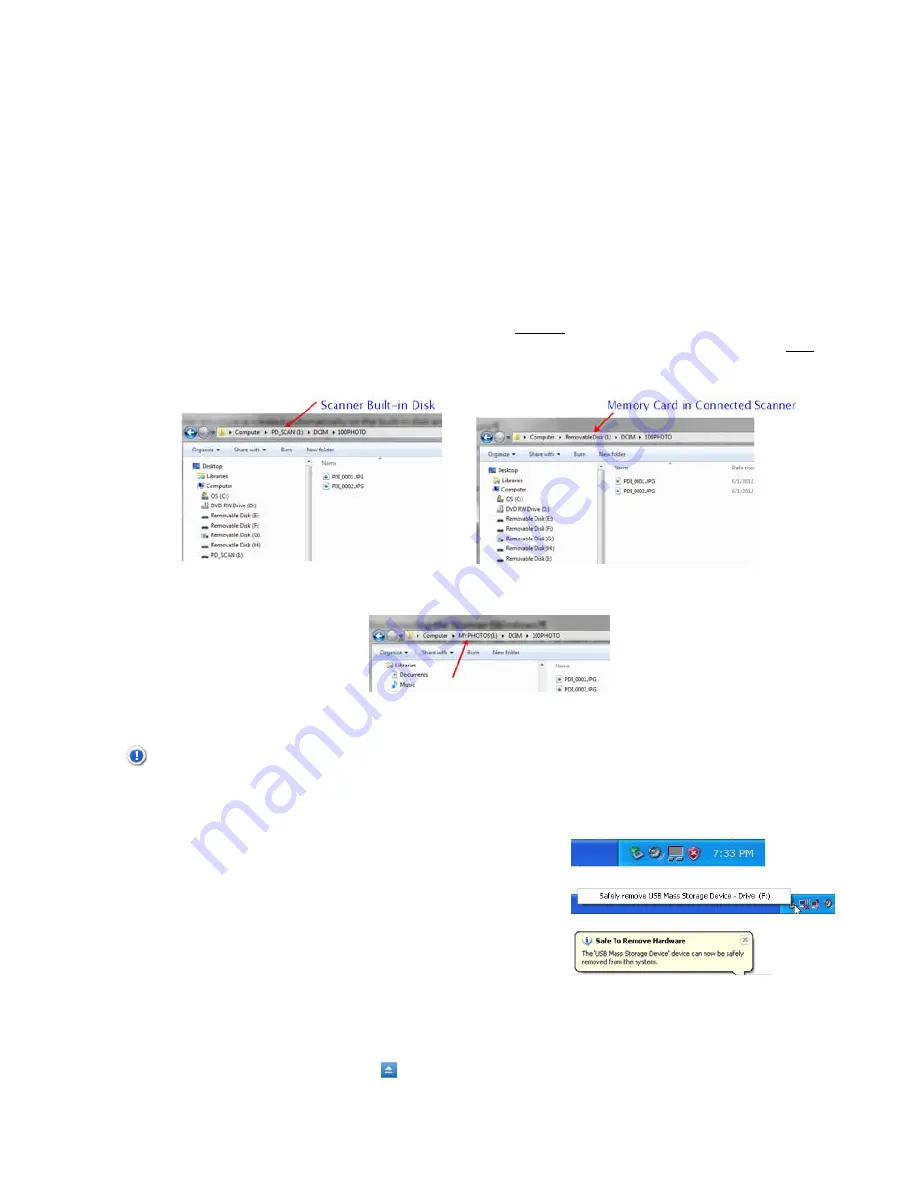
When the scanner is connected to your computer without a memory card inserted, Windows
recognizes the built-in disk as
PD_SCAN [drive letter]
. When the scanner is connected with
a memory card inserted, Windows recognizes the memory card as
Removable Disk [drive
letter].
If a personalized title has been added to the memory card properties (such as MY
PHOTOS, as shown below), that title is displayed instead of “Removable Disk.”
Disconnecting the Scanner
CAUTION
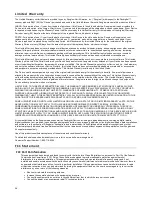
: Do not remove the memory card or disconnect the USB cable while the computer is
accessing stored files.
Disconnecting the Scanner from a Windows PC
1. On the Windows System Tray, click the
hardware removal icon as indicated below.
2. Click Safely remove USB mass Storage
device –
Drive
(
<Drive Letter:>
)
3. When the
Safe to Remove Hardware
message
appears, you can safely remove the scanner’s
USB cable.
Disconnecting the Scanner from a Macintosh
1. Click and drag the volume icon on the desktop to
Trash
.
Or
Click the eject button
next to the volume name in the Finders window.
2. Disconnect the scanner from your computer.


