11
Getting Started
1.
Remove the foam, bag and any protective taped cushions before use.
2.
Before first time use, insert and charge the battery.
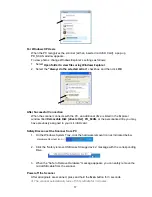
Insert the battery
as shown below.
a) Remove the cover.
b) Insert battery pack.
c) Replace the cover.
(a) (b) (c)
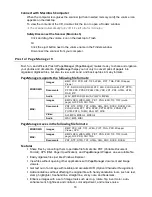
Charge the battery
by connecting the scanner to your computer
(powered on)
via
the included microUSB cable or connect the scanner to the included USB power
supply via the microUSB cable. Charge the battery at least 2 hours or until the solid
green
LED turns off.
IMPORTANT!
Charge the battery for at least
Connect to computer or
Connect to USB Power Supply
2 hours.
3.
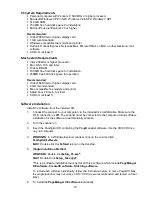
(Optional)Insert microSD card.
The scanner has a 128MB built-in storage disk for scanned images. If desired, you can
increase your storage capacity for your scanned images by inserting a microSD card
(not
included)
into the memory card slot.
When a microSD card is present, scanned images are automatically saved on the card.
The scanner only accepts memory cards in FAT16 or FAT32 format. NTFS and other file
formats are not supported.
4.
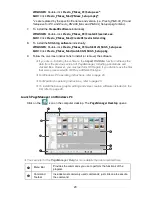
To turn the scanner on
, make sure the Wi-Fi mode is
OFF
and then press and hold the
Power Scan
button for 1 second.
Be sure Wi-Fi button is in off position


