12
5.
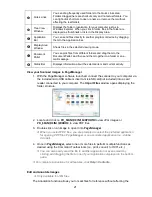
Choose Scan Settings
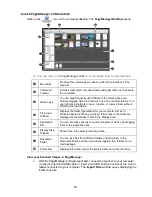
Press the
ColorBW
button to choose document color.
Color
mode outputs documents in full color,
BW
mode
outputs documents in grayscale.
Press the
STDHQ
button to choose your resolution.
STD
= 300dpi,
HQ
= 600 dpi, and
STD HQ
= 1200 dpi
To set to STD HQ mode, press the STD HQ button
longer than 2 seconds. The indicator will turn red.
Steady and slow hand-rolling speed is required to
ensure good quality scanning.
Press the
JPG PDF STC
button to choose your desired file
format.
JPG
= photo jpg files,
= data pdf files
STC
= Stitched files (press & hold the button for 2 seconds
to set Stitch mode)
In Stitch mode, SC0 is displayed on the LCD screen,
and increments as you scan, i.e., SC1, SC2, etc.
The Stitching mode allows you to “stitch” multiple JPG
images together to build panoramic photos on your
computer using Presto! PageManager software (refer
to Photo Stitching on page 28).
6.
Scan your Document
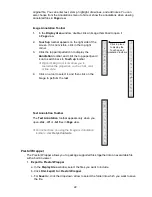
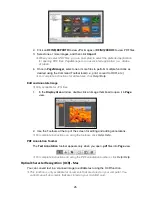
Scan original vertically
from top to bottom
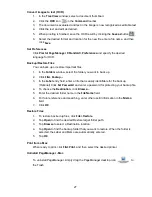
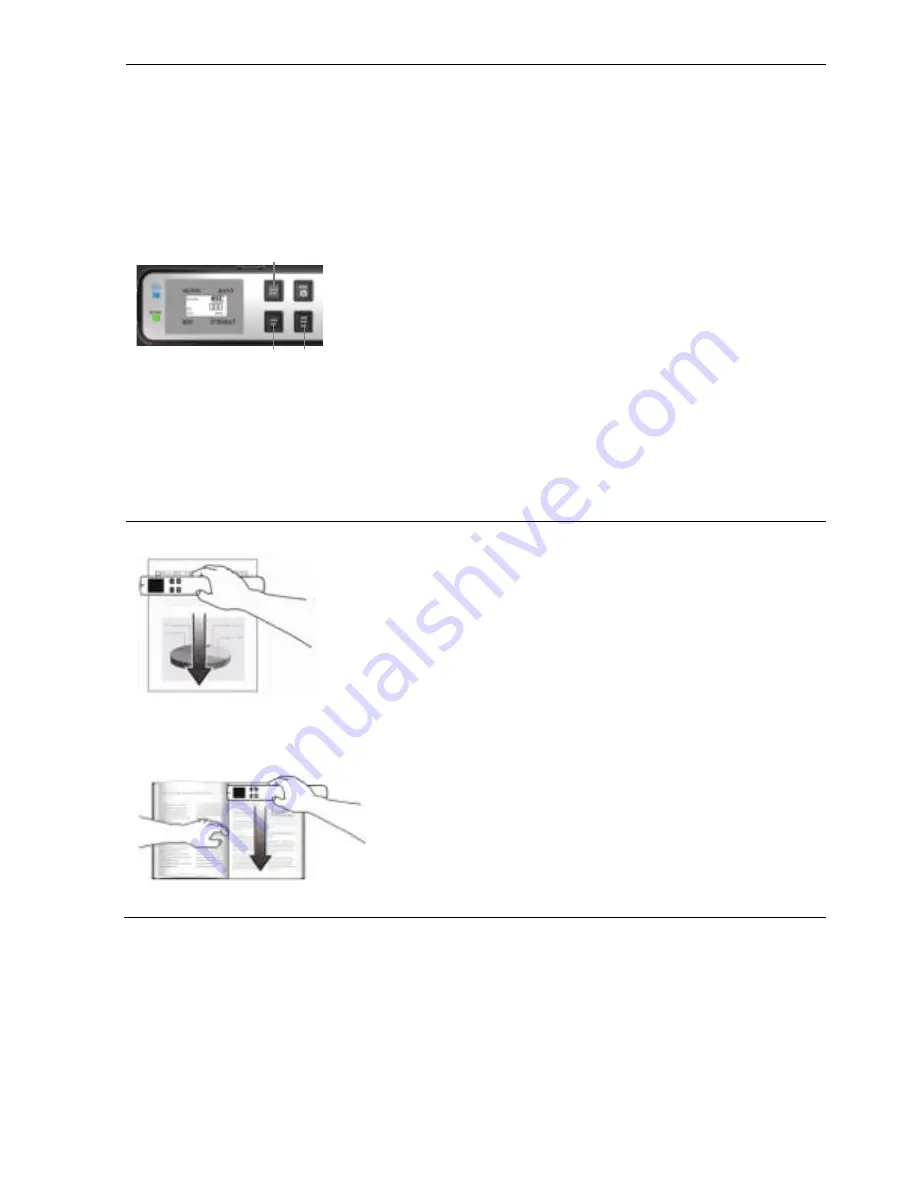
a. Place your original a flat smooth surface. If you are
scanning a book, hold the book firmly with one hand.
b. Press the
Power Scan
button
(SP0 is displayed on the
LCD screen)
.
c. Place the scanner horizontally on your document, aligning
your original with the left edge of your scanner.
d. Glide the scanner gently over the surface of the page
vertically from top to bottom as illustrated.
e. During scanning, the scan speed
(SP0~SP2)
is displayed
on the LCD screen. To obtain an optimal scanned image,
it is recommended to keep your speed at the lowest level
(SP0)
.
f. After scanning, lift the scanner and press the
Power Scan
button again. If the page is scanned successfully,
001
is
displayed on the LCD screen. The number increments as
more scans are completed.
In scan mode, before scanning photo or document, the
USB cable must be disconnected from the scanner.


