14
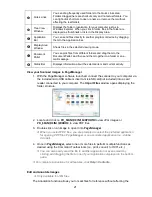
View, Download and Print your Scanned Images
You can use multiple methods for viewing, downloading, editing or printing your scanned
images:
•
Connect to Scanner Wi-Fi Access Point (refer to page 14)
•
Connect Scanner to Computer (refer to page 16)
•
Use Presto! PageManager Software (refer to page 18)
Connect to Scanner Wi-Fi Access Point
Using the scanner’s Wi-Fi connection, you can wirelessly
connect to your private cloud to browse or download your
scanned pictures.
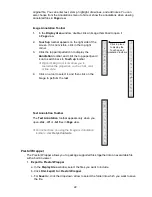
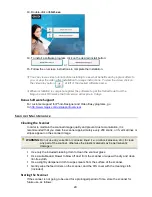
a.
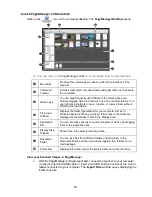
Turn Wi-Fi mode on by sliding switch to
On
position.
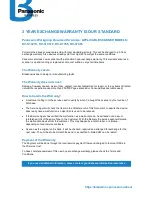
b.
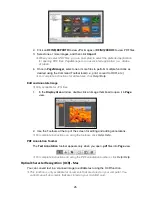
Wait 40 seconds while the data is indexed and the Wi-Fi
ready countdown reaches 00 seconds.
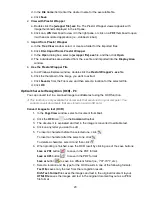
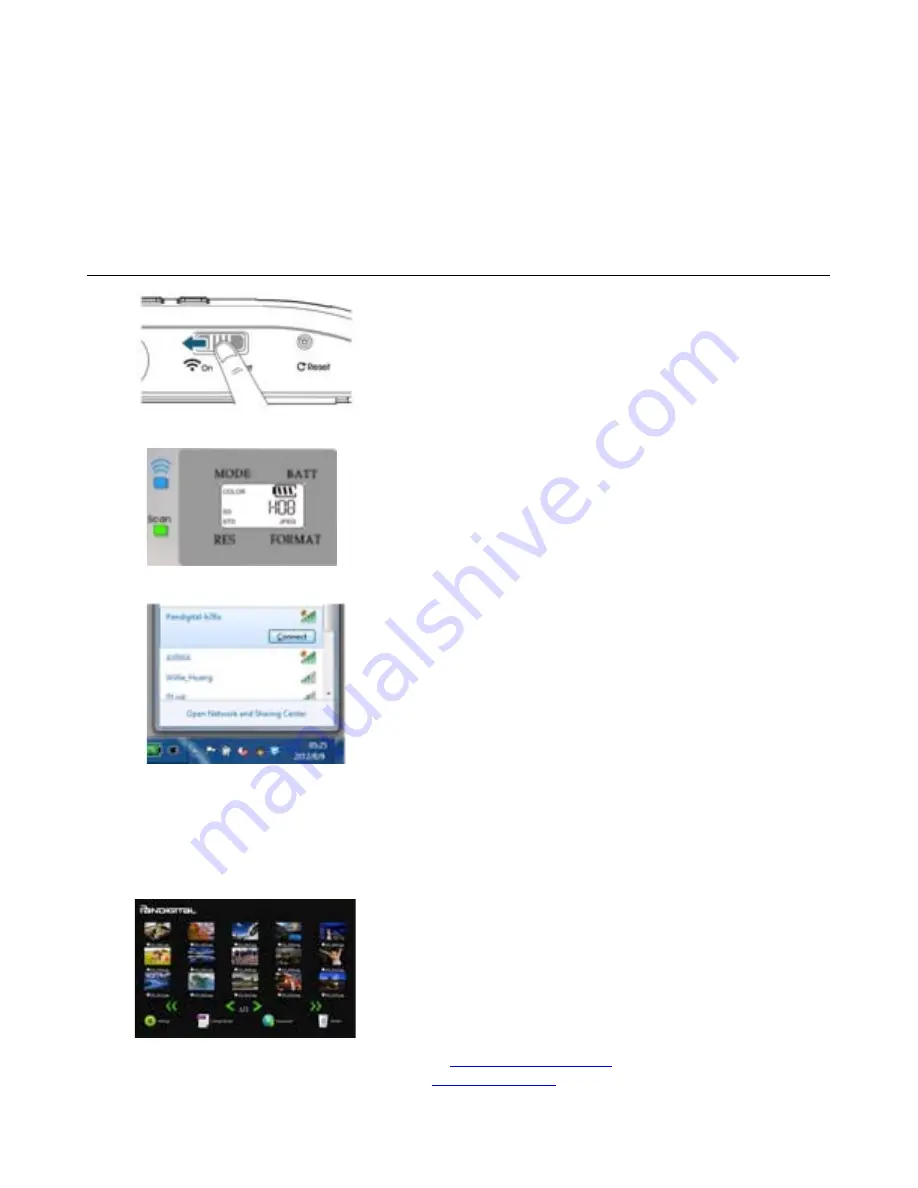
c.
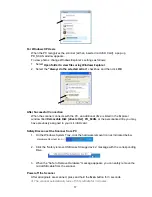
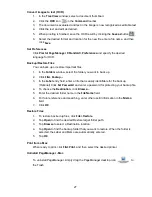
To connect your computer, iPhone, iPad or Android
device to the scanner, use the device’s Wi-Fi settings to
select the scanner’s network ID “Pandigital-XXXX” [last
four digits of Access Point’s MAC address]”.
PC users:
Go to the Wi-Fi Network icon and select the
network ID (Pandigital-XXXX). No password is required;
wait for the connected status confirmation.
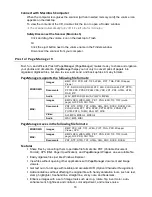
Mac users:
Click the
Wi-Fi network
icon on the menu
bar and select the network ID (Pandigital-XXXX). No
password is required; wait for the connected status
confirmation. Make sure you are connected to only one
IP interface (either Wi-Fi or Ethernet port). The Client IP
would be 10.10.100.x range.
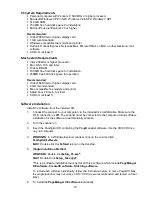
iPhone & iPad users:
Go to
Settings
→
Wi-Fi
→
select
the network ID (Pandigital-XXXX). No password is
required; wait for the check mark to confirm the
connected status.
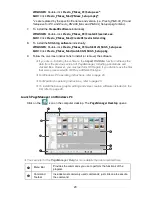
Android users:
Go to
Settings
→
Wi-Fi Settings
→
select
the network ID (Pandigital-XXXX). No password is
required; wait for the connected status confirmation.
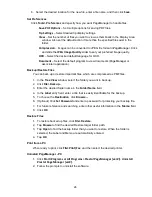
d.
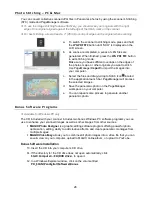
Open an Internet Explorer window.
PC users:
Click
Start
→
Program Files
→
Internet
Explorer
to open an Internet browser.
Mac, iPhone & iPad users:
Click or tap the
Safari
icon
to launch a browser session.
Android users:
Device setups vary, but generally you
can tap on an Internet browser icon on your Home
screen.
If you are not directed to Easy View automatically,
you must type in your default home page URL,
e.g.,
http://www.google.com
or type
in
http://10.10.100.1
. This step will redirect you to
“Easy View” page.
(a)
(b)
(c)
(d-e)


