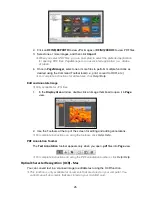
28
Photo Stitching – PC & Mac
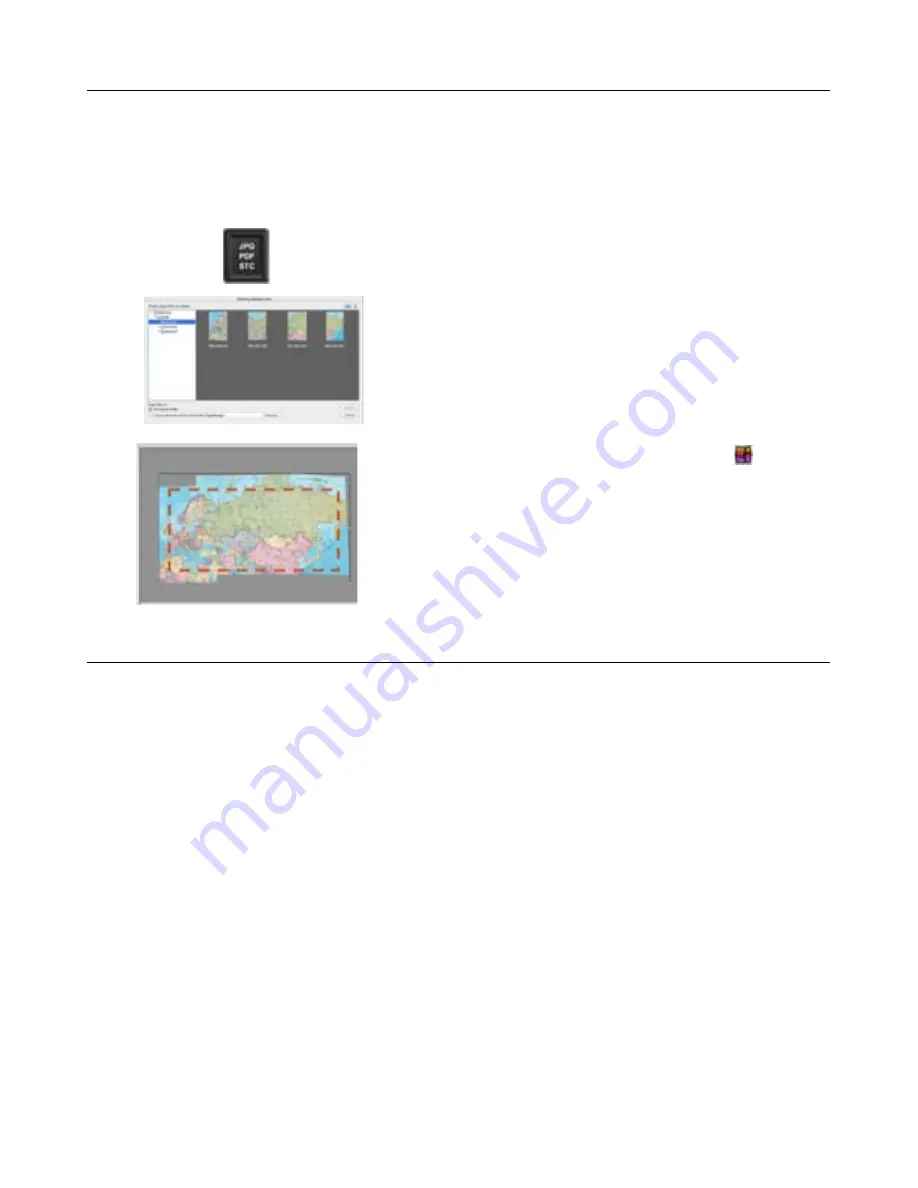
You can convert collective scanned JPG files in Panoramic photos by using the scanner’s Stitching
(STC) mode and PageManager software.
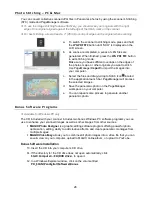
To use the image stitching feature effectively, you should scan your originals with the right
edge of the original aligned against the left edge of the Stitch mark on the scanner.
For best stitching, allow at least a 2” (45mm) overlap of edges on the original when scanning.
a.
To switch the scanner to stitching mode, press and hold
the
JPG PDF STC
button until “SCO” is displayed on the
LCD screen.
b.
As scans are completed, a series of JPG files are
generated. When finished, press the
JPG PDF STC
button
to exit stitching mode.
Make sure you have sufficient overlaps on the edges of
the photos, maps, or other originals you want to stitch.
Use PageManager
Import
to import the images into
your computer.
c.
Select the files and drag-n-drop to Stitch Icon
located
in the application launch bar. PageManager will process
the selected images.
d.
Save the panoramic photo on the PageManager
workspace on your computer.
e.
You can repeat same process to generate another
panoramic photo.
Bonus Software Programs
Available for Windows PC only.
The CD included with your scanner includes two bonus Windows PC software programs you can
use to enhance your scanned images as well as other images from other sources.
MAGIX Photo Designer
is a graphic editing software program offering powerful photo
optimization, editing, ability to add creative affects, and create panoramic montages from
multiple images.
MAGIX VideoEasy
allows you to combine still photo images into a video file that you can
save & view on your computer, upload to MAGIX online album, or upload to YouTube.
Bonus Software Installation
10. Insert the CD into your computer’s CD drive.
11.
If the directory for the CD drive does not open automatically, click
Start>Computer>
<
CD/DVD drive
> to open it.
12.
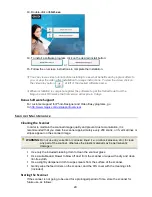
In a Windows Explorer window, click on the volume titled
PD_SCAN\Pandigital\Software\Bonus
.


