16
By default, the
Preview mode
is on allowing you to preview the scanned image for
2 seconds immediately after scanning. Two options appear on the screen with the image allowing
you to press
OK
to save (default) or
to
Delete
the image immediately (delete confirmation
displays during deletion). (Refer to page 19 to set the
Preview
mode.)
Preview of
scans are not displayed on the LCD screen; the scans are saved immediately
when scan is completed.
8.
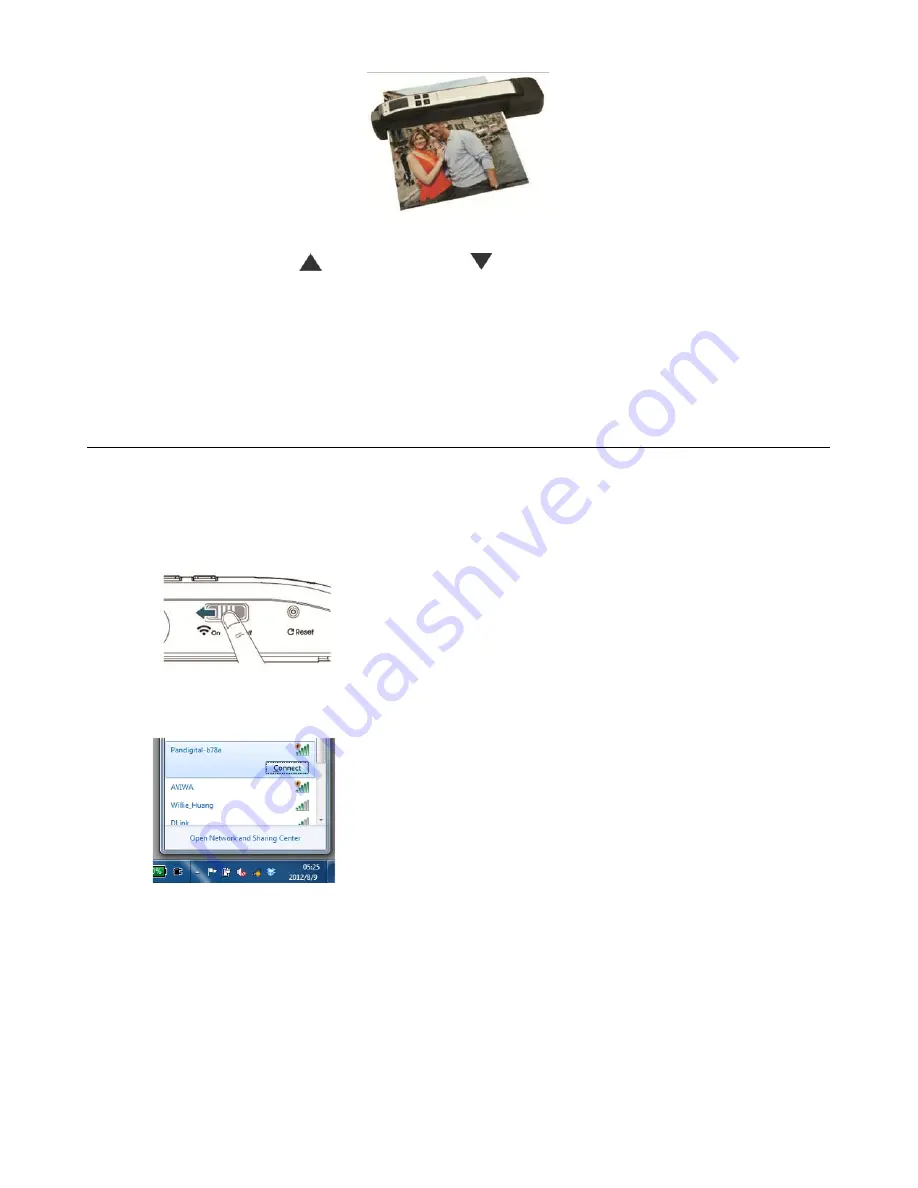
Wait until the indicator light stops blinking before inserting and scanning the next original.
9.
To view/retrieve your scanned images, refer to “Scanned Images” section on page 12.
Connect to Scanner Wi-‐Fi Access Point
Using the scanner’s Wi-Fi connection, you can wirelessly connect to your private cloud to
browse or download your scanned image files from the scanner to your computer, Android
device, or iOS devices.
Note:
The Scanner Wi-Fi access point is for browsing, downloading, or deleting scanner files only. It cannot
be used for Internet browsing.
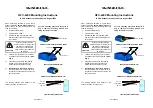
a. Turn Wi-Fi mode on by sliding switch to
On
position.
b. Wait approximately 40 seconds while the data is
indexed, the Wi-Fi blue LED flashes, and the Wi-Fi
Ready screen is displayed.
c. To connect your computer, iPhone, iPad or Android
device to the scanner, use the device’s Wi-Fi settings to
select the scanner’s network ID “Pandigital-XXXX” [last
four digits of Access Point’s MAC address]”.
PC users:
Go to the Wi-Fi Network icon and select the
network ID (Pandigital-XXXX). No password is required;
wait for the connected status confirmation.
Mac users:
Click the
Wi-‐Fi network
icon on the menu
bar and select the network ID (Pandigital-XXXX). No
password is required; wait for the connected status
confirmation.
Make sure you are connected to only one IP interface
(either Wi-Fi or Ethernet port). The Wi-Fi client IP would
be 10.10.100.x range.
iPhone & iPad users:
Go to
Settings
→
Wi-‐Fi
→
select
the network ID (Pandigital-XXXX). No password is
required; wait for the check mark to confirm the
connected status.
(a)
(c)


