31
30
USER MANUAL
PANDORA DXL 1840L CAR SERVICE-SECURITY SYSTEM
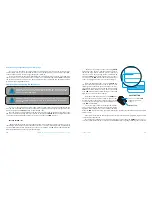
Updating firmware
It is recommended to update firmware of the base unit before installing and programming the system
(actual vesion of the firmware you can download from pandorainfo.com). You can update firmware using
AlarmStudio application after entering programming mode or using quick boot algorithm (PIN-code is not
required).
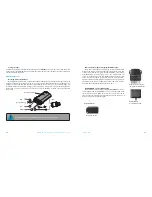
Quick boot mode: open AlarmStudio; de-energize and disconnect the system; press and hold VALET
button located on the base unit; release the button immediately after connecting the system and a computer
via USB cable; the system will enter boot mode.
If the boot mode has been interrupted for some reason and the status indicator lights red, you need to
load firmware using quick boot mode (without entering PIN-code).
Programming using VALET button
The system allows programming some settings using VALET button. To configure all settings use a com-
puter to program the system.
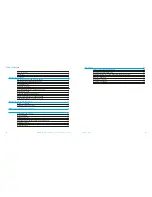
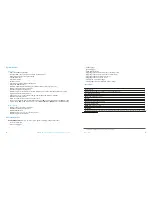
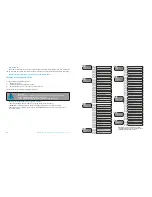
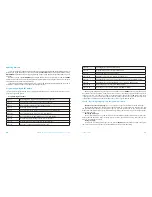
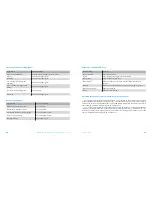
Programming levels table
Level 1
Recording radio tags into the system’s memory (BT760)
Level 2
Changing the factory preset of the service PIN-code
Level 3
Recording the idle speed to the system memory
Level 4
Resetting to factory settings
Level 5
Recording Bluetooth engine compartment module (RHM-03 BT)
Level 6, 7
Recording Bluetooth radio relays №1, №2 (BTR-101)
Level 8
Recording Bluetooth GPS/GLONASS receiver (NAV-035 BT)
Level 10
Configuring system settings via the wireless interface
Level 11
Programming and configuring ‘Immobilizer PIN code’
Level 15
Emergency disabling of immobilizer radio tag
Level 16
Updating Bluetooth modem firmware
Level 17
Programming bypass of original immobilizer
Level 18
Pairing and unpairing mobile device
Level 19, 20
Updating radio relays №1, №2 firmware (BTR-101)
Level 21
Updating Bluetooth engine compartment module firmware (RHM-03 BT)
Level 22
Updating Bluetooth GPS/GLONASS receiver firmware (NAV-035 BT)
Level 23, 24
Recording door sensors №1, №2 (DMS-100 BT)
Level 25, 26
Updating door sensors №1, №2 firmware (DMS-100 BT)
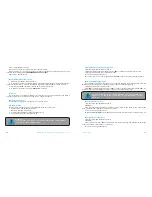
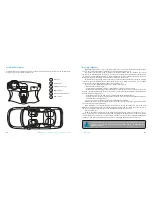
Enter programming mode by entering the ‘Service PIN-code’, Use VALET button to enter the desired
level number (press the button a number of times, equal to level number; pauses between presses
should not exceed 1 second). The system will confirm correct input with red LED flashes and short
sound signals of a siren and proceed to the desired level. If the input was incorrect, the system will not
confirm input and will await a new level input after a series of green and red flashes
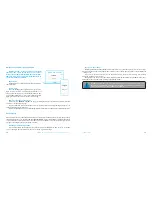
Level 1 – Recording radio tags into the system’s memory
Prepare to record all radio tags (you can record up to 3 tags), install batteries in the radio tags.
Enter programming menu and then press VALET button once. LED indicator will light green and
the system will enter the tag recording mode. Tags are recorded (paired) one by one, in any order and
without time limit. All previously registered radio tags will be removed when you overwrite new tags
or overwrite old tags.
Recording radio tags:
Press control button on a tag and hold it for 6 seconds (6 flashes of tag status indicator), release the
button after the sixth flash. If the recording was successful, a siren will emit 1 beep, after that you can
move to recording the next tag
Saving changes:
To finish the recording of radio tags into the system, VALET button should be pressed once again,
the series of red and green flashes of status LED indicator will confirm the saving.

