AT-OMNI-111-WP
40
Slate / logo insertion is managed from within AMS. The difference between a “slate” and “logo” is in the size of the
image and how it is used: Logos are classified as smaller, low-resolution images that can be positioned at specified
locations on the screen. Slates occupy the entire screen. Note that while logos may be used as slates, the image
quality will be degraded, as the image will be scaled to fill the screen.
Slate / logo insertion can be performed on both the encoder and decoder. When configured on the encoder, the
image that is displayed on the output (decoder) will be from the encoder IP address(es) to which each decoder
is subscribed. When configured on the decoder, the image is unique to the specified HDMI output. Refer to the
OmniStream Single-Channel / Dual Channel A/V Decoder User Manual
, for information on managing slate / logo
insertion on decoder units.
1.
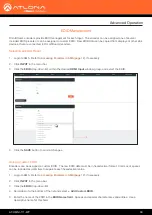
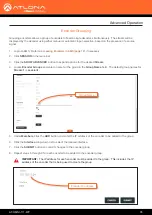
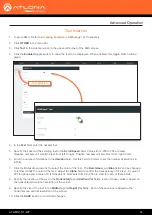
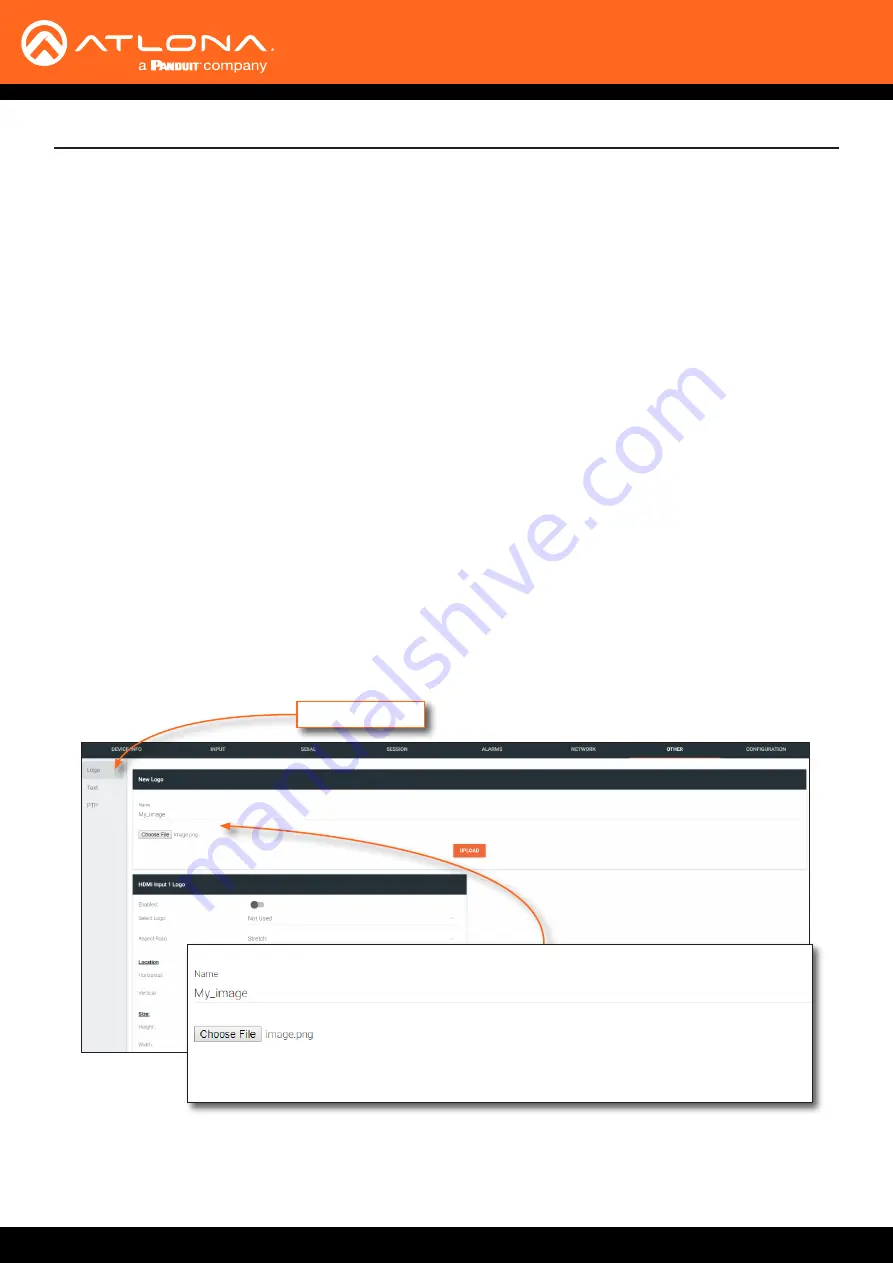
Login to AMS. Refer to
Accessing Encoders in AMS (page 12)
2. Click
OTHER
in the menu bar.
3. Verify that
Logo
is selected, near the upper-left corner of the screen.
Logo
is the default selection and applies to
both logo and slate images.
4. Enter the name of the image in the
Name
field. If a name is not specified, then the
UPLOAD
button will be
disabled.
5. Under the
New logo
window group, click the
Choose File
button and select the image to be used. Only .png
files are valid selections.
6.
Click the
UPLOAD
button to upload the file.
Slate / Logo Insertion
Advanced Operation
7.
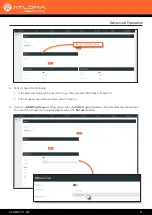
A new window group will be created with the name of the logo that was provided in Step 4.
Logo selected
Adding Slates / Logos

