© Panduit Corp. 2013
OPERATION MANUAL
PAT1M, PAT1.5M, PDM
ENGLISH
Page: 12 of 39
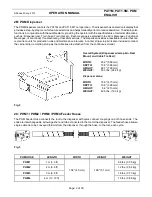
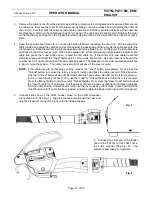
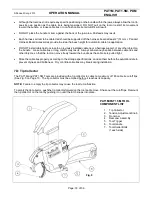
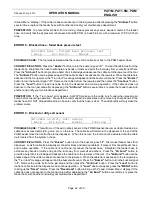
3. Remove the cable tie reel from the protective plastic bag. Remove the corrugated cardboard wrap from around
the cable ties. Remove the collar from the reel axle by pulling out on the release pin while sliding the collar off
(See Fig. 6). Carefully slide the cable tie reel onto the reel axle so that the reel turns clockwise as the cable ties
are dispensed. Remove the cellophane tape from the end of the cable tie strip and discard. Replace the collar
on the reel axle by pulling out on the release pin while sliding the collar on the axle until the pin locks the collar in
place.
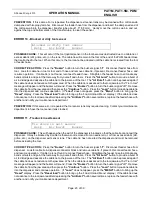
4. Open the tie guide door (See Fig. 6), on the top of the dispenser, by pulling the door "up". Pull the end of the
cable tie strip and guide the cable tie carrier strip against the back edge of the ramp as the cable ties enter the
cover opening. Slide the carrier strip into the opening until it stops (See Fig. 6). At this point, the first cable tie is
positioned in the rotary receiver slot. Close the tie guide door. While maintaining a slight inward pressure on the
cable ties, press the "Load" button once, to feed the first cable tie. If the carrier strip and cable tie are fed
correctly, press and HOLD the "Load" button until 13 more cable ties are fed. As each cable tie is loaded, the
number next to "Load" will decrease for each cable tie loaded. The dispenser cover must be closed and latched
to load or cycle the system. The rotary receiver will not advance if the cover is open.
NOTE:
If the cable ties are not feeding correctly, release the "Load" button immediately. Next, press the
"Unload" button to reverse the rotary receiver's rotation and back the cable ties out of the dispenser.
Hold the "Unload" button down until all of the cable ties have exited. NEVER pry the rotary receiver, or
turn it, or touch it with your hand. Only use the "Load" or "Unload" buttons to rotate the rotary receiver.
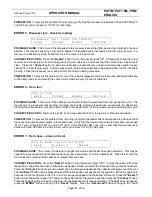
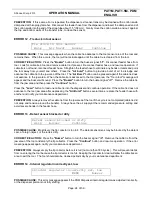
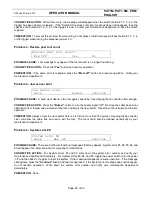
Press the "Menu" button to advance to the "Reset" display. Now, press the "Reset Load" button to reset
the "Load" counter to 14 cable ties. Cut the excess carrier strip and any distorted or damaged cable ties
from the cable tie strip. Slide the carrier strip into the cover opening until it stops. Press and HOLD the
"Load" button until 14 cable ties have loaded. Any extra cable ties loaded will drop out of the dispenser.
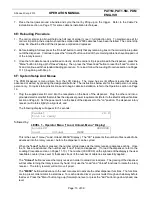
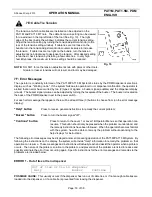
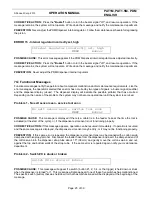
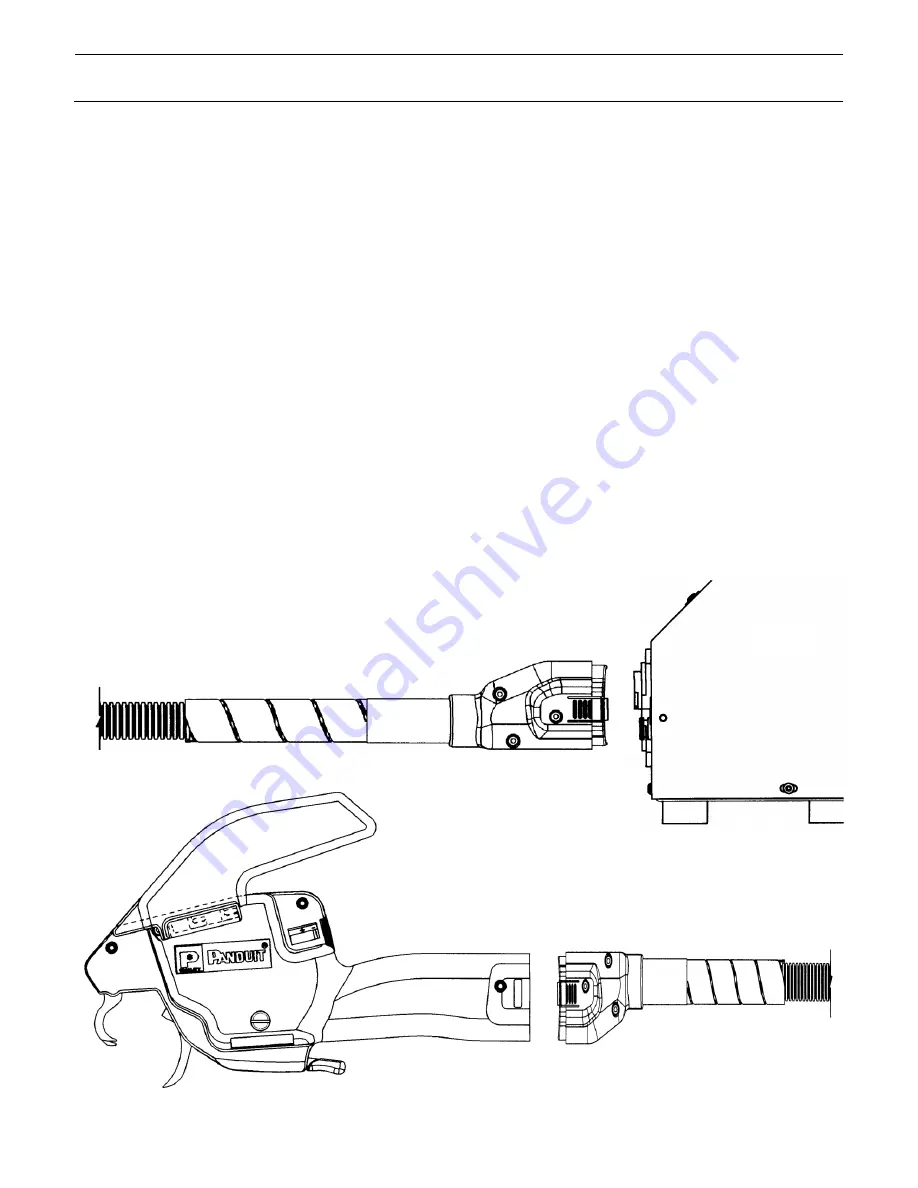
5. Connect either end of the PHM Feeder Hose to the PDM Dispenser
connection block (See Fig. 7). Align the connectors and push the hose end
onto the dispenser connection block until the latches engage.
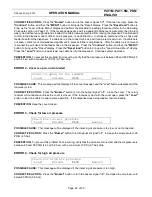
6. Connect the other end of the feeder
hose to the PAT1M or PAT1.5M Tool in
the same manner (See Fig. 8). The
system is now ready for operation.
Fig. 7
Fig. 8

