Operator Manual
Page 4
Installation
2. Installation
To set up the Panini I:Deal™ follow the steps below.
2.1. Choose
a
Location
Place the device on a level surface on or near the host
computer, such as a countertop or table, away from
direct light. Leave enough space to open the pocket
flaps, top cover and to insert documents.
The device should be located as to minimize Electro-
Magnetic Interference (EMI). Keep the device a
minimum of 1 foot away from CRT monitors that can
produce interference and affect the MICR reading.
2.2. Unpack the Scanner
Before unpacking the box, examine it for
damage received during shipping. If the device,
or any component, appears damaged do not
use it. File a claim with the shipping company
and contact your distributor.
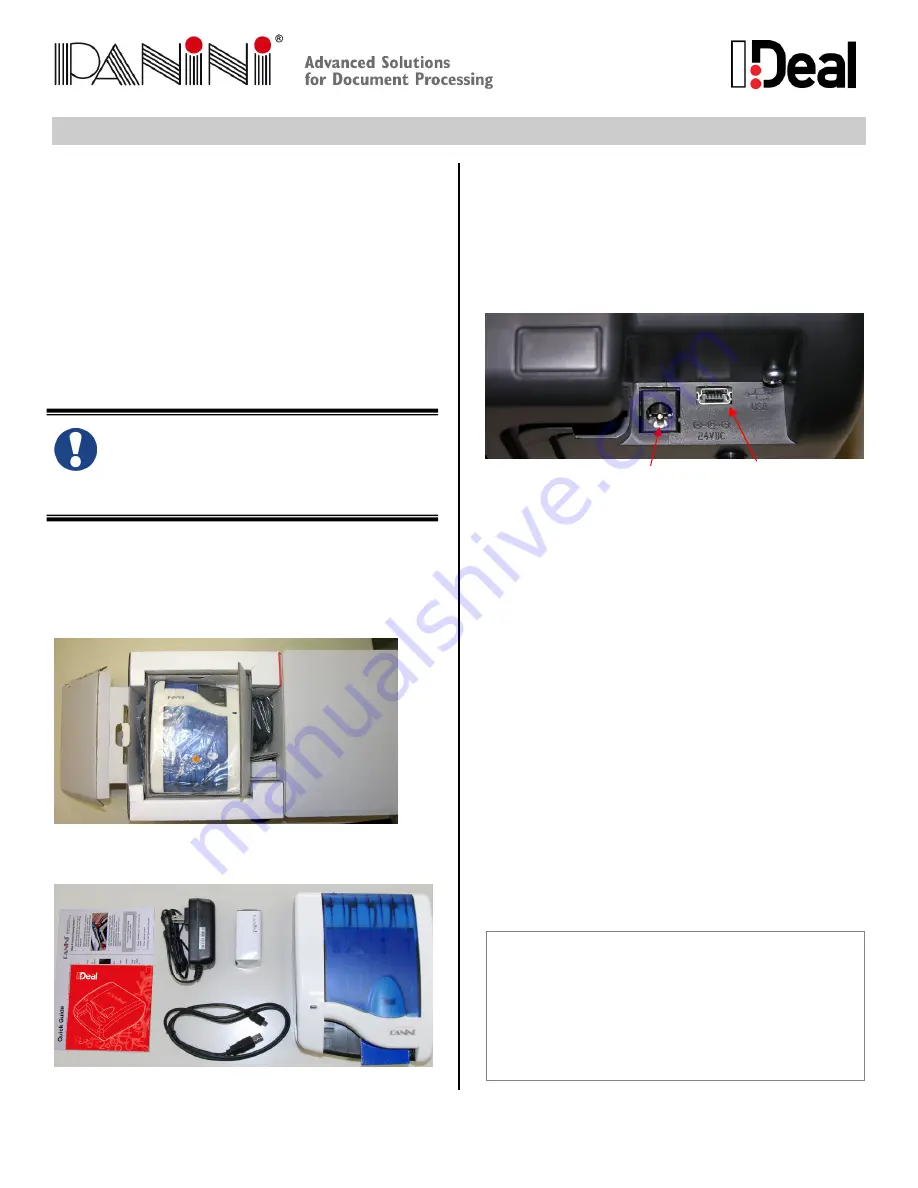
When you unpack the I:Deal™, make sure that all parts
are included (see packaging list from section 1.1). Save
all packaging materials in case you need to repack the
scanner.
1.) Open the top of the box
2.) Remove and unwrap the items
2.3. Connect
Cables
Ensure that the device drivers have been preinstalled on
the PC. The device drivers are widely available through
supported software applications or by directly installing
Panini’s Vision API. Device drivers are available for
Windows XP and Windows Vista.
Power Cable Connection
1.) Plug the power supply cable in the I:Deal™ power
connector
2.) Connect the I:Deal™ to a dedicated electrical power
outlet. The socket outlet needs to be installed near the
equipment and be easily accessible. The power supply
will be 100-240 VAC (no power selection required), and
the frequency 50/60 Hz. If you are not sure of the type of
power available, consult your Service Representative or
local power company.
USB Cable Connection
Connect the USB cable to the USB port located on the
rear side of the scanner, and then connect the other end
of the cable to an available USB 2.0 port on the PC.
Windows will detect the newly connected hardware and
initiate the “New Hardware Wizard”. The Microsoft
signed drivers previously installed on the PC will be
recognized and the device will be successfully installed.
When removing or disconnecting the USB or Power
Supply Cable from the device, be sure to pull straight
back on the cable and remove.
DO NOT remove the cable by pulling up, vertically or
at an angle. Doing so can damage the connector.
The cables must be removed by gently pulling
straight back on the cable from the connector.
USB Interface
Power Connection
Summary of Contents for I:Deal
Page 1: ...Operator Manual Rev 1 0 ...


