background image

Pano levemente umedecido com água, seguido de pano seco, não utilizar produtos químico ou abrasivos.
Slightly dampened cloth and after a dry cloth, do not use chemicals or abrasives. 
Solamente utilizar un paño húmedo y después un paño seco, no utilice productos químicos o abrasivos. 

Limpieza

UTILIZE ALCOOL APENAS PARA REMOVER O NUMERO DAS PEÇAS
USE ALCOHOL ONLY TO REMOVE PART NUMBERS  
UTILICE ALCOHOL SOLAMENTE PARA ELIMINAR EL NUMERO DE LAS PIEZAS

5

Para facilitar a montagem, utilize uma parafusadeira elétrica. 
To improve assembly, use an eletronic screwdriver.
Para facilitar el armado, utilice un destornillador eléctrico.

Limpeza

Cleaning

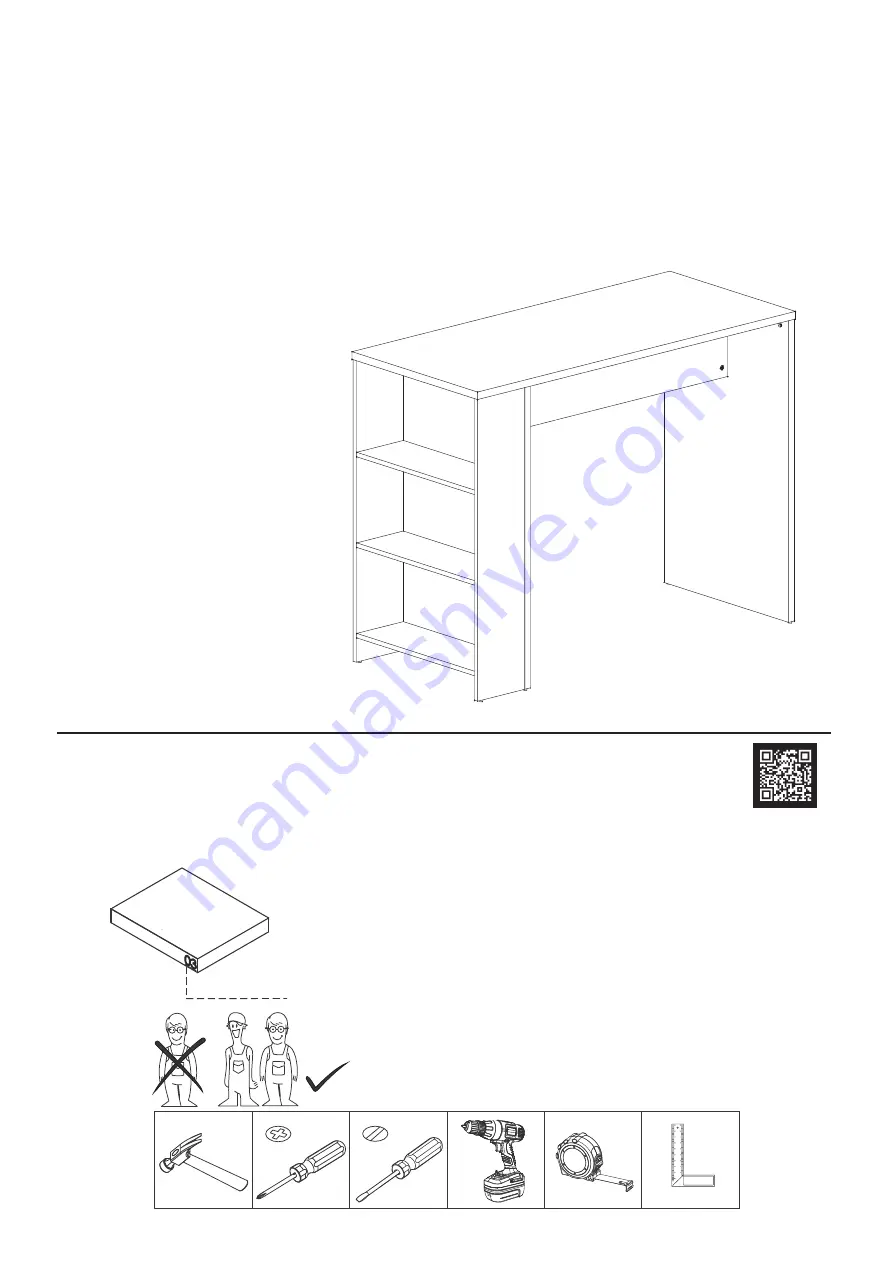
Dimensões e ferramentas 

Dimensions and tools

Dimensiones y herramientas  

Dimensões:

Dimensiones:
L:  1350 A: 1030 P: 600 mm

Dimensions:
W: 53.14  H: 40.55 D: 23.62 inches

L: 1350  A: 1030  P: 600 mm

Summary of Contents for BMU 43

Page 1: ...1 COD BR BMU 43 MANUAL DE MONTAGEM ASSEMBLY INSTRUCTIONS INSTRUCCIONES DE MONTAJE...

Page 2: ...2...

Page 3: ...ontagem Read this manual and follow the steps in order to keep the guarantee and also for the perfect t Lea este manual y siga los pasos para que el producto no pierda la garant a y tambi n para el aj...

Page 4: ...ng to separate and support the parts removed from the boxes Utilice el cart n de la embalaje para separary apoyan las piezaz desmontadas de las cajas 4 Forre a rea de montagem com um cobertor ou tapet...

Page 5: ...PARA REMOVER O NUMERO DAS PE AS USE ALCOHOL ONLY TO REMOVE PART NUMBERS UTILICE ALCOHOL SOLAMENTE PARA ELIMINAR EL NUMERO DE LAS PIEZAS 5 Para facilitar a montagem utilize uma parafusadeira el trica T...

Page 6: ...A LATERAL IZQUIERDA 1 1 1 002 003 001 002 003 001 PRATELEIRA 004 SHELF 2 REPISA 2 004 004 TRAVESSA 005 TRAVERSE 1 TRAVESA O 1 005 005 1 2 LATERAL ESQUERDA MENOR 006 LOWER LEFT SIDE 1 LATERAL IZQUIERDA...

Page 7: ...ia exclusivo para o Brasil exclusivo de Brasil exclusive to Brazil A garantia dos produtos fabricados pela BRV M veis abrange eventuais defeitos v cios de fabrica o no prazo estabelecido pelo c digo d...

Page 8: ...A 33KG 72 75LB Fixe a ferragem EF 000094 nas pe as 01 02 03 06 e 07 Fix hardware EF 000094 into pieces 01 02 03 06 and 07 Fije el herraje EF 000094 en las piezas 01 02 03 06 y 07 EF 000094 B 3KG 6 61L...

Page 9: ...el herraje EF 000168 EF 000168 pies redondos round feet p s redondos EF 000033 06 07 03 02 EF 000033 Insira a ferragem EF 000033 nas pe as 04 05 e 08 Insert hardware EF 000033 into pieces 04 05 and 0...

Page 10: ...onecte a pe a 01 parte montada no passo anterior insira Connect piece 01 to the part assembled into the previous step Junte la pieza 01 a la parte armada en el paso anterior a ade a ferragem EF 000216...

Page 11: ...to nal ao produto Use the chalk to give the nal nish on the product Utilice la tiza para dar el acabado nal al producto Utilize o tapa furos para cobrir os parafusos aparentes Use the sticker to cover...

Reviews: