29
The Focus Tool
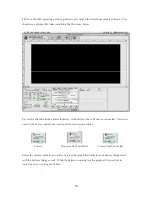
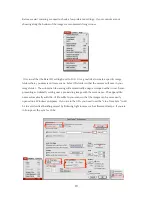
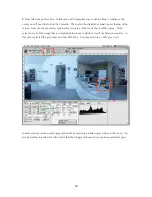
The ViewFinder software has a tool to assist you with focusing the camera. To utilize digital focus
verification, first take a pre-scan of the subject, preferably with a reasonably proper exposure and
approximate focus. After any pre-scan, click on the Focus tab panel, located on the main control
window.
After entering this panel, indicate where the CCD should be positioned by clicking in the
appropriate location in the preview image area.
A small rectangle will appear as a marker at the
selected location (this marker can be repositioned as necessary by simply clicking in the new
location). T
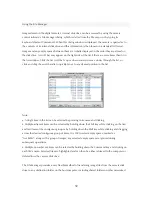
he back page of this manual includes a page filled with horizontal lines that are ideal
for use with the focusing tool. Feel free to print this last page and mount the image on cardboard
as a focus target.
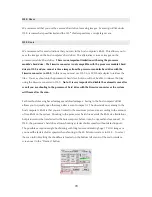
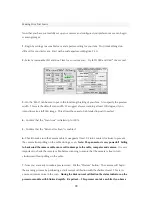
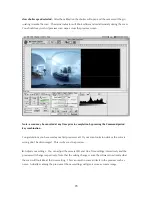
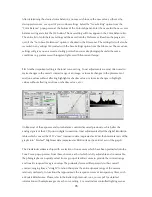
After a location has been marked, click the “Go” button in the Focus tab panel. This will position
the CCD at the indicated location, and begin displaying focus information. Focus data is displayed
in both graphic and numeric form; by
rocking the lens’s focus adjustment
, the best focus can
quickly be determined. After focus has been verified at one or more sites, click the “Stop” button or
click on any other tab panel to end the focusing task and return to normal operation.
Click on the speaker button on the Focus panel to turn on or off the audio focusing tool. The
tone will rise in pitch as the focus is sharpened and fall in pitch as the image is defocused.
There are several factors to consider when selecting locations within an image for focus verification.
The focus tool will work best on high-contrast lines or edges. However, any surface lit to show some
Summary of Contents for MARK TWO
Page 1: ...PANOSCAN MARK TWO OPERATION MANUAL V1 1 ...
Page 37: ...37 ...

