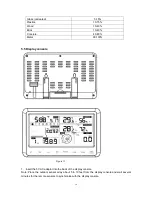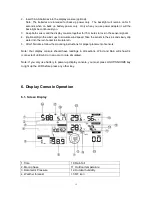
16
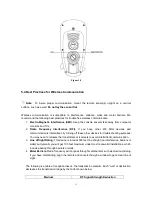
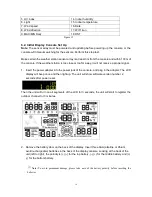
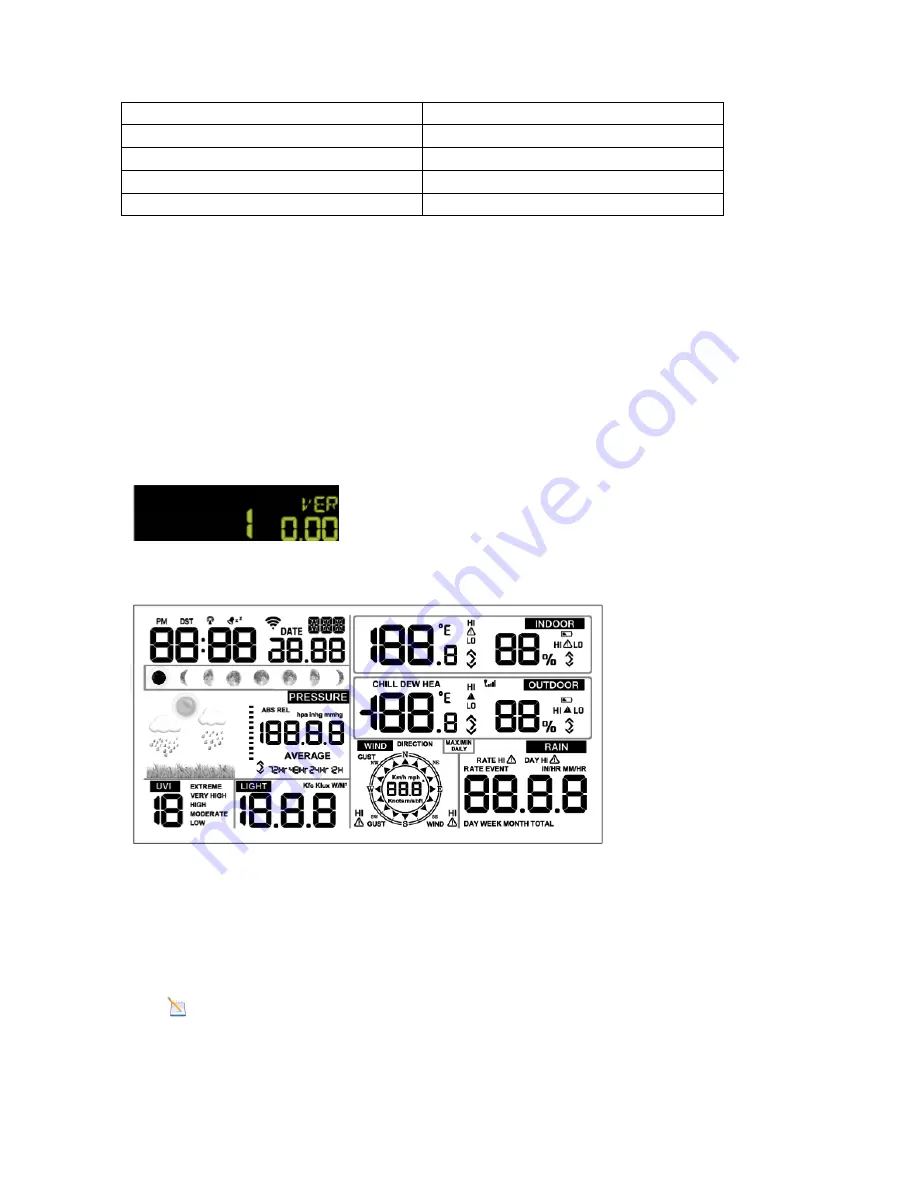
5. UV index
14. Indoor humidity
6. Light
15. Indoor temperature
7. Wind speed
16. Date
8. Wind direction
17. WIFI icon
9. MAX/MIN Daily
18. DST
Figure 12
6.2. Initial Display Console Set Up
Note:
The sensor array must be powered and updating before powering up the console, or the
console will timeout searching for the sensors. Perform this step last.
Make certain the weather station sensor array is at least 3m from the console and within 100m of
the console. If the weather station is too close or too far away, it will not receive a proper signal.
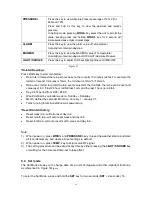
1. Insert the power adapter into the power jack of the console, and plug in the adapter. The LCD
display will beep once and then light up. The unit will show software version number 2
seconds after power reset.
Then the unit will turn on all segments of the LCD for 3 seconds, the unit will start to register the
outdoor channel for 3 minutes.
2. Remove the battery door on the back of the display. Insert three AAA (alkaline or lithium,
avoid rechargeable) batteries in the back of the display console. Looking at the back of the
unit (left to right), the polarity is (+) (-) for the top battery, (-) (+) for the middle battery and (+)
(-) for the bottom battery.
Note:
To avoid permanent damage, please take note of the battery polarity before inserting the
batteries.

