EM
BR
OI
D
ER
Y
B
AS
IC
S
13
Hooping Aids
Hooping aids like the placement guide, hooping boards (hoopers) and laser alignment systems help make
the task of positioning the hoop and placement of embroidery, easy and consistent from garment to garment.
Embroidery that is in the same position and straight throughout the garments can be a time consuming skill to
master. And for top quality products to leave your shop the placement of embroidery is critical.
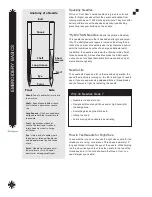
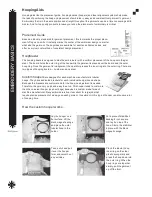
Placement Guide
Based on industry standards for garment placement, this tool marks the proper place-
ment of logos on shirts. It instantly marks the center of the embroider design no matter
what size the garment. These guides are available for adult and children’s sizes, and
offer a very low cost method of consistent design placement.
HoopMaster
The hooping board is designed to aide the embroiderer with a uniform placement of the hoop onto the gar-
ment. The board holds the outer ring of the hoop while the garment is placed over the board and the outer
hoop ring. Once the garment is in alignment, the operator presses the inner ring into the outer ring. There are
two types of hooping boards — custom and universal.
Custom hoopers
are designed for each machine manufacturer’s tubular
hoops. They have dedicated brackets for each individual hoop size and shape.
Because the brackets are custom made for the hoop, no adjustment is needed.
Therefore, they are very quick and easy to set up. This hooper tends to cost more
then the universal hooper (see next page) because it is custom made for each
machine manufacturer. Many embroiderers find it excellent for large jobs that
require precise placement of a design on each garment . Investment in this type of hooper can also save a lot
of hooping time.
How the custom hooper works …
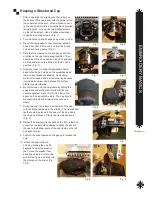
Lay the hooper on a
flat surface. Lift the
black magnetic wings
and place the outer
tubular hoop in the
holder.
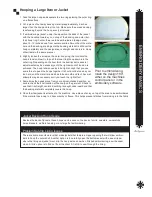
Cut a piece of stabilizer/
backing 8 inch square
and lay it on top of the
hoop. Clamp the stabilizer
in place with the black
magnetic wings.
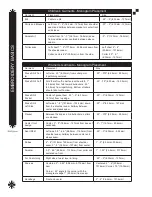
Take a shirt and pull
it over the hooper
form and smooth out
any wrinkles.
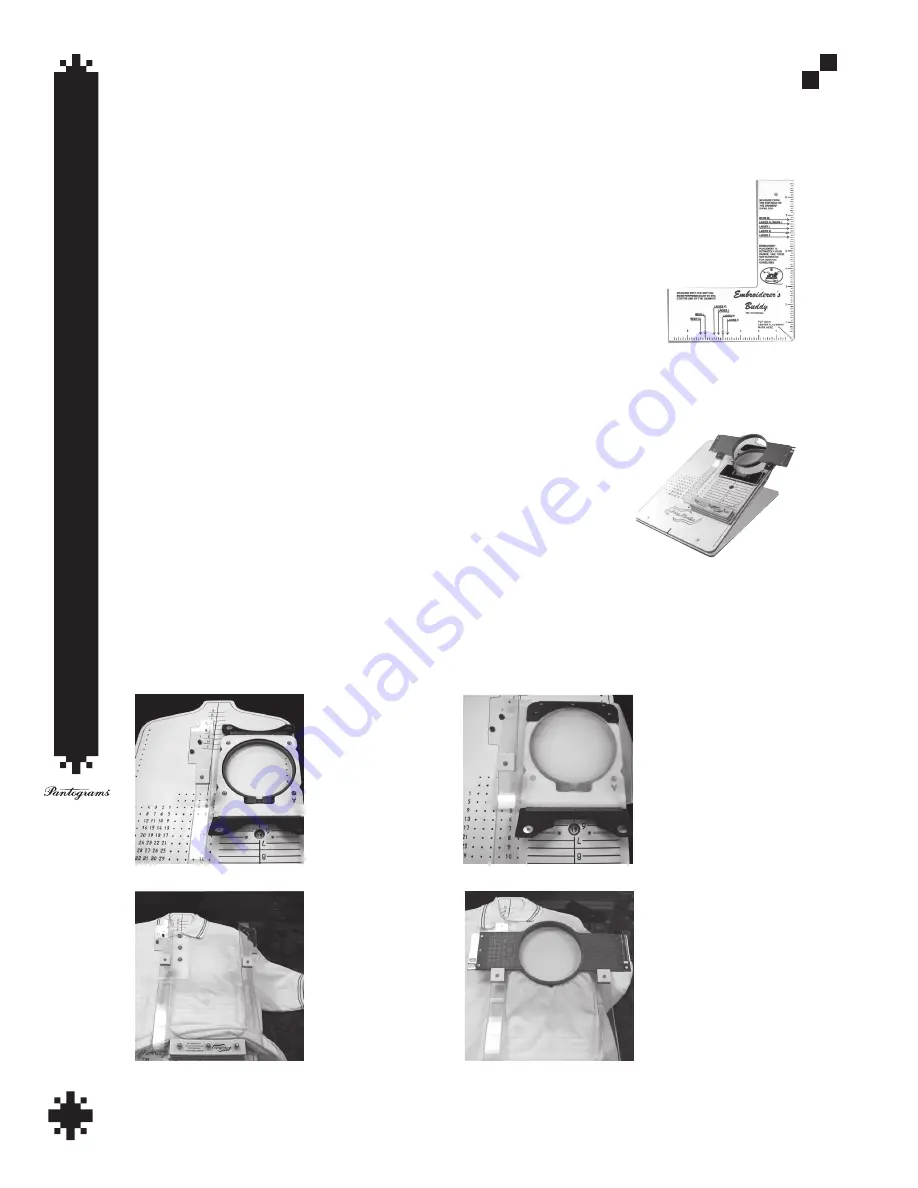
Place the tubular hoop
inner ring on the clear
plastic swing arms and
press the hoop down into
the outer ring. When the
hoop rings are together
simply, pull the garment
up off the form.
Summary of Contents for GS1501
Page 30: ...GETTING STARTED 28 ...
Page 31: ...GETTING STARTED 29 The Control Panel Display ...
Page 62: ...EMBROIDERY BASICS 28 Notes ...
Page 64: ...MACHINE BASICS 2 ...
Page 65: ...MACHINE BASICS 3 ...
Page 70: ...MACHINE BASICS 8 ...
Page 71: ...MACHINE BASICS 9 ...
Page 78: ...MACHINE BASICS 16 Notes ...


