11
Installation and Connection
Place the Braille display in the working position in front of the keyboard or in front of the
notebook. Place your hands on the Braille cells to read, and your thumbs on the Easy
Access Bar. Correct the position of the Braille display until it is optimal for your working
position.
The only connection on the Braille display is on the right side of the device. It is a mini USB
connector. A suitable connection cable is included in the scope of delivery. The smaller plug
fits into the connection of the Braille display. Data is exchanged with the PC or notebook via
the USB connection, but the Braille display is also supplied with power via the USB
connection. It is not necessary to connect a power supply unit to the Braille display.
The devices of the BRAILLEX EL c series can only be used in environments that support
USB.
If you connect the USB cable to the switched-on PC or notebook, the light-emitting diode
built into the Braille display in front of the USB port lights up. The Braille display shows a start
message.
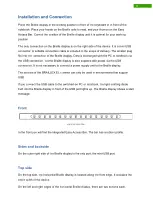
Front
Easy Access Bar
In the front you will find the integrated Easy Access Bar. The bar has a rubber profile.
Sides and backside
On the outer right side of the Braille display is the only port, the mini-USB port.
Top side
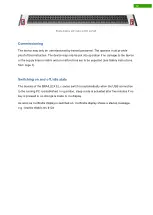
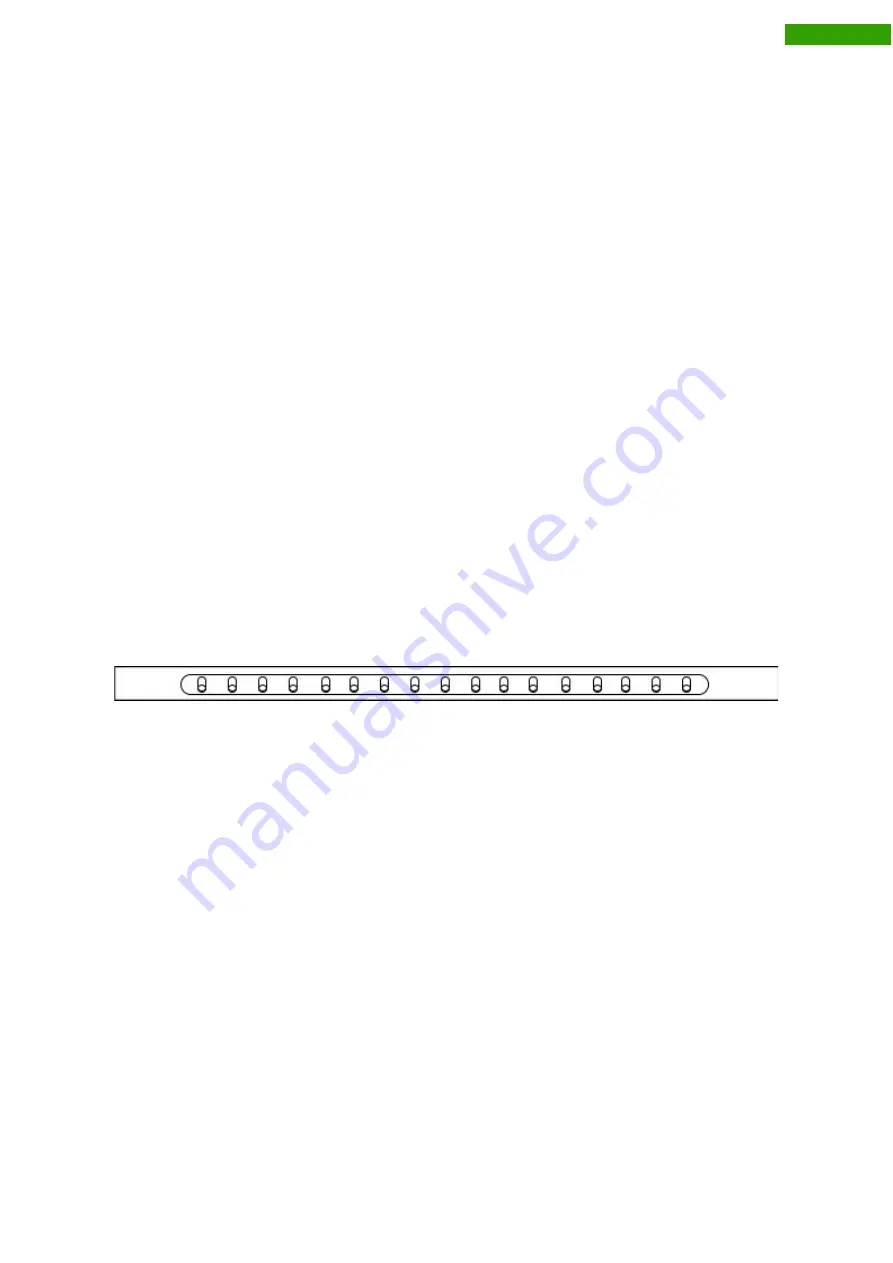
On the top side, the horizontal Braille display is located along the front edge. It occupies the
entire width of the device.
On the left and right edges of the horizontal Braille display, there are two buttons each.
Summary of Contents for RehaTechnik BRAILLEX EL Series
Page 34: ...33...


