background image

Summary of Contents for 777101

Page 1: ...SYSTEM t WA RNLNG A Read andfollowall directions for e ach tepto insureproper assembly of thi procluct CLASS H PART 70174 11 USER S GUIDE 1 qersion 777101 Revision 02 02 01...

Page 2: ...ervicetechnician 5 Becertainthat weigl tpin is completely inserted Useonly the pin providedbythe manufacturer If unsure call yourauthorizedParaBody dealer 6 Never pin the weights or propplate into ane...

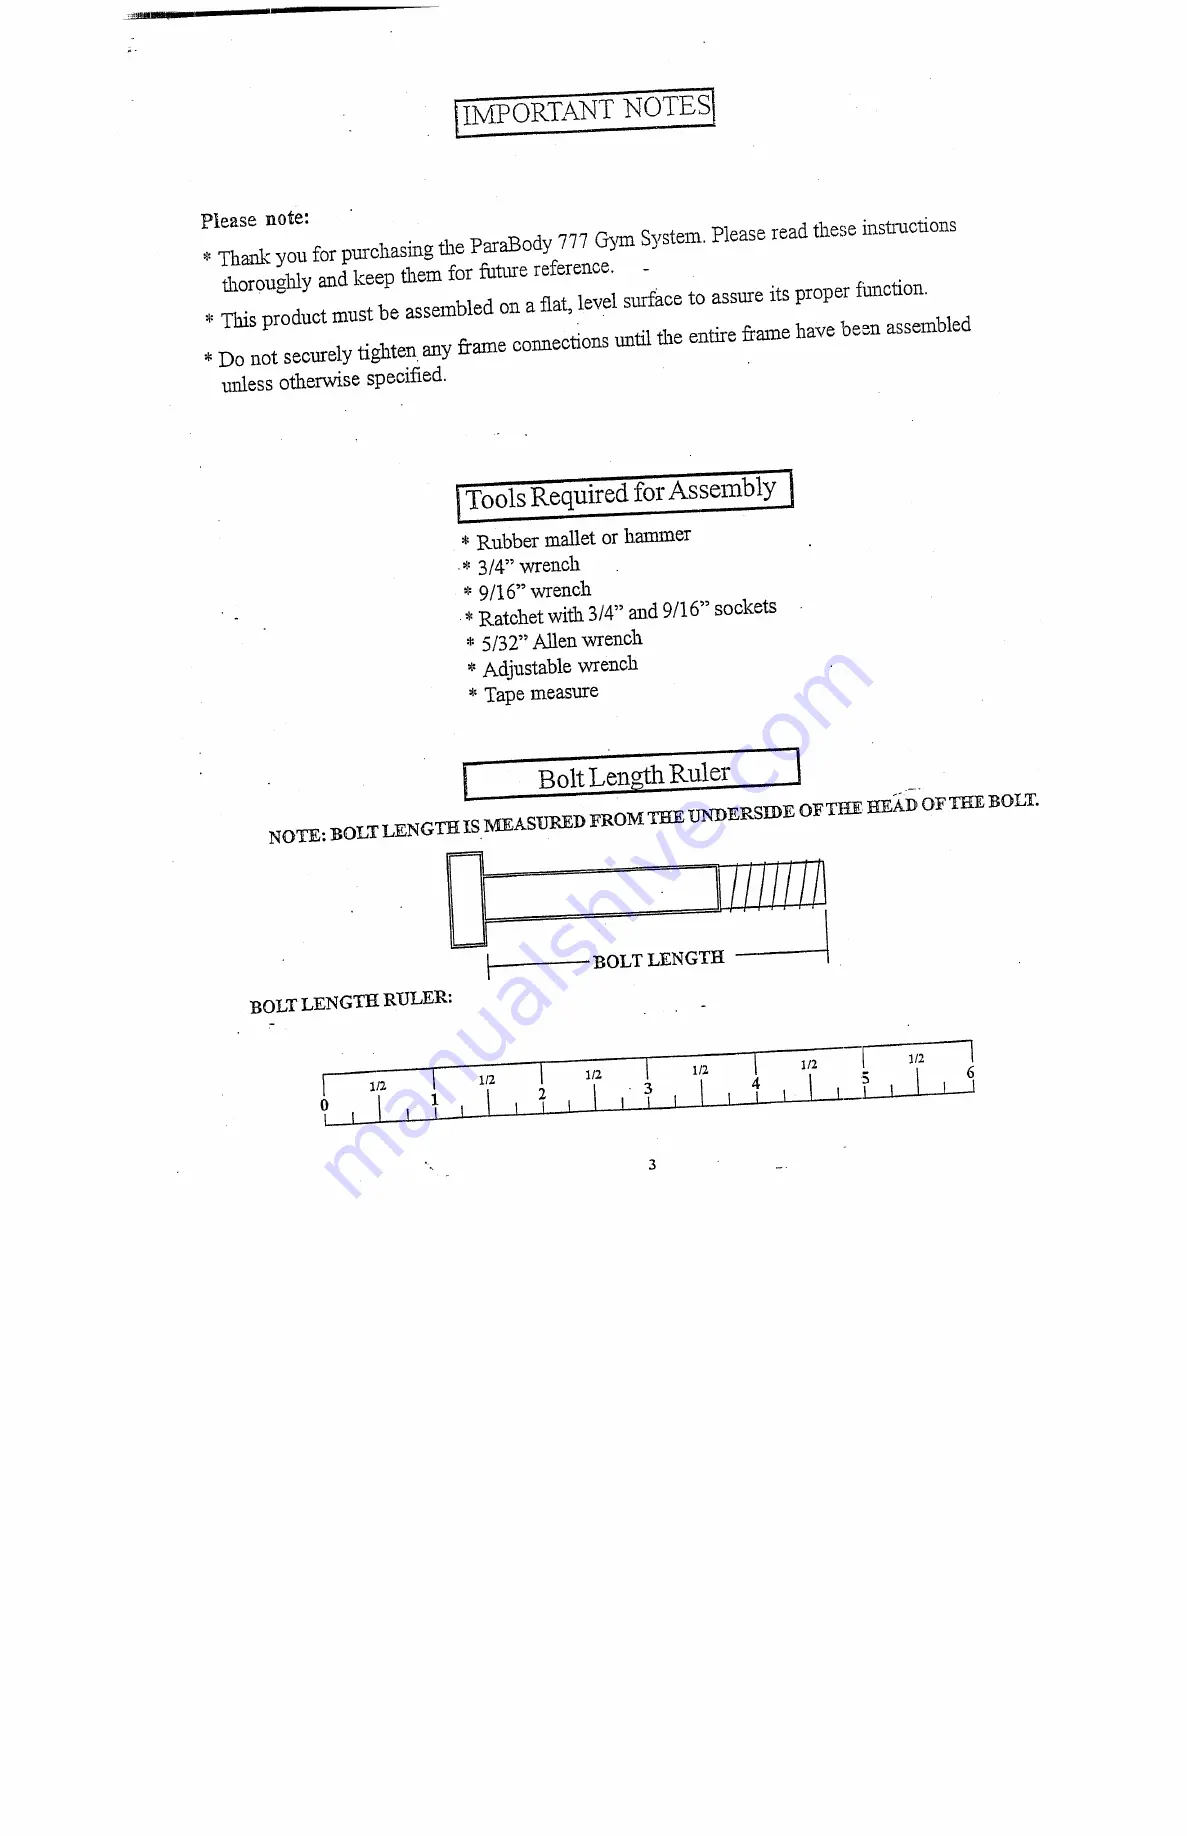
Page 3: ...nce This product must beassembled ona fiat level surface toassure its proper fhnction Donot securely tighten any frameconnectionsuntil the entire frmnehavebeenassembled m lessotherwisespecified Rubber...

Page 4: ...I Square I X 1 Minimum Required Usable S Length Width Height 90 inches 229cm 7 103inches 262cm 8 84 inches 213 5cm Dimensions Includin a Length 90inches 229cm 7 Width 130inches 330cm 10 10...

Page 5: ...GHT STACK PIN cUSHION WEIGHT CABLE LEG cABLE ARM CABLE BOOM CABLE WEIGHT STACIi SPACER PARTS 5 2 2 2 15 1 1 1 1 1 9 LIST PART 3102503 6409101 3103302 3116201 3116101 6993701 6412001 I0 801 6416601 614...

Page 6: ...and the UPRIGHT 2 using four 8 X 4 s2 63 See FIGURE 3 8 LOCI NUTS Insert twotwo3 8 X9 16 FLANGE SPACERS 48 into the upper hole of the FRAME 2 as shown LOOSELY assemble the FOOTPLATE 66 to the FRAME 2...

Page 7: ...EIGHT PLATE BUSHINGS 22 into each of the fifteen WEIGHT PLATES 21 as shownin FI GURE FIGURE3 S howll TEP 3 Slide the WEIGHT PLATE SHAFT 26 tlLru the hole in the t I AD PLATE 23 nnd lock in place using...

Page 8: ...FLATWASI IERS 34 and two WEIGHT STACK CUSHIONS 28 overtheGUIDE KODS Ig Using EXTREIV E CAI OE slide a11fffleen WEIGHT PLATES 2 I downovertheGUIDE RODS 18 on to theWEIGHT STACK CUSHIONS 28 Make sure t...

Page 9: ...theRIGI IT andLEPTUPRIGHTPLATES 14 andfllree 3 g LOCI NUTS 63 See FIGURE 5 Slide the SI IAFT COLLA RS 36 to the top of the GLUDE RODS lg and tighten set screwsas shown in FIGURE FIGURE 6 13 G S6 four...

Page 10: ...e RIGHTand LEFTARM SUPPORTS 5 using two 3 8 X 4 BOLTS 60 four 3 8 FLATWASHERS 64 and two3 8 LOW HEIGHT LOCK NUTS 54 FIGISRE7 FIGURE 8 STEP8 SECURELY assemble oneSEATPAD 16 to theSEATAD JUST 3 using tw...

Page 11: ...the UPRIGHT 2 as shown The SEAT height ambe adjusted using the CAREFULLY iasert the SPRING PIN 40 and can be secured with the 3 PRONG ICNOB 43 STEP10 Insert twoI 2 FLANGE BEARINGS 65 into thetheLEGpED...

Page 12: ...GROOVE PULLEYS 39 to the UPRIGHT 2 sing two3 g X 2 3 4 BOLTS 55 See FIGIYILE11 STEP 2 Assembletwo BOOM p LEYPLATES 13 and three 3 1 2 P LEYS 37 to the OOM PLATES 4 15 using o e 7 BOLT 61 two 3 g X 1...

Page 13: ...26 SeeFIGURE 14 Routefl eWEIGHTSTACKCABLE 29 around thepull ys infl eBOOM PLATES 14 15 shown in FIGURE 14 NOTE Nlake sure the cable runs in the ooves of the pulleys AssembIe two PULLEY PLATES 10 aroun...

Page 14: ...E 16 STEP 16 Rou te the BOOM CABLE 32 over the V GROOVE PULLEY 39 and the 3 1 2 PULLEY 37 on the LEFTBOOM 15 and over the 3 1 2 PULLEY 37 on the RIGHT BOOM PLATE 14 and over the V GROOVE p0 LLEY 39 as...

Page 15: ...over the retaining bolt as shown in FIGUILF 17 Securely assemble one 3 1 2 PL TLLE r 37 to the UPtLIGHT 2 using one 3 8 X 3 BOLT 67 and one 3 8 LOCI LNUT NOTE The LEGCABLE 91 must be routed over the...

Page 16: ...mbling the prsLLEY PLATES FIGURE 19 3 gX3 3 4 ii I i i 0 L t I f e rr i t ii STEP 19 Assembleone 3 1 2 PULLEY 37 to the BASE PLATES 11 using one 3 8 X o 4 BOLT 7 two 8 X 1 SPACERS 51 one 3 8 LOCK NUT...

Page 17: ...Ec LYa emb1 one 2 ON SPACER 56 to th LEFT S PORT 5 u ingon 3 8 X 314 BOLT 55 on 318 LOCK T 63 S G 20 Assumable fl LEFT 7 to LEFT S POKT 5 usingone 3 gX 2 0 4BOLT 55 d on 318 LOCK T S FIG 20 No e ake s...

Page 18: ...CK NUTS 63 See FIGURE 21 Note Loop the ARM CABLE 31 around the PD LLEYS prior to assem bling the PULLEYS Leave a loop in the CURL as shown FIGURE 22 TE 22 Assembly one3 I12 PULLEY 37 tothePULLEY BRACK...

Page 19: ...8 LOCK RIG T ARI Assemble one v PULLEY 39 to the RIGI IT ARM SUPPORT 4 using ush g one 3 8 X 2 3 4 BOLT 55 NUT 63 See FIGURE 23 Note Loop the APGV CABLE around the PULLEY prior to assemb iing the RIGH...

Page 20: ...FIGURE STEP 4 SECURELY tighten all loose frameconnections as shownin FIGURE 24 I 1 2 1...

Page 21: ...17 to the LEGPEDESTAL 8 using one 3 4 X 17 TUBE 52 and two 3 4 STARLOCK COLLARS 44 as shownin FIGURE 26 Assembletwo ROLLER PADS 17 to the SEAT ADJUST 3 using one 3 4 X1 TUBE 52 two PLASTIC WASHERS 45...

Page 22: ...ABLE 31 using two SNAP LINKS 41 as shown in FIGURE Assemble two 7 1 2 SEWN HANDLES 20 to th BOOM CABLE 32 using two SNAPLINKS 41 as shown in FIGURE Assemble the ANKLE STRAP 35 to the LEGCABLE 30 using...

Page 23: ...ous step the HEAD PLATE 23 stilldoes not sit on top of the first WEIGHF PLATE 2 I or there is excess slack in the cable system adjust the threaded ends of tl e CABLES attached to the PULLEY BRACICETS...

Page 24: ...onsare replace wornparts h anediately Faiktre to do so mayresult in serious injury Lubricateguide rods with a teflon based or equNalent lubricant on a regular basis PLEASE RECORD THE INFORMATION REQUE...

Page 25: ...dministrative charges for returningpartsto ParaBody and c all necessary or incidentalcostsrelatedto installation of thereplacement parts 6 SHIPPING If shippingbythe Owners is deemed necessary in soled...

Page 26: ...ly Phone 39 472 835 470 Fax 39 472 833 150 Life Fimess UK Ltd QueenAdelaide Ely CambsCB74UB United Kingdom Phone CSS 01353 665507 Fax CSS 01353 666719 Life Fitness BeneluxN V Bij dorpplein25 31 2992 L...

Reviews: