42
Chapter 6: IPR512 Receiver LCD System Configuration
Chapter 6: IPR512 Receiver LCD System Configuration
This chapter guides you through the steps required to configure the IPR512 Receiver using the
LCD display and Keypad Interface located on IPR512 Receiver. These steps can be used if you
are experiencing difficulties with the IPR512 Account Management System. For more
information on how to configure the IPR512 Receiver using the IPR512 Account Management
System, refer to “Chapter 5: System Configuration” on page 16. The backlight and contrast
settings are also described.
Note: Some of the menu options are password protected. Enter the password that is used when logging into the IPR512
Receiver Account Management System. The default password is set to admin.
Setting the IP Address, Port and Subnet Mask
By default, the IPR512 Receiver is configured with a default IP address, port and subnet mask.
For more information on the IPR512 Receiver’s system defaults, refer to “IPR512 Receiver
System Defaults” on page 6. The default settings can be re-configured if communication cannot
be established with your network. The defaults can be configured through the IPR512
Receiver’s LCD menu.
To Configure the IPR512 Receiver IP Address, Port and Subnet Mask
1. Press
OK
to access the Main Menu on the IPR512 Receiver. If there are any troubles,
pressing OK will enter the Trouble Menu. If this occurs, press
X
to access the Main Menu.
2. Use the Up/Down arrows and scroll to “LAN settings” and press
OK
.
3. Enter your password. Use the Up and Down arrows to change the value, use the Left and
Right arrows to scroll. Press
OK
when done.
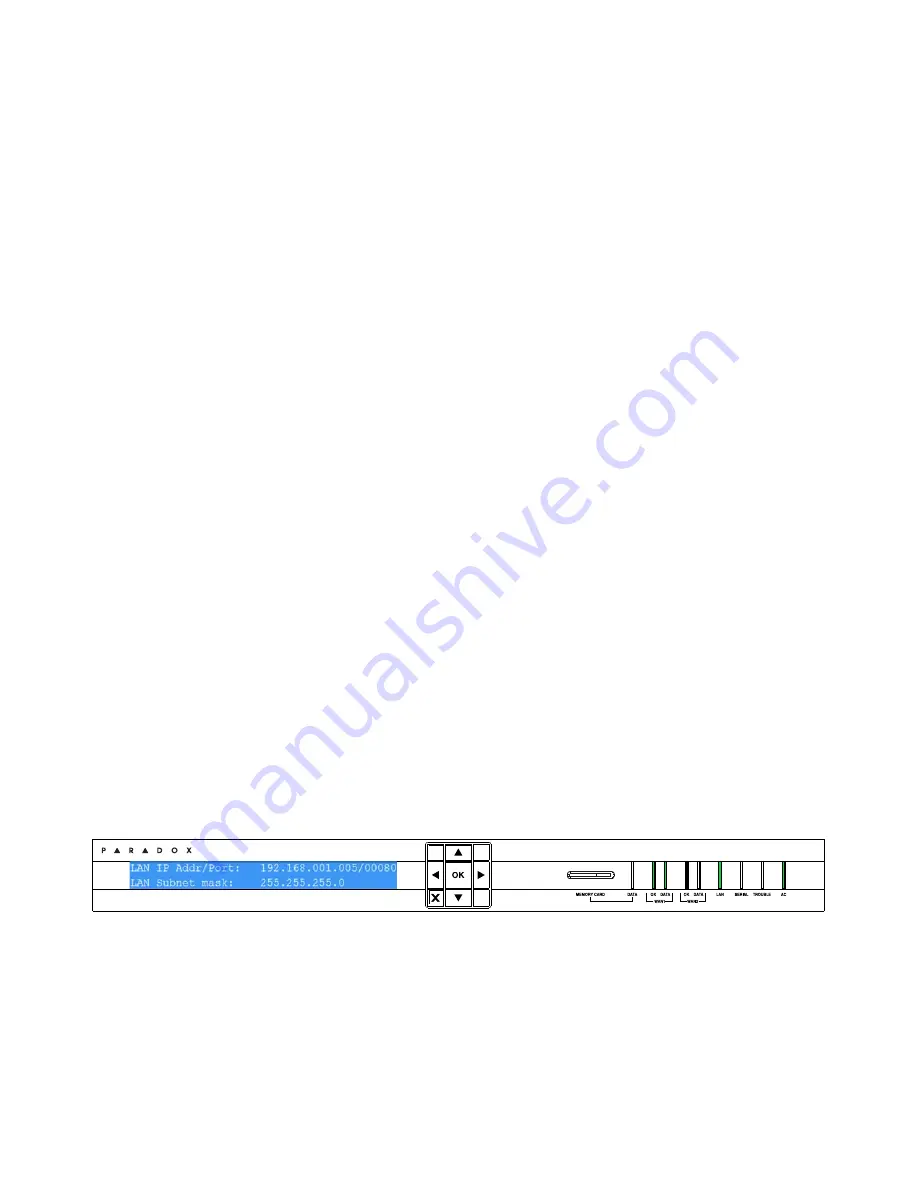
4. The LCD will display “LAN IP Addr/Port” and “LAN Subnet mask” menu, use the Up and
Down arrows to change the value, use the Left and Right arrows to scroll. Press
OK
when
done.
5. Change the Port and press
OK
when done. The port must be a five digit value, therefore
when providing a port number of i.e. 80, it must be entered as 00080.
6. Use the Up and Down arrows to change the LAN Subnet Mask and use the Left/Right
arrows to scroll. Press
OK
when done.
The LCD screen will display “New LAN Settings saved”.
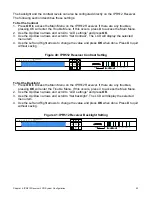
Figure 39: IPR512 Receiver LAN, IP and Port Settings
IP Monitoring Receiver
IPR512
Summary of Contents for IPR512
Page 1: ...IPR512 GPRS IP Monitoring Receiver V1 2 Operations Manual...
Page 63: ......


