Installation and Setup
2-11
5100-A2-GB21-10
April 1997
Installing the Network Driver Using Windows 95
Procedure
To install the driver when using Windows 95:
1. Select My Computer, then Control Panel, then Network.
2. In the Configuration menu, select Add.
3. Select Adaptor, then Add.
4. Select Have Disk.
5. Insert the Windows 95 Drivers and Diagnostics disk into the floppy drive.
6. Specify the floppy drive and path to the NAS DSL driver (a:\drivers), and click
on OK.
7. Select Paradyne DSL Network Access Card, and click on OK.
8. Highlight Paradyne DSL Network Access Card and select Properties.
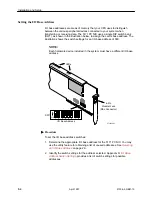
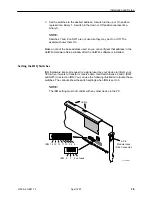
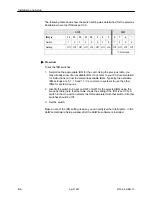
9. In the Resources menu, specify the IRQ and I/O base address as determined
in
Selecting an I/O Base Address
and
Setting the IRQ Switches
.
NOTE:
Windows 95 gives a range of I/O base addresses as your choice rather
than a discrete address. Therefore, select the range of addresses that
includes the determined base address.
10. Click on OK.
11. The drivers will now be copied from a:\drivers to the hard drive. Windows 95
may prompt you for some files needed to complete the TCP/IP stack
installation. These are located either on the original Windows 95 CD-ROM or
diskettes, or on the hard drive (use the Windows 95 Find tool to locate the
files).
12. Select No when asked to restart Windows 95.
13. Reenter the Network menu. Select Add, then Protocol, then Add.
14. Select Manufacturer Microsoft, then TCP/IP. Click on OK.
15. The display reverts to the Network menu. Highlight TCP/IP and select
Properties.
16. Select the Specify an IP Address box and Fill in IP Address and Subnet Mask
in the IP Address menu.
17. Select the Gateway menu and add the appropriate information.
18. Select the DNS Configuration menu and add the appropriate information.
19. Click on OK. The display reverts to the Network menu. Click on OK again.
20. Select Yes when asked to restart Windows 95. Upon restart, the DSL driver
should be initialized and the link operational. If the link is not functioning, refer
to
Troubleshooting Tips
.


