2. Windows Environment
1010-A2-GN21-00
2-22
February 2003
Step 10
Click
Next
to accept the default path:
C:\Jetstream
.
– Or –
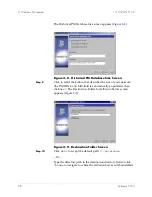
Type the directory path in the destination directory field or click
Change
to navigate to where the JetVision Server will be installed.
Step 11
Click
Next
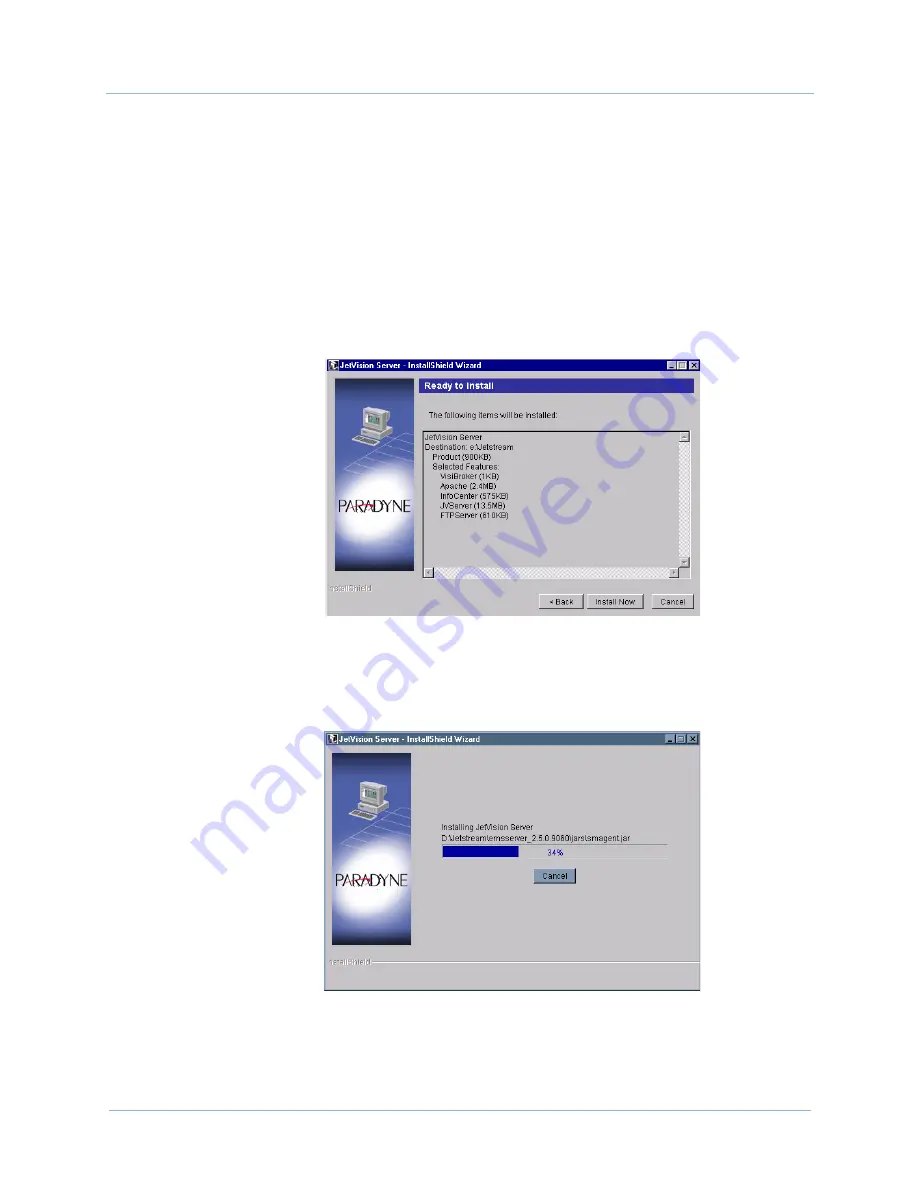
. The Ready to Install screen (
Figure 2–28
) appears,
listing other supporting components that will be installed and their
file sizes.
Figure 2–28. Ready to Install Screen
Step 12
Click
install Now
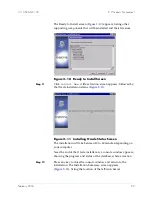
. A screen appears, showing the file extraction
progress (
Figure 2–29
), followed by the migrate user screen.
Figure 2–29. File Extraction Screen
Near the end of the migration, a console window appears, showing
the progress and status of the database schema creation.


