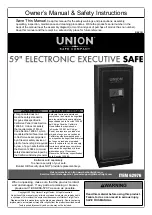
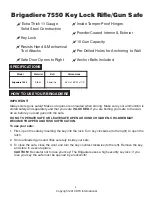
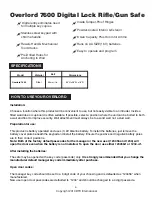
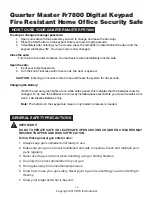

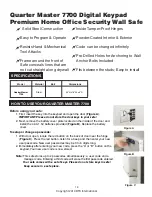


Extra Thick 11 Gauge
Solid Steel Construction
Easy to Program & Operate
Resists Hand & Mechanical
Tool Attacks
Opens by Key or Electronic
Lock
Inside Tamper-Proof Hinges
Powder-Coated Interior & Exterior
Code can be changed infinitely
Pre-Drilled Holes for Anchoring to Wall
Anchor Bolts Included
Quarter Master 7825, 7850 Electronic/
Digital Home Office Security Safe
Copyright 2010 DTX International
17
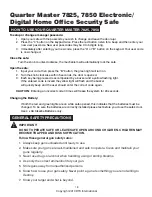
SPECIFICATIONS
Model
Material
Bolt
Dimensions
Steel
Quarter Master
7825
9.8”H x 13.7”W x
”D
9.8
Quarter Master
7850
Steel
7.8
.8
”H x 12”W x 7 ”D
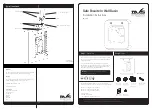
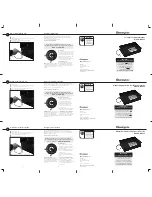
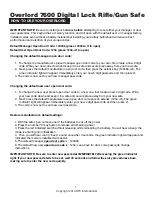
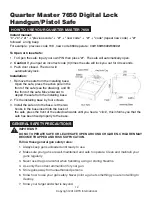
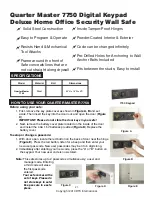
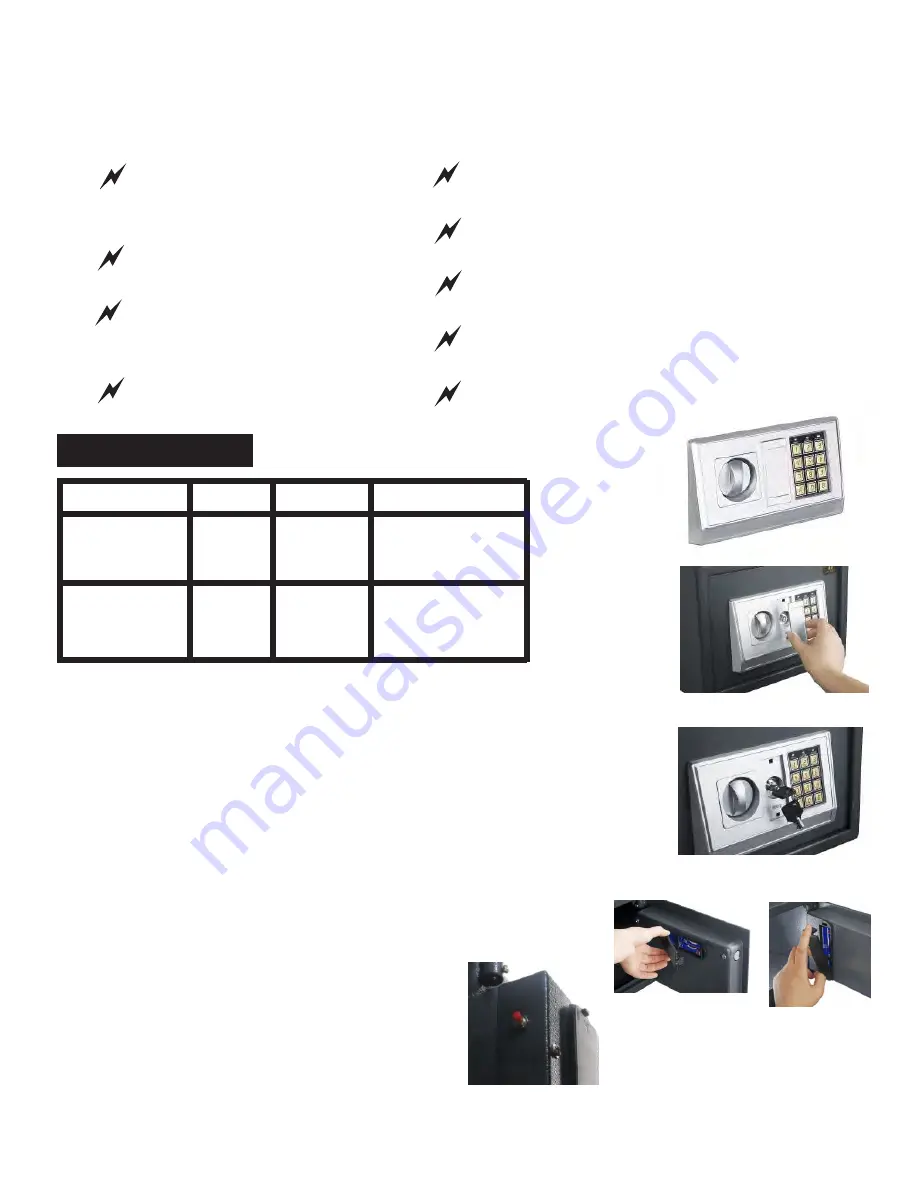
Before using your safe:
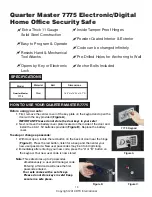
1. First, remove the key plate cover, insert the key into the keypad and open
the door (
Figure A, B
).
IMPORTANT:
Please do not store the door keys in your safe!
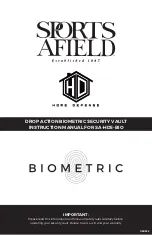
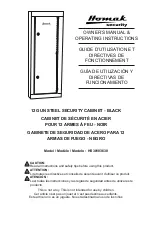
2. Next, remove the battery cover plate located on the inside of the door and
install the 4 AA 1.5V batteries provided (
Figure C
). Replace the battery
cover.
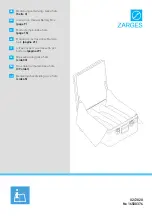
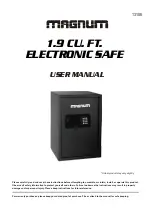
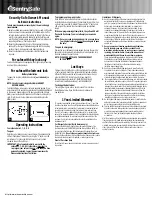
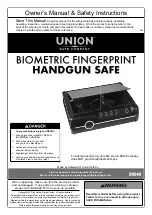
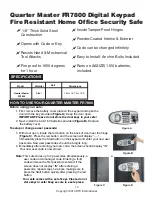
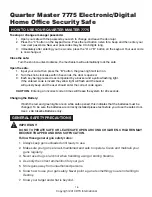
To setup or change a passcode:
1. With door open, locate the red button (
Figure D
) on the back of door near
the hinge. Press the red button, listen for a beep and then enter your new
user passcode. New user passcodes may be 3 to 6 digits long.
2. Immediately after entering your new code, press the “A” or “B”
button on the keypad. Your new user code is now stored.
Note:
This safe stores up to 2 passcodes
simultaneously; a user and manager code.
Entering a third code will erase the first
passcode entered.
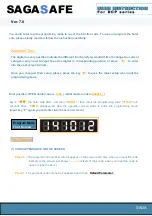
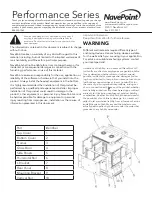
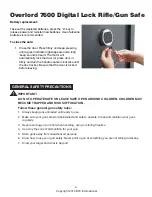
Your safe comes with a set of keys.
Please do not store keys in safe!
Keep secure in a safe place.
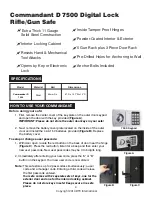
Figure A
7825, 7850 Keypad
Figure D
Figure C, 7825, 7850 Battery Covers
Figure B