Copyright © Parallax Inc.
Eddie Robot Platform (28990 & 28992)
v1.1 1/16/2013 Page 12 of 17
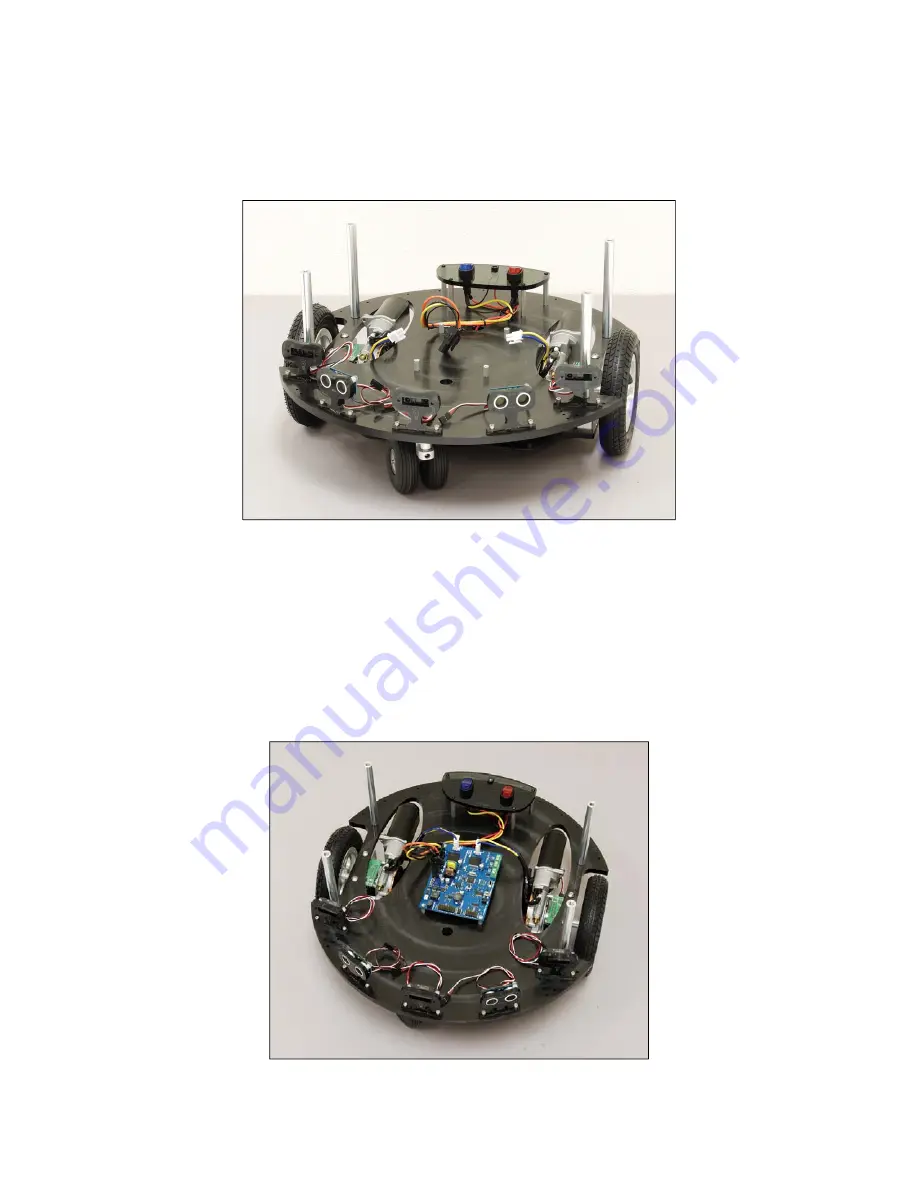
Attach the Ping))) and IR Sensors to the Base as shown in Figure 8b. Place the #6/32 x ½” socket head
cap screw through the holes in each of the stands and then carefully screw them down evenly into the
Base. Take it slow and easy. Make a few turns on one screw and then a few turns on the other, gently
bringing the assembly down into full contact with the Base. Make them snug, but do not over-tighten.
Figure 8b
Step 9: Eddie Control Board Installation
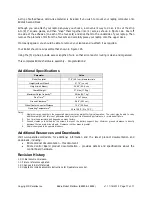
Orient the Control Board as shown in Figure 9a, and use (4) 4-40 x 1/4 “ machine screws to attach it to
the (4) hex standoffs in the center of the platform.
Be certain that the switches are in their “Off” positions (the switches light up when they’re “ON”).
Connect each of the motor drive connectors to their respective receptacles on the Control Board.
Connect the Main Power connector (coming from the Switch Plate) to the large power connector on the
Control Board.
Figure 9a


