Copyright © Parallax Inc.
Eddie Robot Platform (28990 & 28992)
v1.1 1/16/2013 Page 7 of 17
Step 5: Main Base Assembly
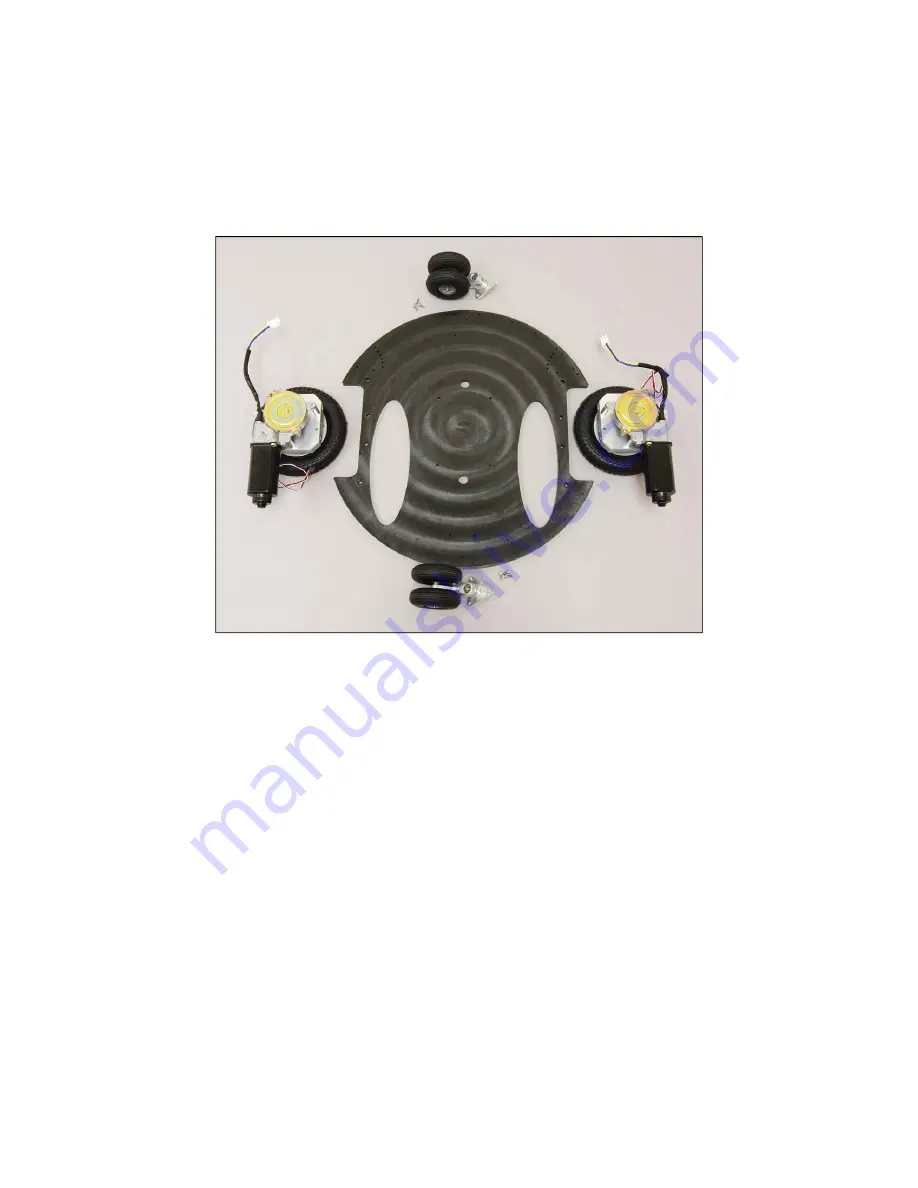
Place the two pre-assembled Casters and Motor Mounts a shown in Figure 5a. Orient the Base Plate so
that the two sets of three holes (in a triangular pattern) are visible (“face-up”), as shown in Figure 5a.
These are “blind” holes (they do not go all the way through). The Caster assemblies are attached from
the bottom of the Base with short screws that do not mar the finish of the top-side.
Figure 5a
Use the 7/64” ball-end, Allen wrench to screw in the (3) 3/8” long socket-head cap screws to attach each
of the Caster Wheel assemblies to the Base, as shown in Figure 5b. Make them “snug”, but do not over
tighten.
Before you mount the drive wheels to the Base, verify that the ID jumpers (A and B) on the Position
Controller for the left motor are set to “1” (both jumpers installed) and that the ID jumpers on the right
Position Controller are set to “2” (A installed, B removed). (See Motor Mount and Wheel Kit for additional
information).


