http://www.instructables.com/id/ELEV-8/
Intro:
ELEV-8
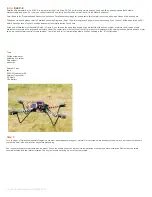
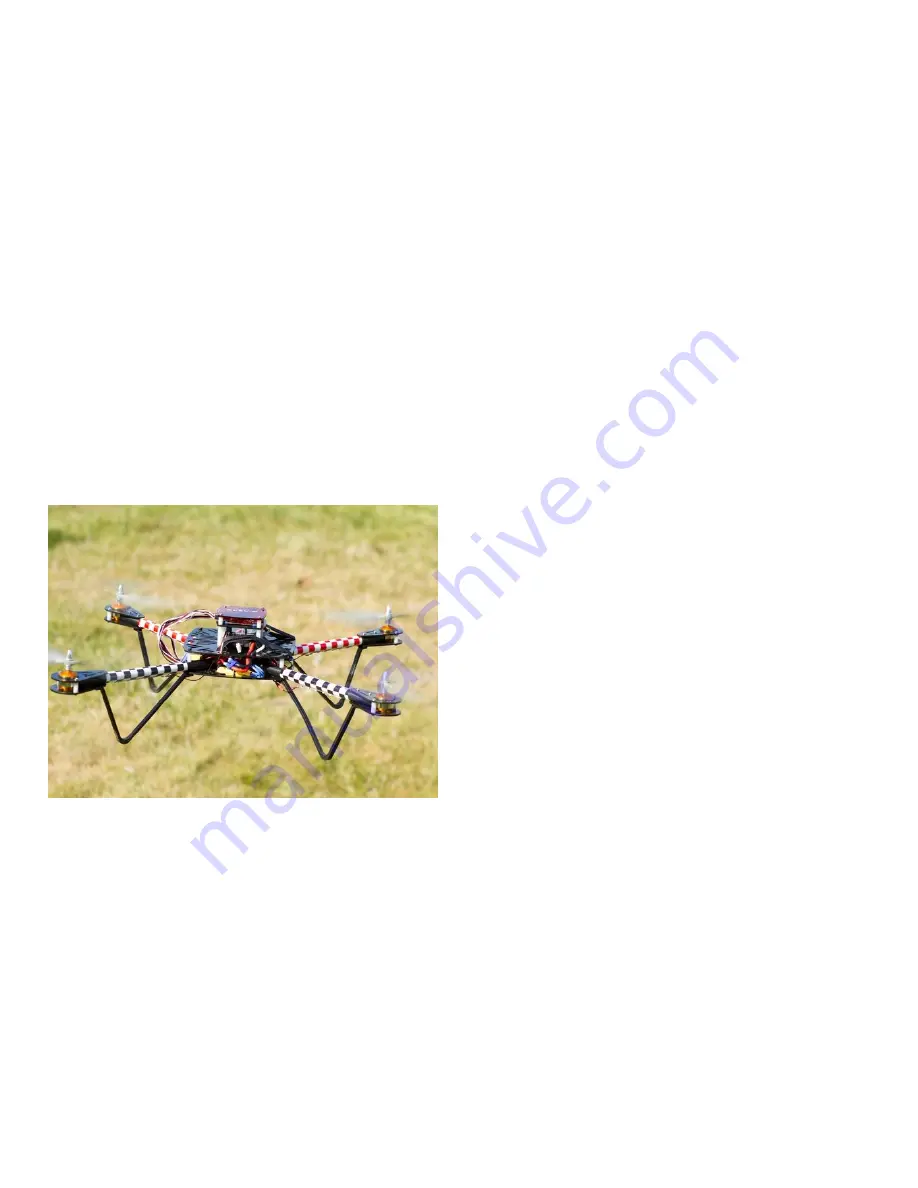
Parallax's Quadcopter Kit, the ELEV-8, is a great way to get into flying RC. The build is fairly simple and you'll end up with an awesome quad that's stable,
maneuverable, and quick. For now, you can purchase this kit directly from Parallax, but we'll have it in the Maker Shed soon!
Scroll down to the "Downloads and Resources" section on Parallax's product page for an awesome list of helpful resources, and watch videos of it in action here.
Throughout this build, please refer to Parallax's Assembly Diagrams (here). I'll be referring to each page in these instructions. If you've never built a quad (or done RC)
before, definitely take a look at Hoverfly's awesome video tutorial series, found here.
At the end of Parallax's text Assembly Guide, in Figure 2, you can see the basic idea behind flying multirotors with an even number of motors: the direction of spin
alternates to counteract the torque and automatic yaw of the copter (this is the function of the tail rotor on normal helicopters). By varying the speed at which each motor
spins, we can accurately control throttle (altitude), yaw, pitch, and roll, all while staying stable. We'll be building in the "X" configuration.
Tools
Phillips screwdriver
Soldering iron solder
Wire stripper
wire snips
Relevant Parts
sded
ELEV-8 Quadcopter Kit
Wireless Transmitter
RC Radio
LiPo Battery
Step 1:
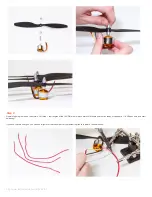
Turn to page 1 of Parallax's Assembly Diagrams document, and start assembling your motors! Our set screws were already Loctited in place, but check to make sure
yours are as well with a small Allen key before proceeding.
See those black spacers that came with the props? Punch the middle one out and press into the backside of each prop before installation. Remember, two rotate
counterclockwise and two rotate clockwise. The tiny text should be facing up once they're mounted.


