http://www.instructables.com/id/ELEV-8/
Step 8:
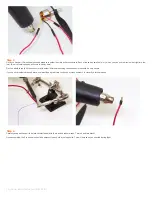
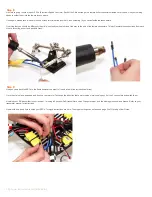
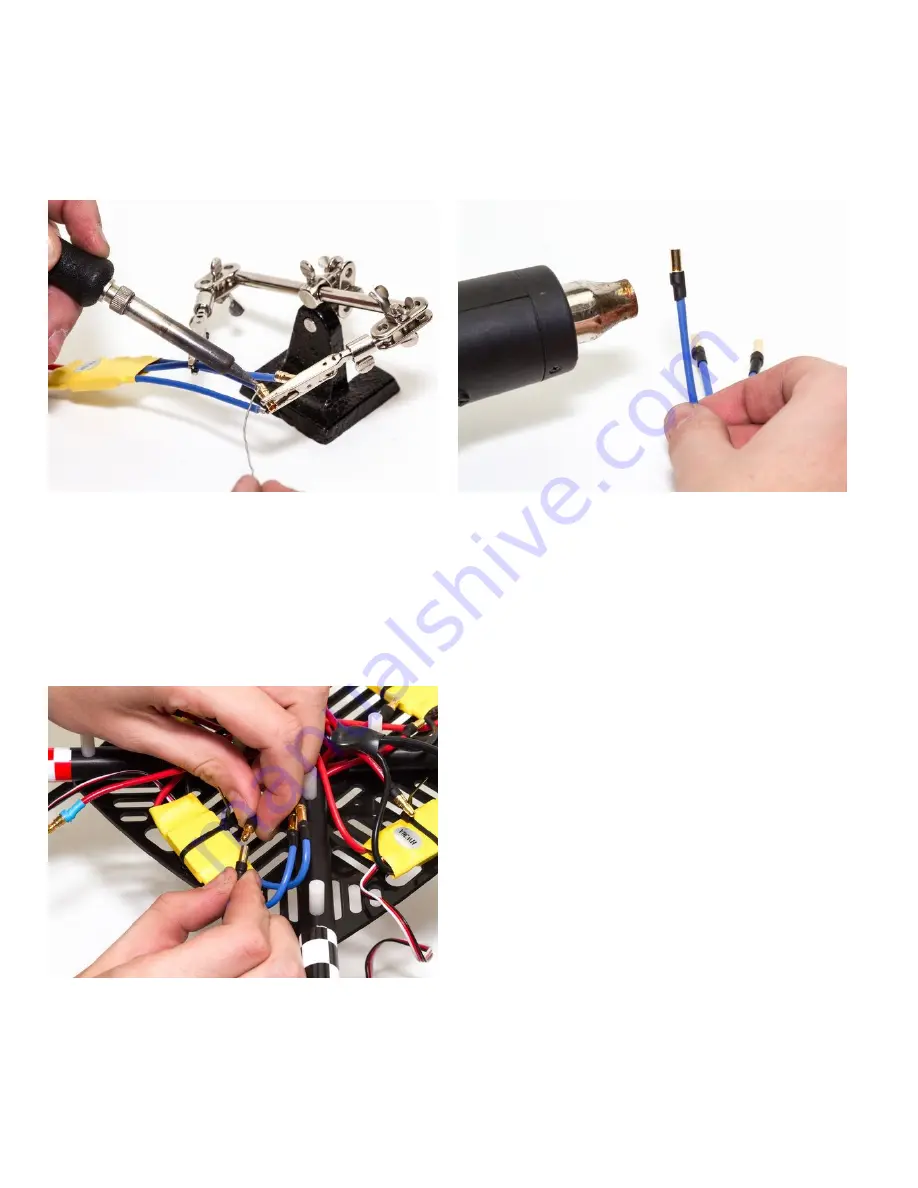
Next, we're going to solder up our ESCs (Electronic Speed Controls). Each of the 3 blue wires gets a female bullet connector soldered onto the end. Use your helping
hands to solder them just like the male connectors.
Once again, please take a look at Hoverfly's video tutorial series (number 5 is on soldering) if you haven't soldered these before.
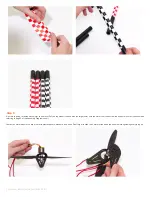
One thing that you should do differently than I did is extend your heatshrink all the way to the end of the female connectors. This will insulate the connections from each
other, preventing a short and possible crash.
Step 9:
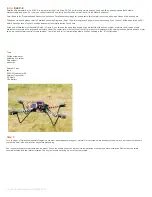
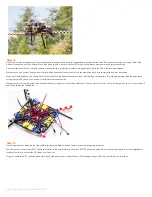
Now you can attach the ESCs to the frame however you want to (I used a few of the included cable ties).
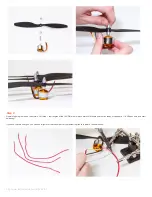
Once they're in place, go ahead and hook up your motors! To change the direction that a motor spins, simply unplug any 2 of the 3 connectors and switch them.
Now bind your RC transmitter to your receiver. I'm using a Spectrum Dx6i transmitter and an Orange receiver, and the binding process was a breeze. Refer to your
transmitter manual for instructions.
Now would be a good time to setup your ESCs. Turnigy's instructions are here. The proper settings can be found on page 34 of Hoverfly's User Guide.


